Posts: 411
Threads: 42
Joined: Sep 2008
City: Ironton Ohio
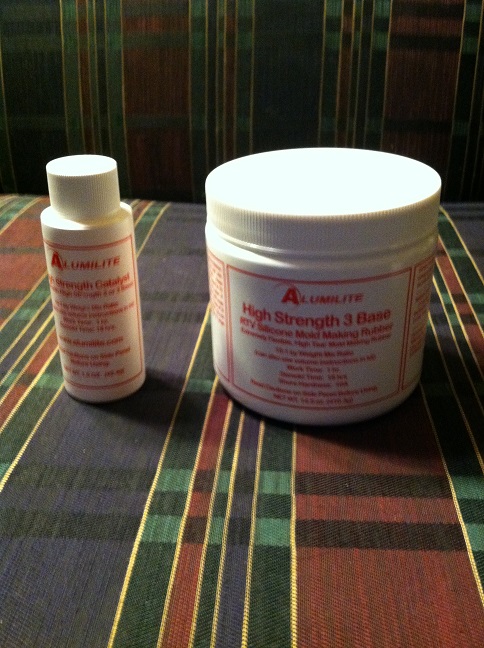
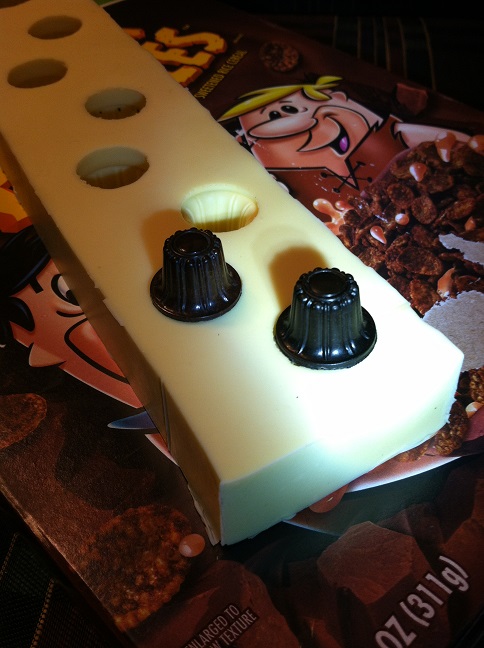
not sure if this is the right place to post this thread but I wanted to share with everyone how easy it is to reproduce any knob you may need. first, and most expensive is the mold making kit bought at hobby lobby, it was $41 after coupon and you could make around 100 or more knobs with what comes in the kit and replacement plastic mixture is around $19 with coupon downloaded online.

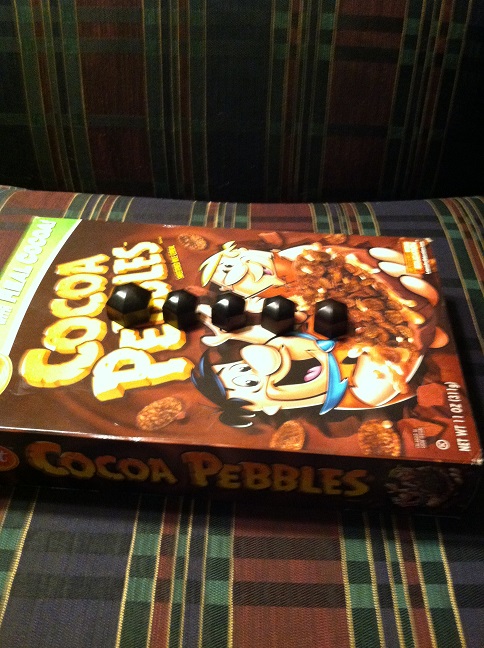
First affix the knob or knobs you want to reproduce onto a smooth surface by hot gluing or anything that will keep them from moving.
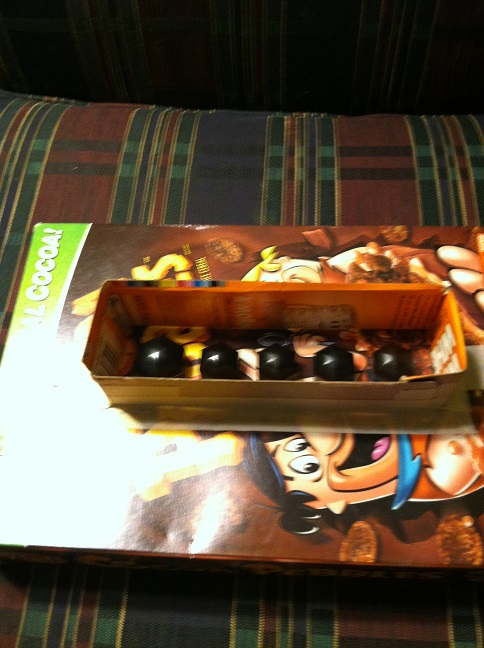
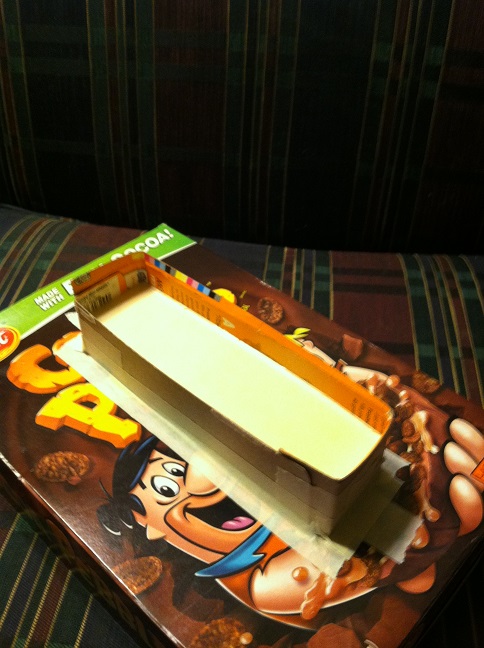
Then make a cardboard box around the knobs leaving about 1/2" on either side. make sure it is sealed around the bottom to keep mixture from leaking out.
then follow mixing directions and pour over knobs, with 1/2" above tallest knob.
when it hardens, remove knobs and you have a perfect mold. the kit can make a mold to reproduce about 10 to 13 knobs but I wanted a mold for all hex and rosette with any configuration needed so I could pour an entire set at once.
(This post was last modified: 01-24-2014, 11:06 PM by
tab10672.)
Posts: 16,579
Threads: 574
Joined: Oct 2011
City: Jackson
State, Province, Country: NJ
OK, how do you reproduce the bottom part of the knobs?
I used to do silicon rubber molds for epoxy potting - it would consist of two halves. We also had to make holes for air to escape.
Posts: 411
Threads: 42
Joined: Sep 2008
City: Ironton Ohio
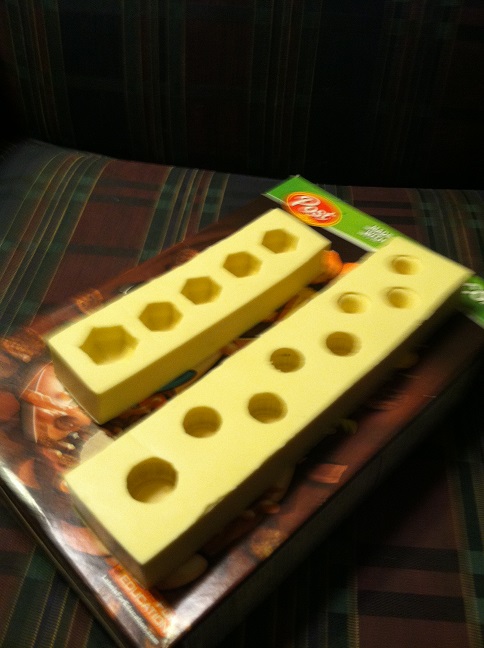
you can drill and thread for a set screw, insert a shaft spring or make a two piece injection mold to make them identical to the original. I use springs cause these are for my own personal radios and who will ever know but me.
after you remove the original follow plastic mixing direction, add what ever color dye you need and pour

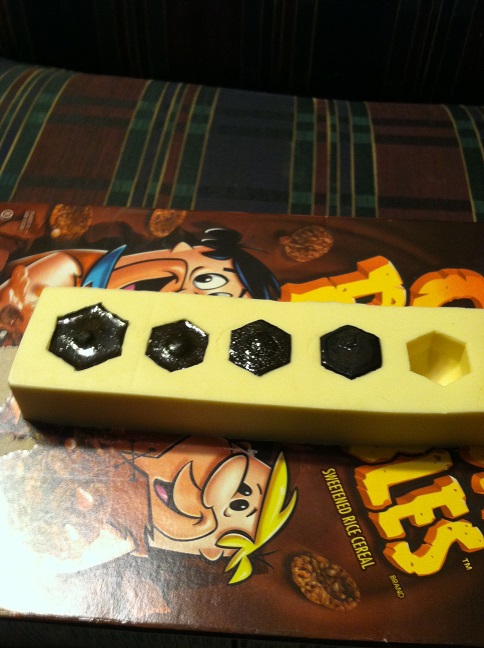
when they dry I sand the bottom level, leave it in the mold, drill the hole for the spring, glue the spring in and that's it.
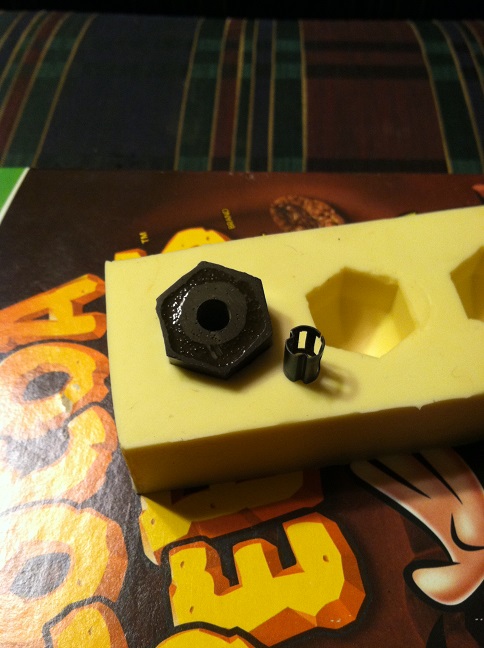
which one is the real thing
Posts: 411
Threads: 42
Joined: Sep 2008
City: Ironton Ohio
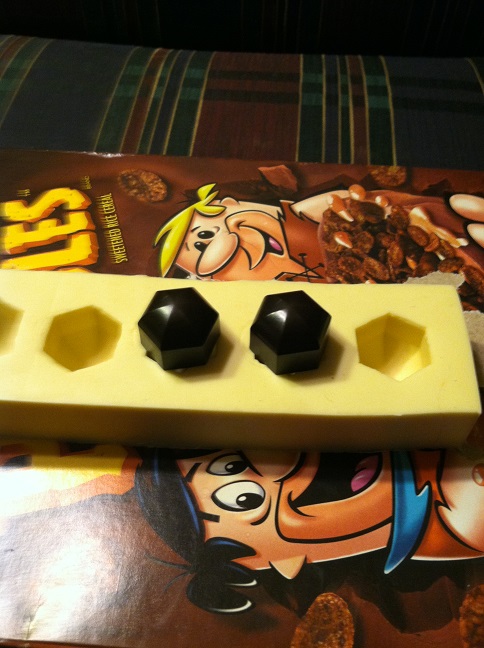
this photo shows the detail on a small rosette the color isn't right but I just poured it with left over mixture the closest one is the repro
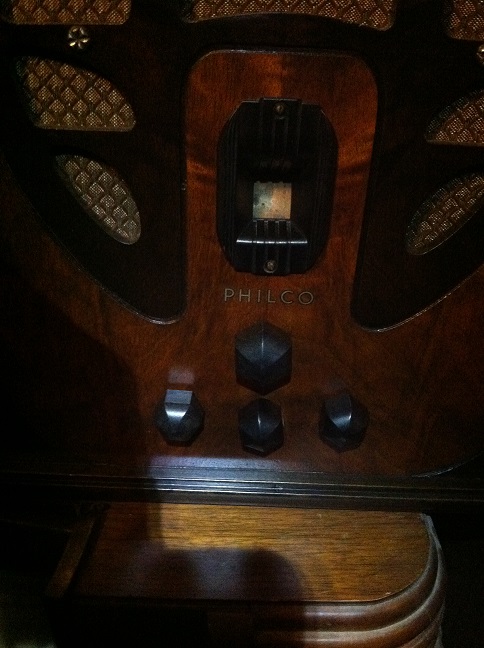
the entire reproduction set installed on my 89
Posts: 239
Threads: 10
Joined: Dec 2013
City: Columbia, SC
That looks fantastic, great work! I almost wish I were missing some now

Posts: 411
Threads: 42
Joined: Sep 2008
City: Ironton Ohio
A two piece injection mold will reproduce the bottom identical to the original but it uses more mold material and like I posted earlier these are for my personal use so I didn't care what the bottom/back looked like. the directions in the kit shows you haw to make the two piece mold.
(This post was last modified: 01-24-2014, 11:04 PM by
tab10672.)
Posts: 2,037
Threads: 367
Joined: Jun 2010
City: Dover, OH
This might be a good way to reproduce knobs on rare radios that are basically impossible to find replacements for and a lot cheaper than a 3D printer!
No matter where you go, there you are.
Posts: 811
Threads: 43
Joined: Dec 2008
City: Chicago, IL
Excellent! I'd heard about alumilite a few years ago but never followed up on it.
Posts: 4,106
Threads: 310
Joined: Nov 2013
City: Kings Park NY
Those hex knobs are exactly what I needed! I just paid $25 on ebay.
I would have rather paid you for them.
Times I have been electrocuted in 2021
As of 1/01/2021
AC: 4 DC: 1
Last year: 6
Posts: 411
Threads: 42
Joined: Sep 2008
City: Ironton Ohio
"Those hex knobs are exactly what I needed! I just paid $25 on ebay.
I would have rather paid you for them."
You could use the same kit to reproduce the grill you mentioned.
Posts: 1,562
Threads: 56
Joined: Nov 2008
City: Sedona, AZ/Placentia/CA
Thanks for the journey, those came out exceptional.
Jerry
A friend in need is a pest! Bill Slee ca 1970.
Posts: 736
Threads: 26
Joined: Jun 2013
City: Hayward, California
Tap Plastics also sells mold making supplies. You can use it to make one sided molds or 2 sided if you want the back the same as original also. I have used it to make some little parts that you cant buy... works pretty well.
Posts: 411
Threads: 42
Joined: Sep 2008
City: Ironton Ohio
Hobby lobby sells a variety of plastic mix, they even have crystal clear for knobs like on the sundial radios. The mix I have very closely resembles bakelite, you can even marble the color by lightly mixing/swirling the dye in last and when you have the dye mixed right you absolutely cannot tell which is the reproduction "unless you look at the shaft end"
Posts: 761
Threads: 56
Joined: Jul 2013
City: Kentucky
That's just a fantastic tip. I can't tell you how many radios I've walked away from because they were missing one rare knob, and I didn't feel like chasing it down.
The artist formerly known as Puhpow! 8)


![[-] [-]](https://philcoradio.com/phorum/images/bootbb/collapse.png)


