Posts: 50
Threads: 12
Joined: Oct 2016
City: Baltimore, MD
Posts: 330
Threads: 30
Joined: Aug 2017
City: Hay Lakes, Alberta,Canada
Stand on your head, or lay on your side, and the camera will be orientated right. :p
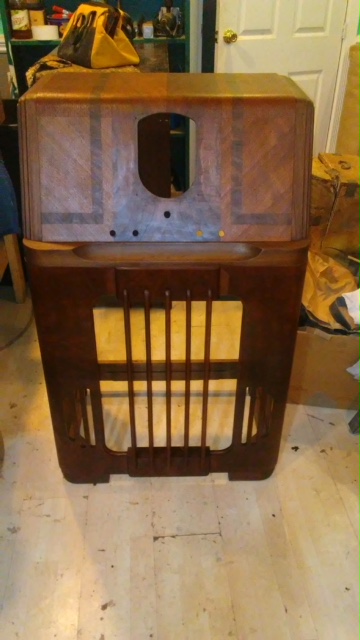
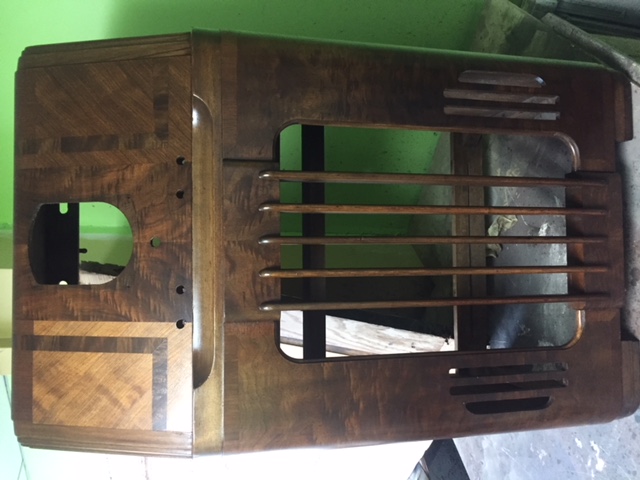
Looking good! How bad was the de-lamination?
Posts: 16,511
Threads: 572
Joined: Oct 2011
City: Jackson
State, Province, Country: NJ
If you have your pics in Windows, just use the viewer and rotate - it is automatically saved in the rotated way you choose.
Then post it here.
People who do not drink, do not smoke, do not eat red meat will one day feel really stupid lying there and dying from nothing.
Posts: 50
Threads: 12
Joined: Oct 2016
City: Baltimore, MD
The de-lamination was not too bad, bottom left hand side, no chips. Gotta put on the replacement decals and then add a couple more coats of lacquer. The grain is great, really happy with the way it's turning out. I'll post some more pics once I finish the cabinet. Then back to the chassis. I'll figure out the pictures 
Posts: 50
Threads: 12
Joined: Oct 2016
City: Baltimore, MD
Posts: 7,301
Threads: 269
Joined: Dec 2009
City: Roslyn Pa
Dang that bugger has a lot of little pieces!!!!!!
GL
When my pals were reading comic books
I was down in the basement in my dad's
workshop. Perusing his Sam's Photofoacts
Vol 1-50 admiring the old set and trying to
figure out what all those squiggly meant.
Circa 1966
Now I think I've got!
Terry
Posts: 330
Threads: 30
Joined: Aug 2017
City: Hay Lakes, Alberta,Canada
Yeah...the 1937-38 chassis aren't the easiest to work on...
Posts: 285
Threads: 18
Joined: Nov 2016
City: Cromwell
State, Province, Country: CT
(04-17-2018, 11:02 PM)Brad Winder Wrote: Yeah...the 1937-38 chassis aren't the easiest to work on...
Very true, but if you break it down and take your time, it’s not too bad. I had my sub chassis out for a week. I would do a bit and then take a break. Too easy to break something.
As for the rust, I had that issue too, everywhere, Since I had it apart, I decided to paint it. A good cleaning, rust neutralizer, and paint/primer, and it looked good. Rustoleum metallic Satin Nickle was my choice. Obviously I was not planning on ever taking it apart again.
Tony
“People may not remember how fast you did a job, but they will remember how well you did it”
Users browsing this thread:
|
|
Recent Posts
|
|
Electrolytic restuffing/internals
|
| I just taped the two pieces of the cap together, but I can see your method is better. I just held the lead in with solde...bridkarl — 08:18 PM |
|
Electrolytic restuffing/internals
|
| hello bridkarl,
Well done !
Here is a Photo of the base of Philco capacitor that I cut open you can see how I glued th...radiorich — 08:14 PM |
|
philco predicta
|
| Hi CGL18,
Here is a link for the schematic from the Early television Foundation:
WARNING!! One side of the Chassis i...MrFixr55 — 08:09 PM |
|
The list of my radio & TV collection!
|
| Peter;
I like Canadian General Electric sets, whilst the model numbers are often the same as their U.S General Electr...Arran — 05:44 PM |
|
Electrolytic restuffing/internals
|
|
Did as suggested. Cut can with hacksaw, removed internals, attached new 8mf cap - with ample use of cardboard and elec...bridkarl — 03:36 PM |
|
The list of my radio & TV collection!
|
| For fans of antique radio...
My new video...
How to test radio tubes on a Hickok 530B tube tester?
Test radio tubes o...RadioSvit — 01:25 PM |
|
philcorepairbench.com - shadow-meter
|
| Thank you
Billpoulsbobill — 11:53 AM |
|
philcorepairbench.com - shadow-meter
|
| Hi, Try here
Philco Service Hints & Tips, Number 1
It's from the web archive (Way Back Machine).Keith — 10:17 AM |
|
PT-6 finished!!
|
| Hi Arran,
Yes, you are correct, the "nominal" voltage for these Loctal tubes was the same 6.3 or 12.6 V as...MrFixr55 — 07:48 AM |
|
PT-6 finished!!
|
| Actually the Loctal tube series, with number beginning with "14" are 12.6 volt tubes, at 150 ma, I'm not sure ...Arran — 02:14 AM |
|
Who's Online
|
There are currently 1072 online users. [Complete List]
» 4 Member(s) | 1068 Guest(s)
|
|
|

|
 
|


![[-] [-]](https://philcoradio.com/phorum/images/bootbb/collapse.png)


