Posts: 2,037
Threads: 367
Joined: Jun 2010
City: Dover, OH
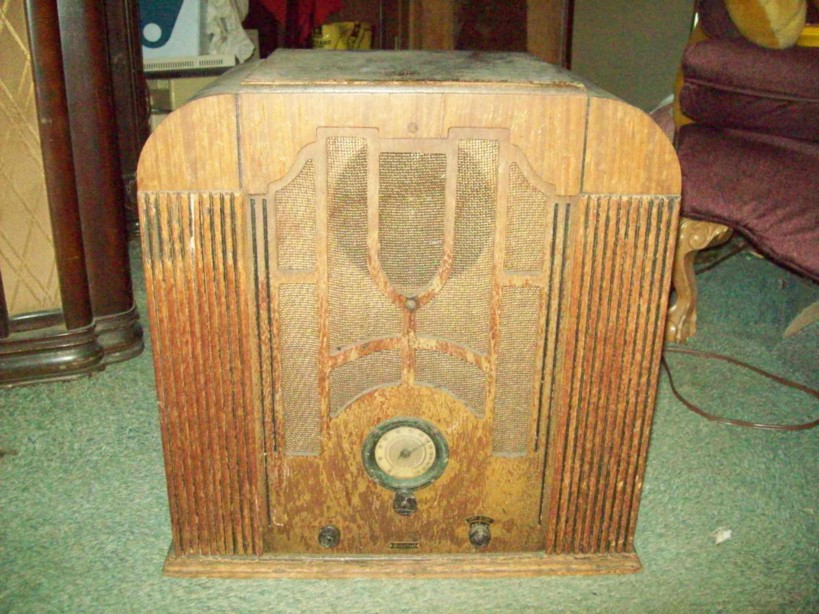
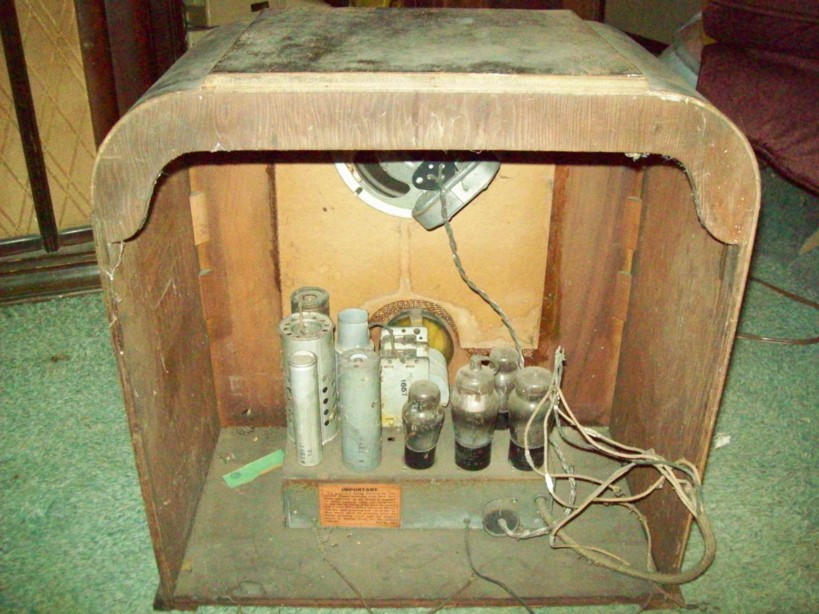
This radio was only a quarter of a mile away from me and I had been told about it by my elderly neighbor while I was still in high school. He was well into his 80's when he passed away in 1996 and his wife just passed away in 2010. These two were like a second set of grandparents to me when I was young and now the four kids have finally put the old farm up for sale and they stumbled on this radio still sitting forgotten in a corner of the attic. It's a Sentinel 6241 battery set and although a bit rough, it is all there and I was offered first dibs on it. With the current attitude towards old houses in my area, this might end up being the only physical reminder left of my neighbor and his wife after the sale ends. House is still nice, but people around here will either tear it down or the Amish will buy the property for hunting and let it rot down.


No matter where you go, there you are.
Posts: 2,128
Threads: 18
Joined: Oct 2008
City: Merrick, Long Island, NY
Well, don't know what the question is, but if you can get it for nothing and want to restore it, might be a good winter project.
Posts: 4,902
Threads: 54
Joined: Sep 2008
City: Sandwick, BC, CA
A five tube battery set, the sixth is a ballast so you can run the filaments from a wet cell or an Eveready Air cell. In spite of how it looks it may even decide to play if you applied power to it. I found the circuit diagram on Nostalgia Air:
http://www.nostalgiaair.org/PagesByModel...018248.pdf
It takes 67-1/2 volts and 135 volts for B+, -16-1/2 volts negative for C- (this is quite a bit most are only -4.5 volts) and the tubes use 2 volts for the filaments if you bypass the ballast.
Regards
Arran
Posts: 2,037
Threads: 367
Joined: Jun 2010
City: Dover, OH
Thanks Arran. I already had the radio when I posted the pictures. I figured I wanted something from my neighbor's old place and it was better than it going into the trash or being burned in a trash pile. (Don't ask, I'll post that story sometime in the future.)
No matter where you go, there you are.


![[-] [-]](https://philcoradio.com/phorum/images/bootbb/collapse.png)


