



10-21-2012, 03:54 PM
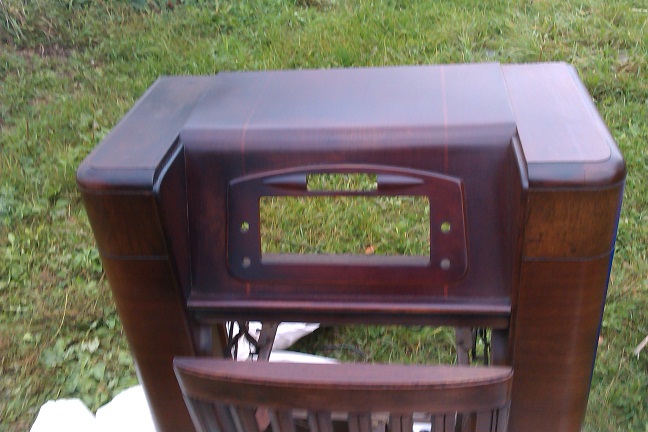
I had issues with the toner, so I ended up using the dark toner to cover up issues (fighting against time, weather getting colder, etc)
I still needed the cabinet to be in OK shape for winter, and the chassis back in the radio to prevent undesired damage, so I figured wrong coloration was better than nothing.
Being that I had spakle issues followed by mispatched corrections and then blushing, I think it turned out OK:
This week I received my new (corrected) decals. I figured I have enough to give it a try (Radio Daze makes very good decals, I recommend, easy to work with) without fear of not having what I need when I do re-refinish the cabinet.
The radio deally looks better with its company identification...
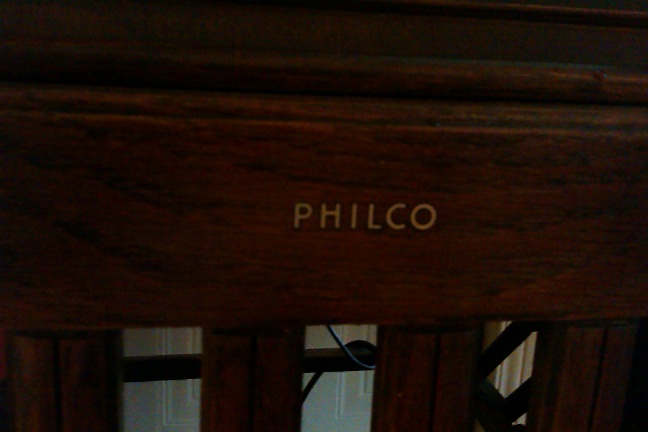
I was tempted to use the knob identification decals as well (they have two of each of them) but I figure if I make it too good, I won't have any incentives to re-refinish it in spring.
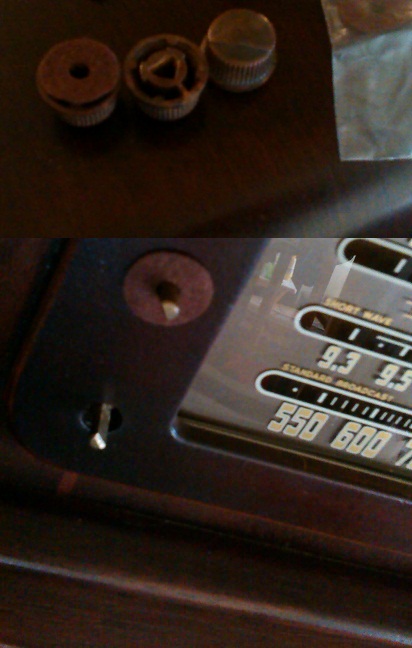
When I purchased the caps, I also got circular felt thingy that I wanted to put between knobs and console to reduce possible rubbing - the radio had its share of rubbing near the knob holes and I figure felt would reduce that. It works and you can't see it
Oddly enough, since I reassembled everything, AM and SW doesn't catch anything else than whitenoise. FM works great.
I guess I need to finish the recap of that AM section some day... lol.
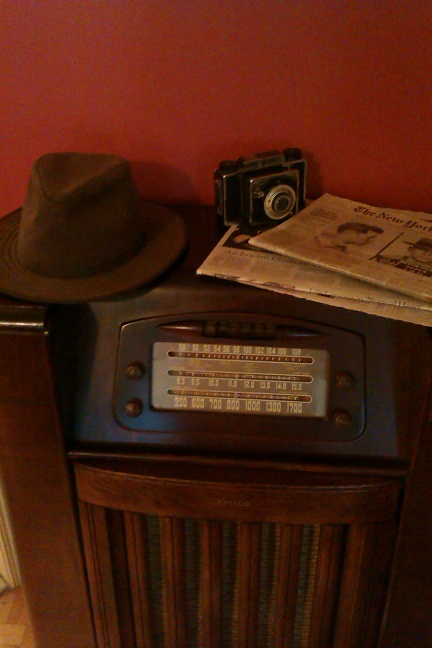
The radio is finally back to its premium place near the library and dining room, and looks way better than before I refinished the cabinet, despite not being like I wanted.
I still needed the cabinet to be in OK shape for winter, and the chassis back in the radio to prevent undesired damage, so I figured wrong coloration was better than nothing.
Being that I had spakle issues followed by mispatched corrections and then blushing, I think it turned out OK:
This week I received my new (corrected) decals. I figured I have enough to give it a try (Radio Daze makes very good decals, I recommend, easy to work with) without fear of not having what I need when I do re-refinish the cabinet.
The radio deally looks better with its company identification...
I was tempted to use the knob identification decals as well (they have two of each of them) but I figure if I make it too good, I won't have any incentives to re-refinish it in spring.
When I purchased the caps, I also got circular felt thingy that I wanted to put between knobs and console to reduce possible rubbing - the radio had its share of rubbing near the knob holes and I figure felt would reduce that. It works and you can't see it
Oddly enough, since I reassembled everything, AM and SW doesn't catch anything else than whitenoise. FM works great.
I guess I need to finish the recap of that AM section some day... lol.
The radio is finally back to its premium place near the library and dining room, and looks way better than before I refinished the cabinet, despite not being like I wanted.
-Mars





