Philco PT-49 - Repro Photofinish
Posts: 1,909
Threads: 216
Joined: May 2015
City: Seattle
State, Province, Country: WA
I really like this odd little guy - PT-49 from 1941 (June 1940).
The Paragon
As an example of these sets, here is a photo taken by Carl Gelormini of one in great condition (apparently original finish). This is not my radio.  [Image: https://farm5.staticflickr.com/4133/3483...50e9_k.jpg ]
The Patient
I picked this guy up on eBay. It's in...kind of rough shape:
[Image: https://farm5.staticflickr.com/4287/3483...7485_b.jpg]
And a bit clearer pic of the cabinet once I received it:
[Image: https://farm5.staticflickr.com/4065/3563...c72b_k.jpg]
Posts: 1,909
Threads: 216
Joined: May 2015
City: Seattle
State, Province, Country: WA
This cabinet of this set is interesting from a restoration perspective because of the photofinish zebrawood trim. It was obviously beyond saving.
For a while I've been wanting to try making reproduction photofinish using inkjet printable decal paper. Most decal paper results in transparent decals - which won't work here. There are however a few suppliers of of white decal paper and I wanted to find out if it would make a decent quality reproduction.
To get started I traced the shape of the zebrawood trim and scanned it in. I then found a high-resolution photo of zebrawood online and created new zebrawood photofinish from it in Photoshop.
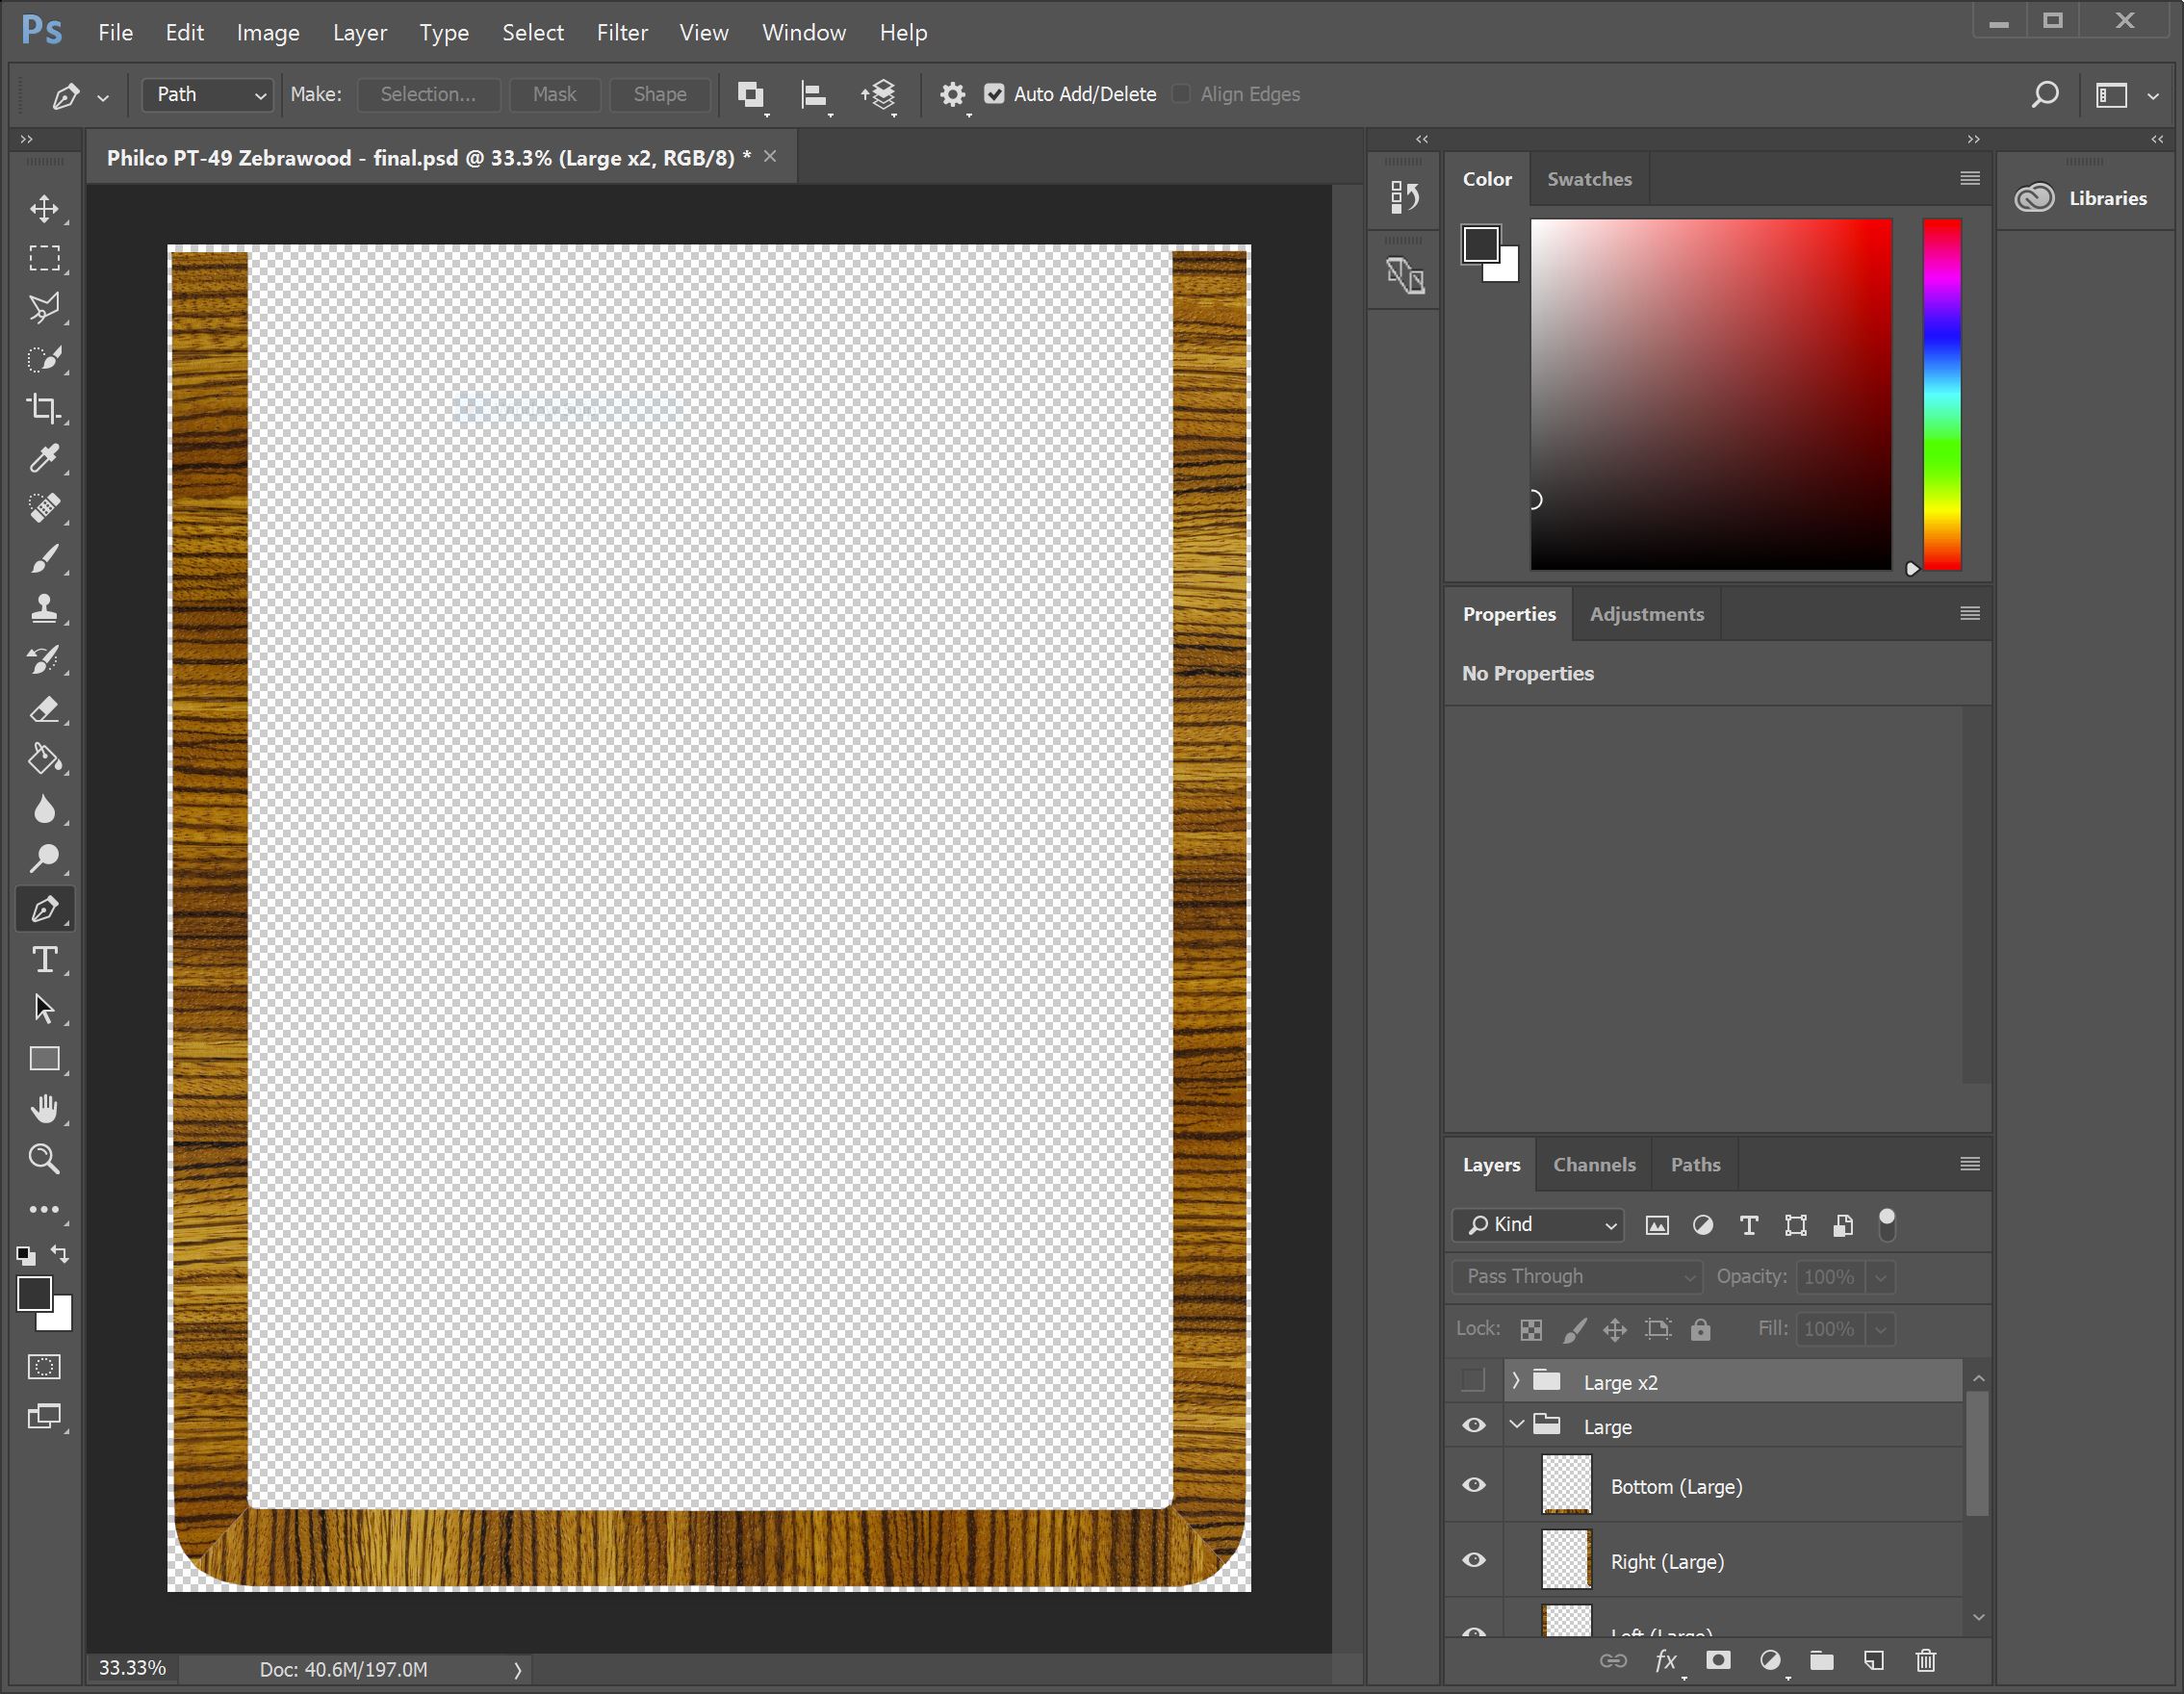
I wanted to print the decals in a few pieces as possible - preferably in three pieces like the original. The left and right side photofinish sections are ~14" long - so I ordered tabloid size (11" x 17") white decal paper from world-paper.com: http://www.world-paper.com/product-p/waterslide004.htm
(I have an Epson XP-960 printer that I bought for printing out schematics blown up to 11" x 17" - perfect for this job too.)
[Image: https://farm5.staticflickr.com/4261/3550...c1bd_k.jpg]
A PDF of the zebrawood trim for printing can be downloaded from the Downloads list in the Gallery under the PT-49.
Posts: 4,108
Threads: 310
Joined: Nov 2013
City: Kings Park NY
Time to print up some photofinish!
YOur cabinet is better... No curve cracks..
I like it a lot though...

Times I have been electrocuted in 2021
As of 1/01/2021
AC: 4 DC: 1
Last year: 6
Posts: 1,909
Threads: 216
Joined: May 2015
City: Seattle
State, Province, Country: WA
Posts: 1,909
Threads: 216
Joined: May 2015
City: Seattle
State, Province, Country: WA
Now we get to the most interesting part - applying the decals!
After printing the decals on the decal paper they must be 'fixed' to the paper so that they won't bleed off when soaked in water. I sprayed two coats of Papilio decal fixative and let it dry overnight.
Next day I cut the decals out. Of course because the decals are white it is critical that they be trimmed down past the white background. But not too much. This was the hardest part - getting the sizing right.
[Image: https://farm5.staticflickr.com/4240/3567...7768_k.jpg]
[Image: https://farm5.staticflickr.com/4208/3554...b595_k.jpg]
Here is the cabinet with the zebrawood decals applied:
[Image: https://farm5.staticflickr.com/4035/3554...523f_k.jpg]
Not too bad... but not quite right either. Too much contrast with the other wood.
Posts: 2,579
Threads: 338
Joined: Jun 2013
City: lawrenceville nj
looking good Nathan  
needs to be a little darker ?
sam
Some day, and that day may never come, I will call upon you to do a service for me. But until that day, accept this justice as a gift
mafiamen2
Posts: 1,909
Threads: 216
Joined: May 2015
City: Seattle
State, Province, Country: WA
I know! Toning lacquer! 
I decided that to blend it in better I would apply some Medium brown toning lacquer (ultra classic) to the trim since I had already toned the cabinet. If I were to do this particular photofinish again I might try applying it before toning to avoid the extra mask step.
[Image: https://farm5.staticflickr.com/4053/3483...0d74_k.jpg]
Yes.... much better!
I let the decal dry for a day and then applied several coats of clear lacquer. I felt it was important to do this as soon as possible in order to keep the decal edges adhered to the the radio.
Posts: 1,909
Threads: 216
Joined: May 2015
City: Seattle
State, Province, Country: WA
And here it is all back together (temporarily - I still need to rub out the finish after the lacquer cures).
[Image: https://farm5.staticflickr.com/4264/3486...bc2c_k.jpg]
I'm pretty happy with how it turned out. The zebrawood pattern (and color) isn't identical to the original - but to my eyes it's pretty good.
Next up I'd like to try reproducing the photofinish on a 54S.
Posts: 5
Threads: 0
Joined: Jan 2017
City: Johnstown, Ohio
You had me when I saw the zebra wood printed out. What a great job! Did you get a new dial cover or did you polish the original with something. If you did what did you use.
Regards,
Don
Posts: 1,909
Threads: 216
Joined: May 2015
City: Seattle
State, Province, Country: WA
Thanks Don!
I reused the dial cover. I polished it with Metal Armor polish - I think I have just the regular metal polish version.
Posts: 2,579
Threads: 338
Joined: Jun 2013
City: lawrenceville nj
Nathan
now that Is sharp looking
great job
sam
Some day, and that day may never come, I will call upon you to do a service for me. But until that day, accept this justice as a gift
mafiamen2
Posts: 1,909
Threads: 216
Joined: May 2015
City: Seattle
State, Province, Country: WA
Thanks Sam!
Posts: 13,776
Threads: 580
Joined: Sep 2005
City: Ferdinand
State, Province, Country: Indiana
--
Ron Ramirez
Ferdinand IN
Posts: 1,519
Threads: 69
Joined: Nov 2012
City: Kansas city, MO.
Beautiful job Nathan.
Posts: 599
Threads: 24
Joined: Jan 2014
City: Edmonton AB CA
Stellar job Nathan! Big thumbs up.
Gregb
Users browsing this thread: 1 Guest(s)
|
|
Recent Posts
|
|
54C Complete Teardown/Rebuild
|
| The main problem with adding a Bluetooth input is that this set lacks a traditional power transformer to isolate it from...radiorich — 11:19 PM |
|
54C Cabinet Refinish
|
|
I started stripping this cabinet before it got super chilly out because I knew I wasn't going to be able to work on ...glyphmon — 11:18 PM |
|
54C Complete Teardown/Rebuild
|
| While I'm waiting to wrap up the final steps on my wife's Silvertone 2014, I started disassembly on the next project. O...glyphmon — 11:07 PM |
|
Preliminary work on wife's Silvertone 2014
|
| Hello roy,
that great news glad it worked out for you !!
Sincerely Richardradiorich — 10:50 PM |
|
Preliminary work on wife's Silvertone 2014
|
| Safety caps arrived today. Soldered one in and had a successful first power-up. No magic smoke escaped and it tunes in...glyphmon — 09:53 PM |
|
HiFi (Chifi) tube amp build - but my own design.
|
| Tim, you refer to “AK”. Is that Alaska or Atwater-Kent, or… JoeJoe Rossi — 11:49 AM |
|
Grundig 5088
|
| Skip,
you are back to this one?
As for fixing, Mark Oppat fixes vol. controls. Don't know about Grunding, but woul...morzh — 10:30 AM |
|
Stromberg Carlson 1500 Squeal
|
| I volunteer for a monthly Fixit Clinic in my county. All the fixers tell anyone who brings in a Keurig that it will prob...RodB — 10:24 AM |
|
Stromberg Carlson 1500 Squeal
|
| It's funny, a tale of 2 Keurigs. Friend's mom, an immigrant from Central America who had to leave school at the age of ...MrFixr55 — 09:01 AM |
|
Stromberg Carlson 1500 Squeal
|
| My biggest offender is our Keurig coffee maker. I make sure to keep it unplugged as it is still keeping the water warm w...dconant — 08:45 AM |
|
Who's Online
|
There are currently 1835 online users. [Complete List]
» 1 Member(s) | 1834 Guest(s)
|
|
|

|
 
|







