Restuffing a thin long cap.
Posts: 18,427
Threads: 622
Joined: Oct 2011
City: Jackson
State, Province, Country: NJ
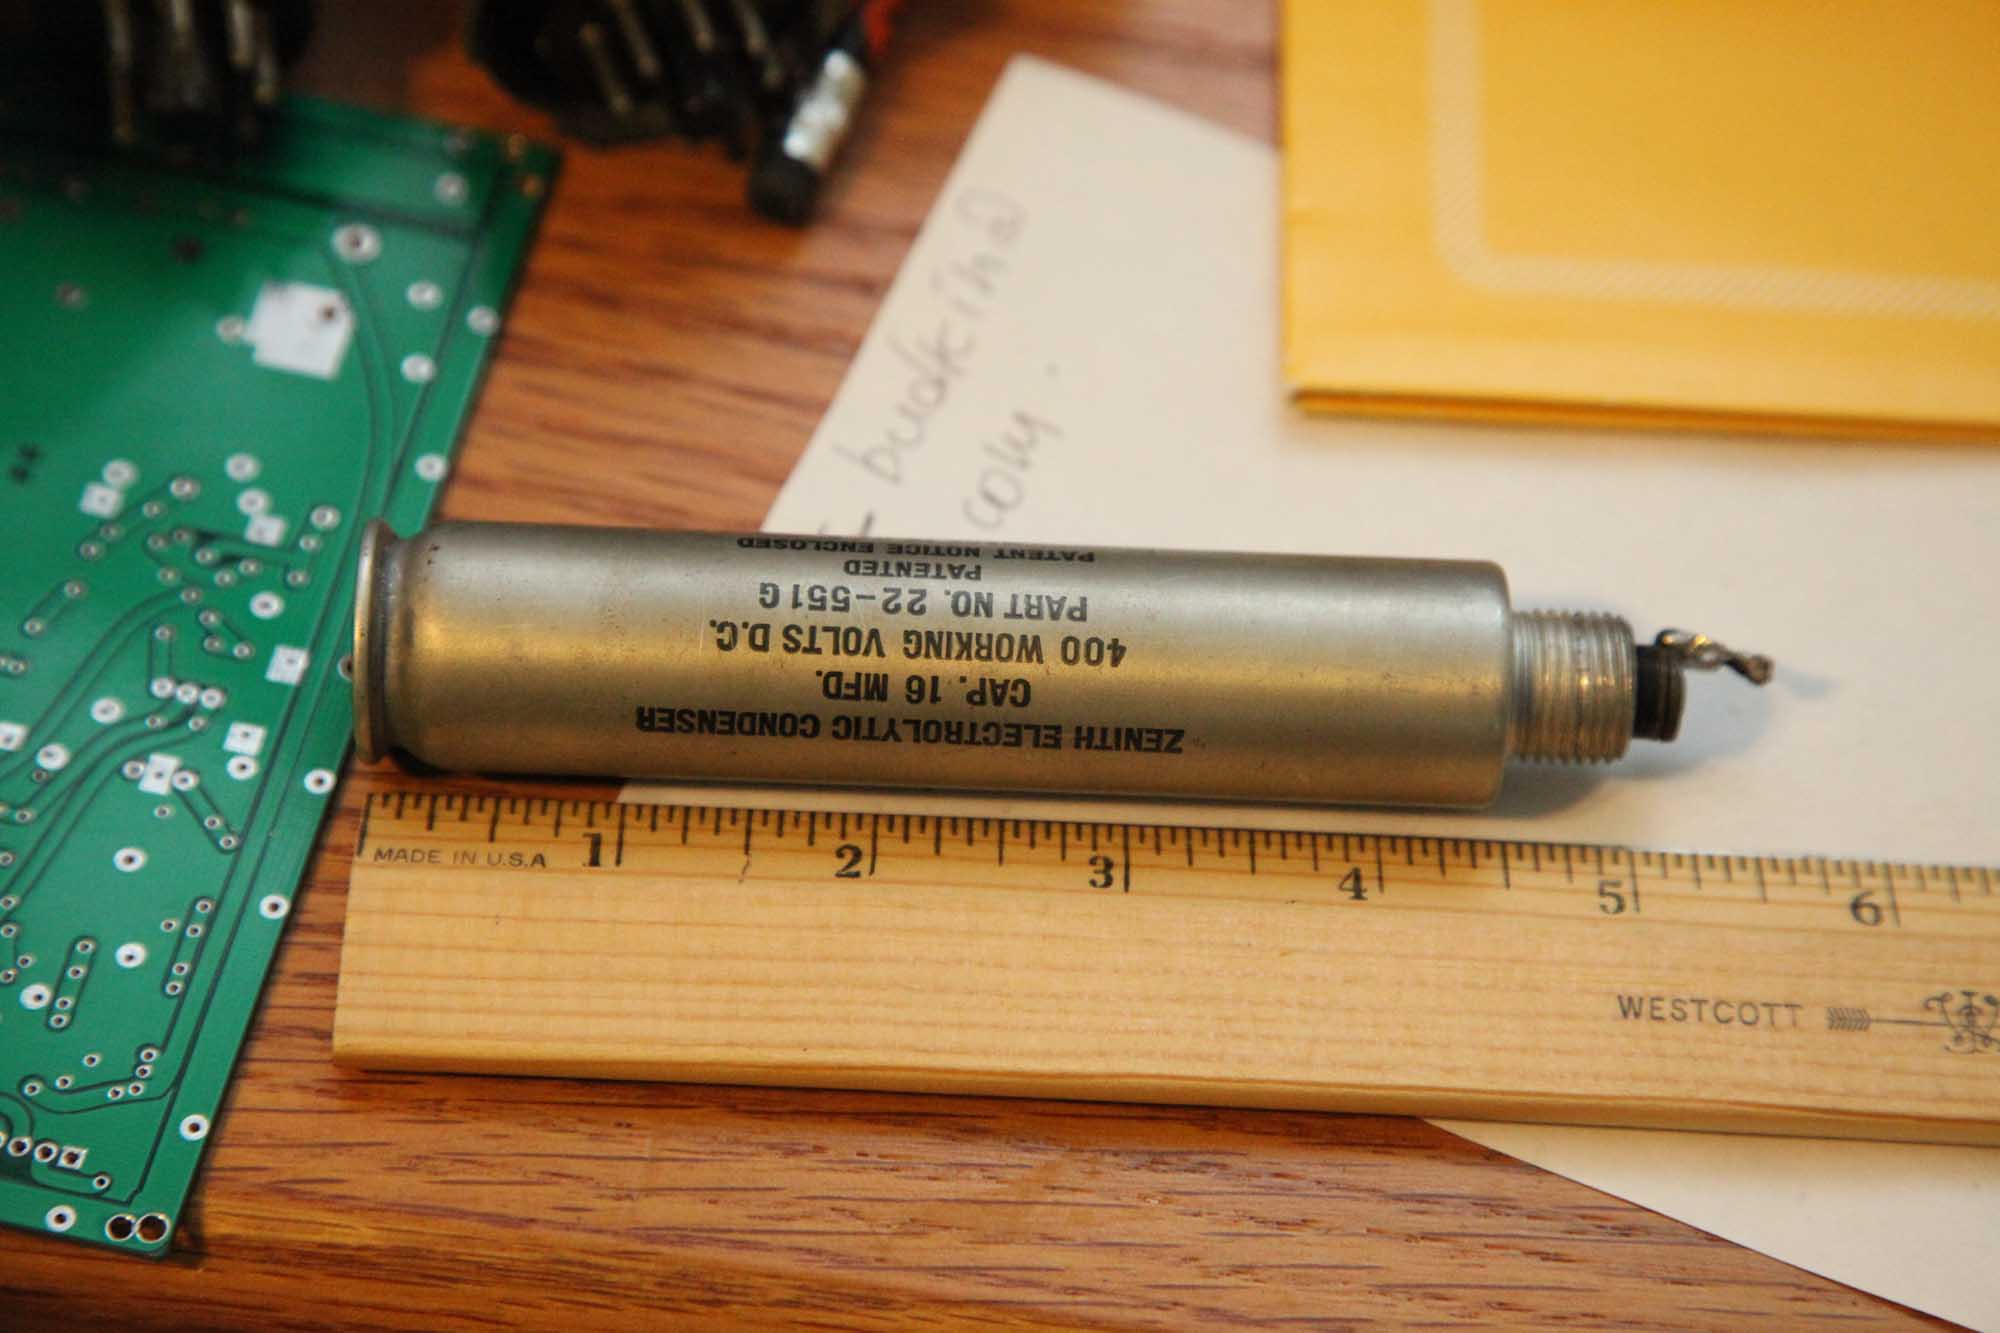
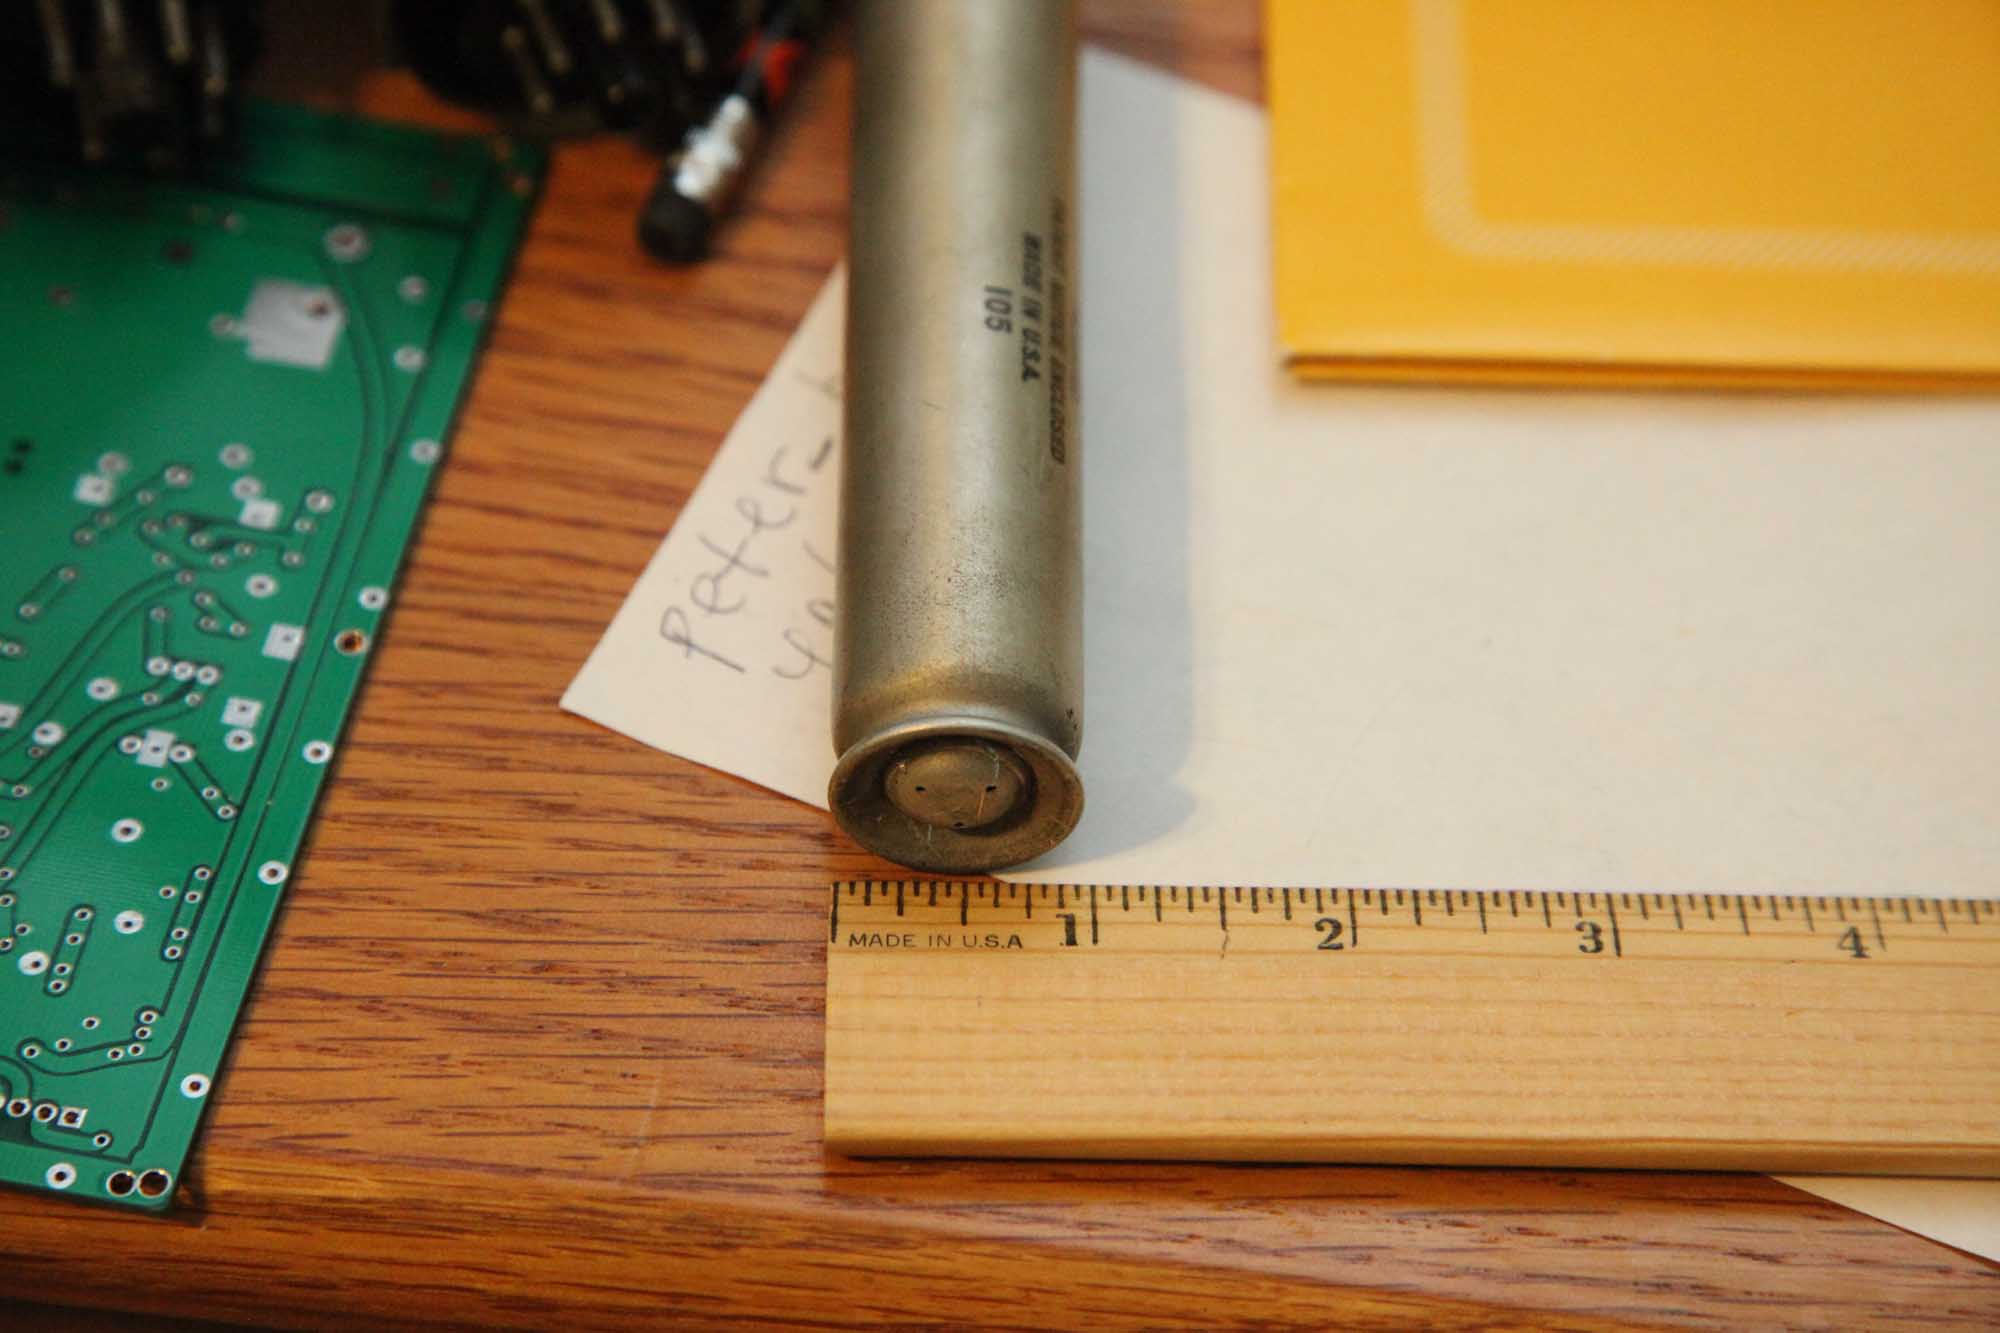
I have a Zenith electrolytic that is totally dried up (says 16uF 400V, measures at 1nF and is suspiciously lightweight), and that is very slim and long (under 1" diam. and 5.5" long).
I want to restuff it but not sure where best to cut it. I want it to look undamaged when it's done, but if I cut the top, I simply won't reach to the bottom. Too long and narrow. If I cut the bottom, it will look like you know what.
Anyone has experience dealing with those?
I had no problem with those that were twice as wide, but this one's a challenge.
PS. How do I connect the Negative wire to the aluminum body? (soldering won't work on aluminum.)
Posts: 2,128
Threads: 18
Joined: Oct 2008
City: Merrick, Long Island, NY
Don't seem to be problem replacing a modern 22 mf/450 VDC electrolytic in it's place. Just observe polarity. Forget about stuffing old one unless you are working in a museaum. Negative almost certainly would be "body" but trust the schematic and original connections.
Posts: 18,427
Threads: 622
Joined: Oct 2011
City: Jackson
State, Province, Country: NJ
Codefox,
Well, I know that, about polarity and such.
I really want this cap in this radio, and this is the sole purpose of this post.
Here is the cap.
Posts: 3,231
Threads: 59
Joined: Apr 2011
City: Lexington, KY
I would first try going in from the top. Using some small long needle-nose pliers and hemostats you should be able to gut the thing and slip in the new cap and fish the leads out the bottom.
If you can't do it from the top I think if you make a thin/clean cut close to the bottom it will not look that bad when reassembled. You can find or fashion a small tube to slip both the top and bottom over and glue/epoxy them together.
I would insulate both leads and run them out the bottom and then connect the applicable one to ground under the chassis at a convenient location.
Worst case scenario would be to leave the old capacitor on the chassis and mount a new one underneath. That's the way an old repair shop would have handled it, and you could even stuff the new cap into an old axial electrolytic for a period correct looking repair. Just a couple of ideas for you to think over.
John KK4ZLF
Lexington, KY
"illegitimis non carborundum"
Posts: 18,427
Threads: 622
Joined: Oct 2011
City: Jackson
State, Province, Country: NJ
John,
Thanks, yes, the axial electrolytic is not a bad idea.....provided I can get me one of the old.
As for the two insulated wires out, you probably mean something like this?
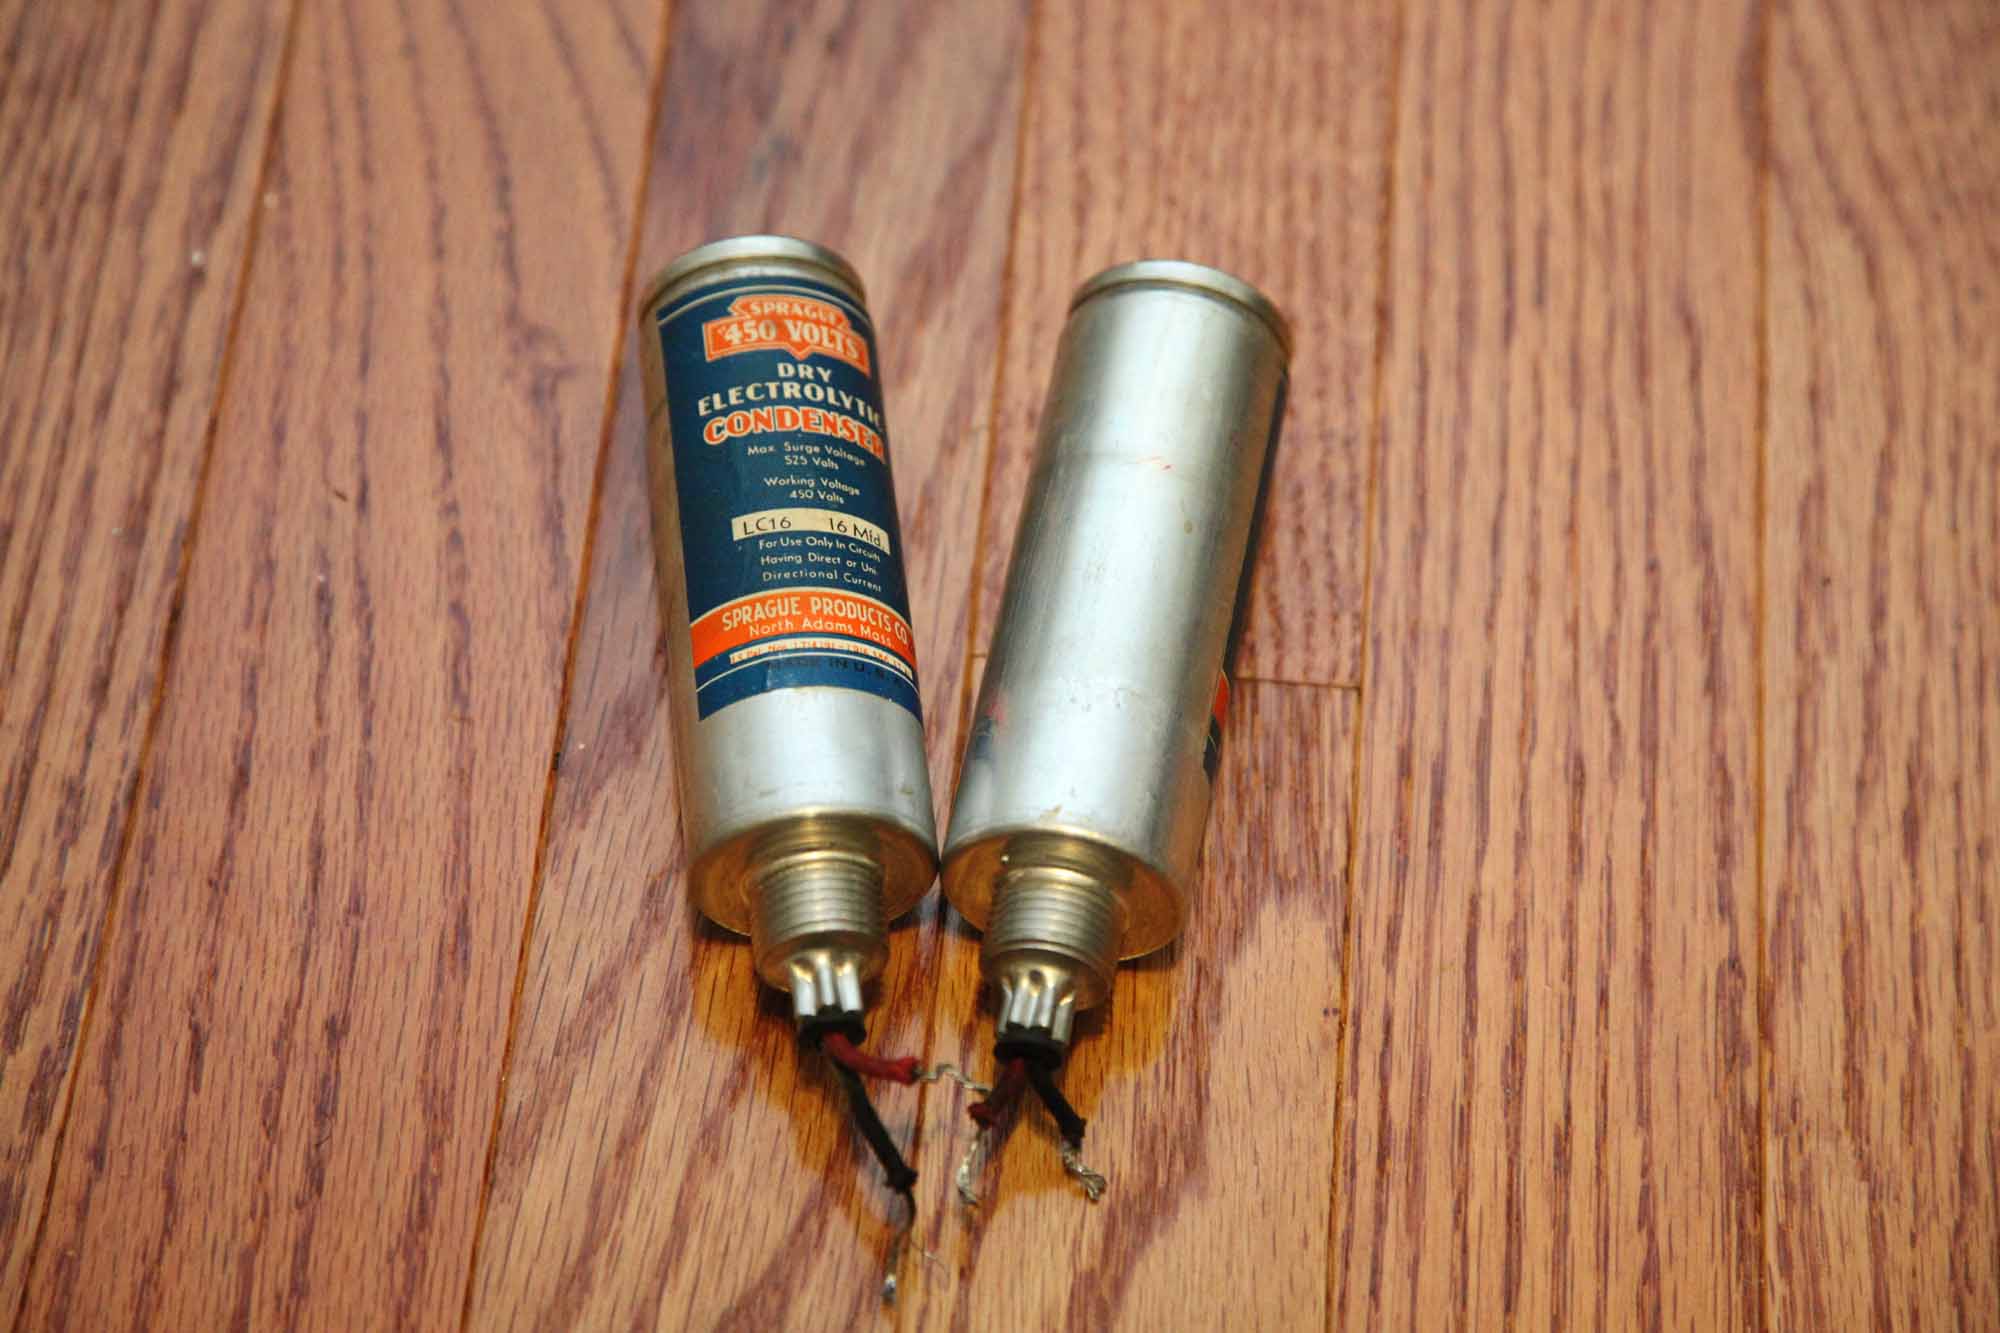
Those had insulated body and two wires and this is how i re-stuffed them; I can make this one look like it too.
Actually this is an even better idea, as the length precludes me from soldering to the center pin, but if I don't need it and am out to simply gut the cap and remove the center pin, it requires no finesse and can be done even with this length to width ratio.
Thanks, I think I know what I'll do.
It pays to discuss things.
Posts: 18,427
Threads: 622
Joined: Oct 2011
City: Jackson
State, Province, Country: NJ
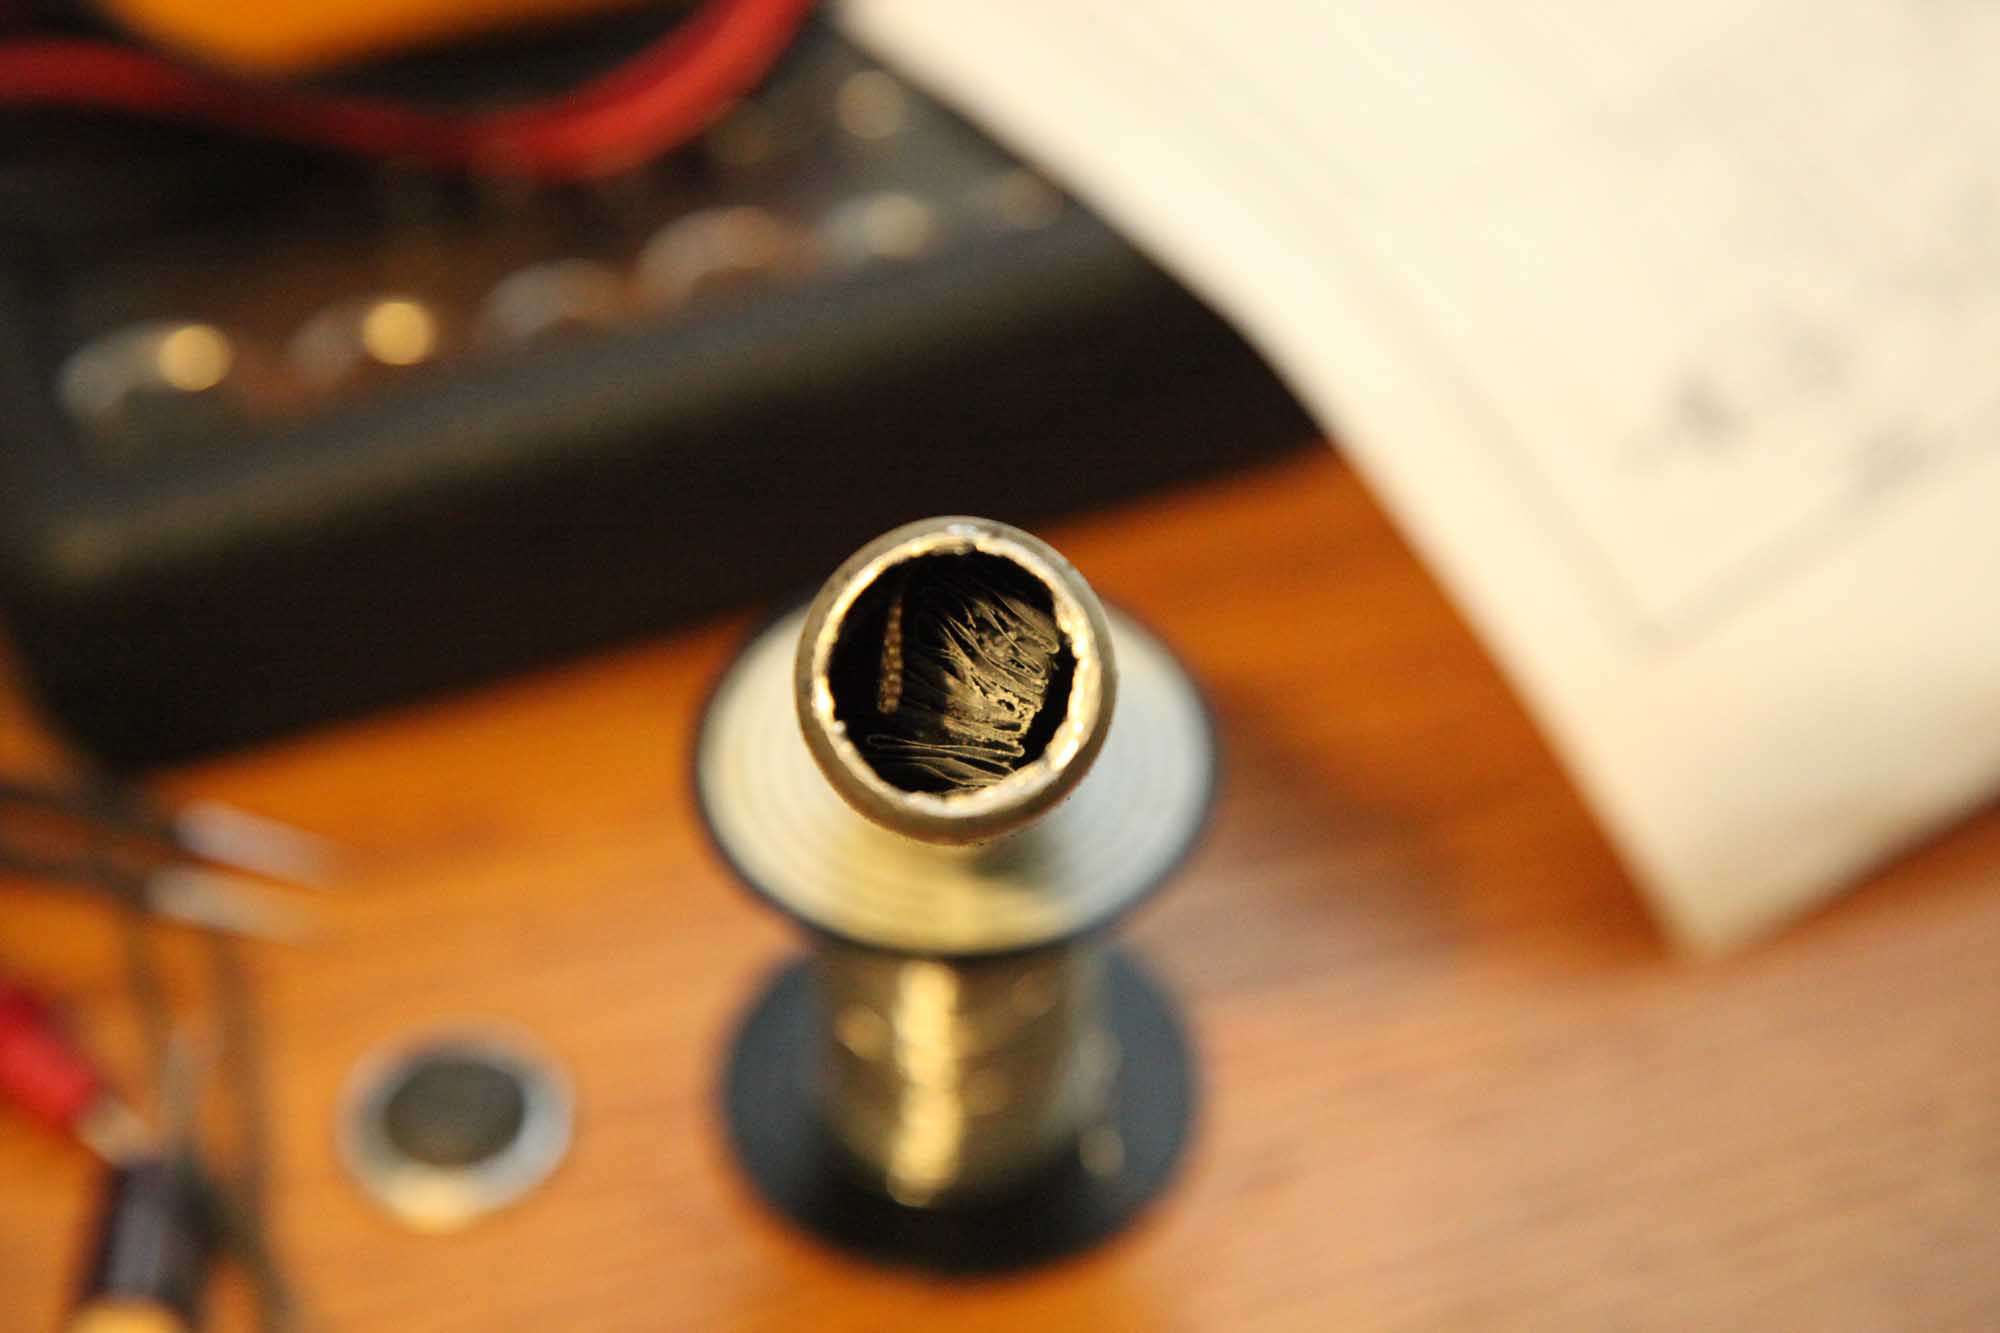
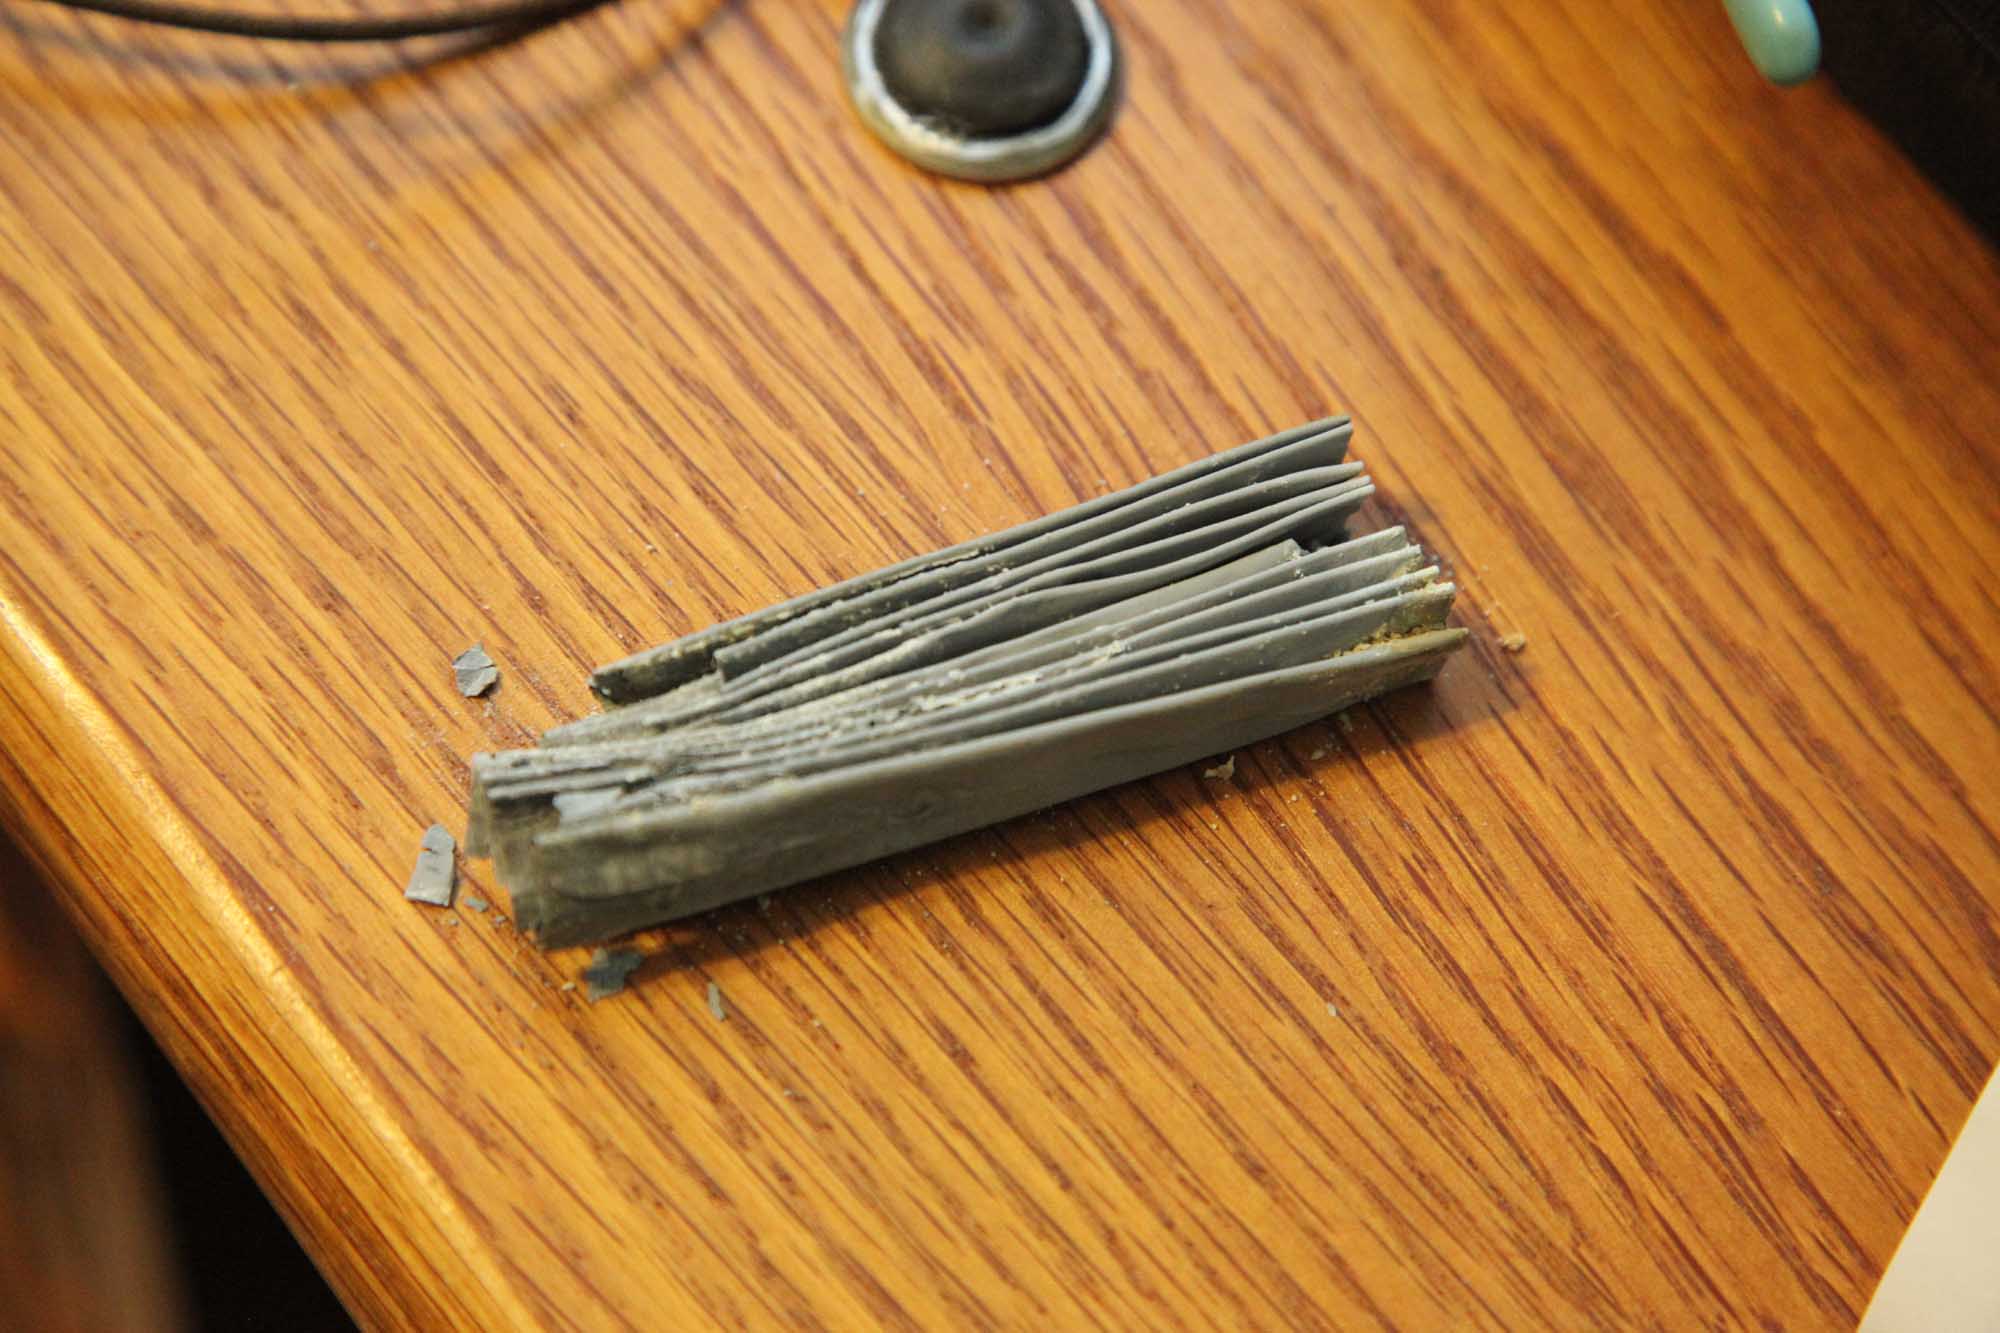
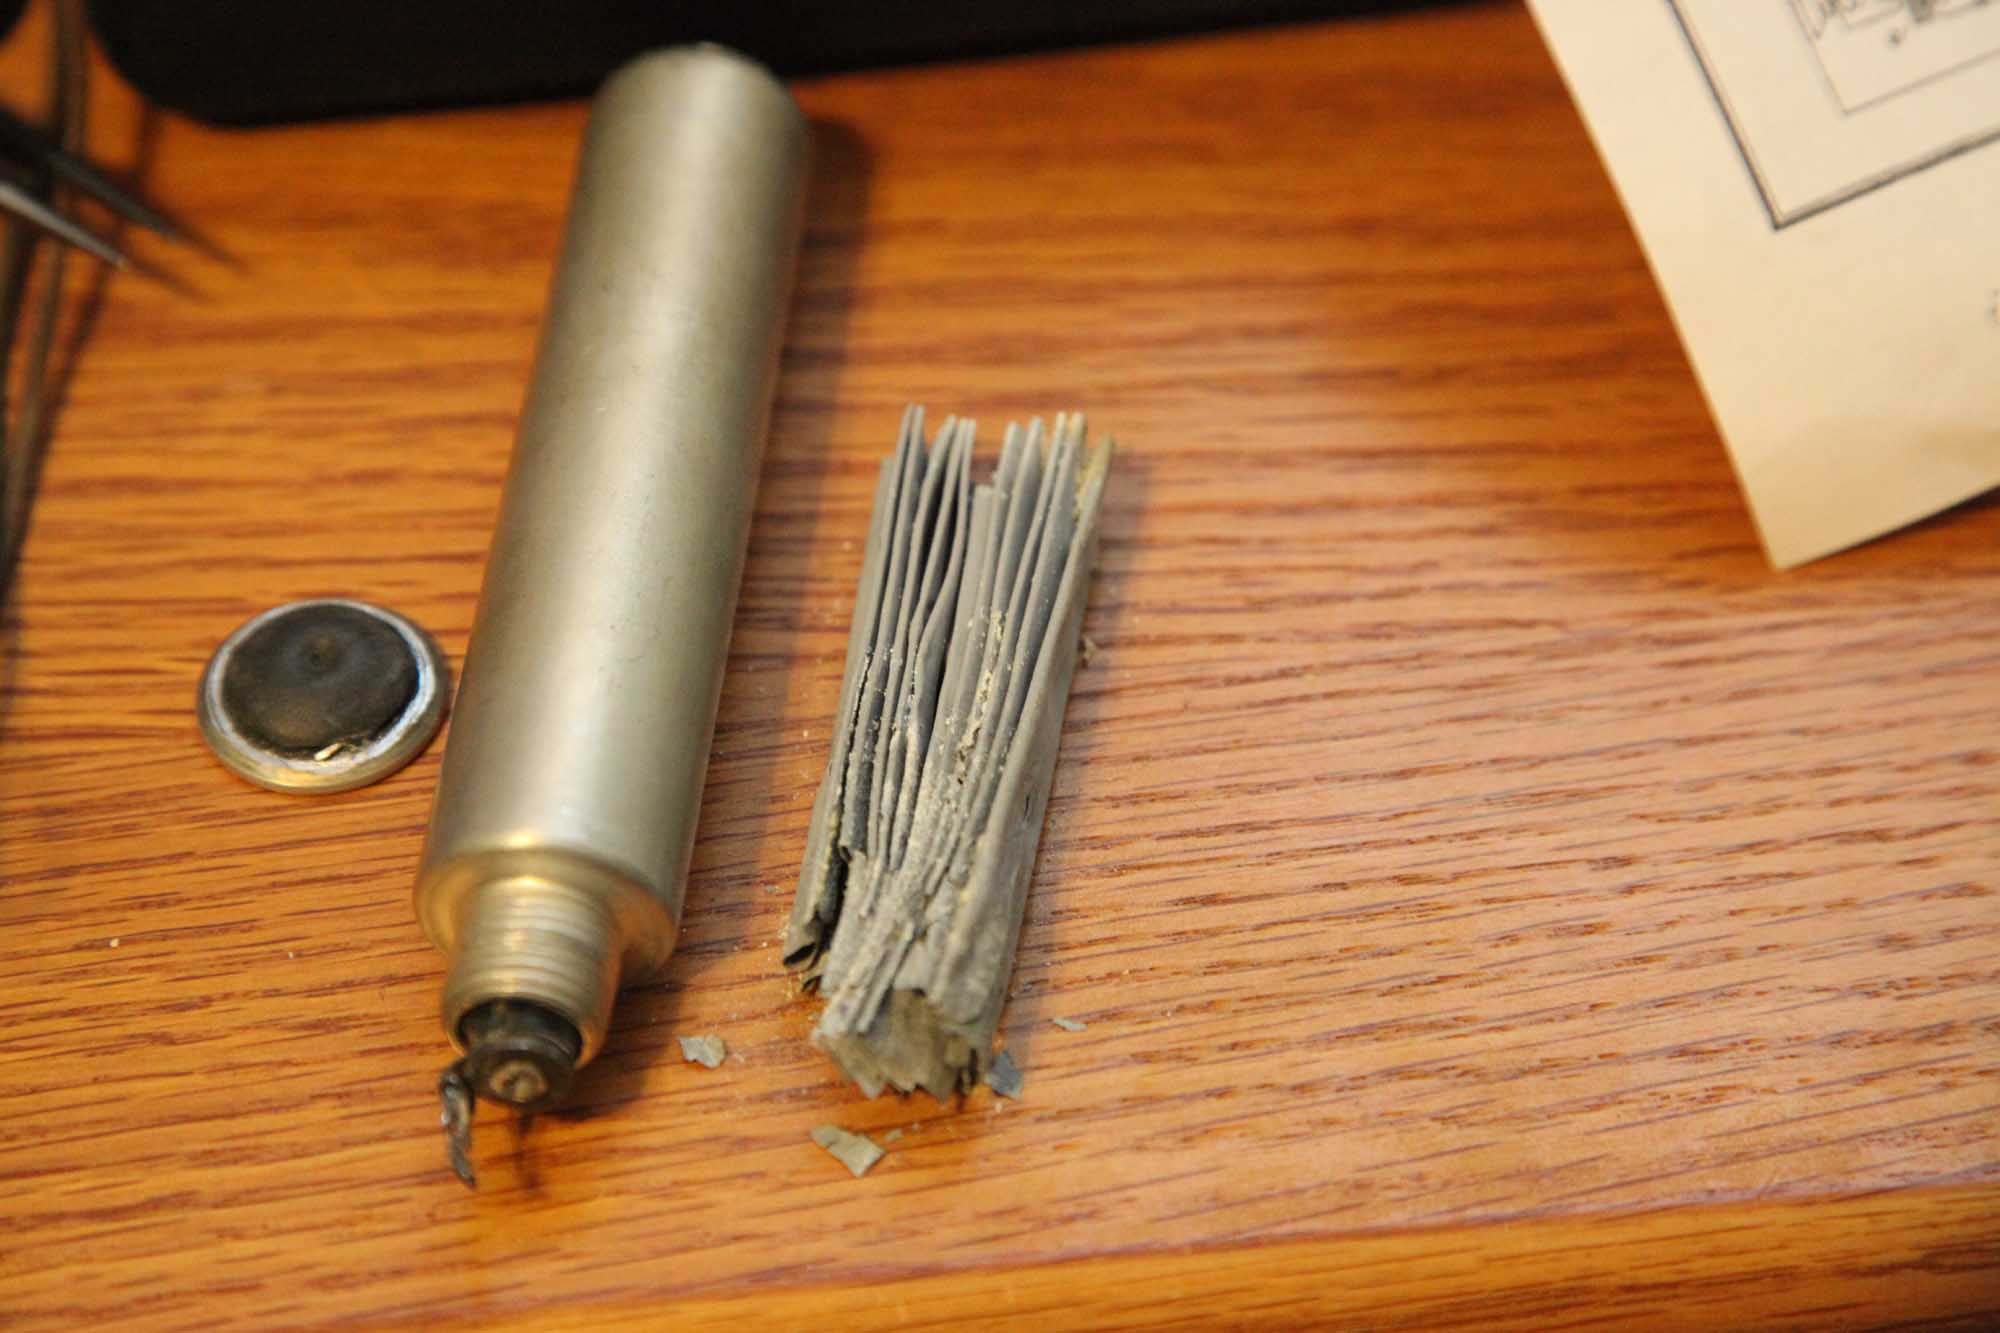
I will post photos either today or tomorrow: I cut off the top cap with my Dremel and the cutting disk, right at the groove, so it will look fine.
Insides were as dry as H**l on a hot day in June.
Taking them out did not pose any problems, and there was no tar or anything. It was dry dry.
The central rod is quite high and should it be solderable I'd have no problem soldering to it, but I think it is not, and it is attached to the solder contact with a rivet of some sort.
So as I planned, I will remove it and go with two wires.
I will wait 'till I finish, but so far it is not nearly as bad as I thought it would be.
Posts: 2,128
Threads: 18
Joined: Oct 2008
City: Merrick, Long Island, NY
Posts: 18,427
Threads: 622
Joined: Oct 2011
City: Jackson
State, Province, Country: NJ
Oh Me lave los manos, sin duda. Load of dust and who knows what else.
But then any opened electrolytic commands the same handwashing: wet or dry, it is all possibly very toxic if ingested.
PS>
Here, I made some pics.
Users browsing this thread: 1 Guest(s)
|
|
Recent Posts
|
|
54C Complete Teardown/Rebuild
|
| Hello Roy,
here is this one
sincerely Richardradiorich — 12:45 AM |
|
54C Complete Teardown/Rebuild
|
| Richard,
Had grabbed it already but thank you just the same. I find myself wanting to find some way to block out the...glyphmon — 12:03 AM |
|
54C Complete Teardown/Rebuild
|
| Hello roy,
here is a link to the schematic .
Sincerely Richardradiorich — 11:54 PM |
|
54C Complete Teardown/Rebuild
|
| Richard,
The Silvertone 2014 also is a transformerless set, so I am incorporating a 1:1 600 ohm audio isolation transfo...glyphmon — 11:37 PM |
|
Preliminary work on wife's Silvertone 2014
|
| Did an alignment today which was interesting. IF alignment went great, almost all was already spot-on. Adjusting on th...glyphmon — 11:35 PM |
|
54C Complete Teardown/Rebuild
|
| The main problem with adding a Bluetooth input is that this set lacks a traditional power transformer to isolate it from...radiorich — 11:19 PM |
|
54C Cabinet Refinish
|
|
I started stripping this cabinet before it got super chilly out because I knew I wasn't going to be able to work on ...glyphmon — 11:18 PM |
|
54C Complete Teardown/Rebuild
|
| While I'm waiting to wrap up the final steps on my wife's Silvertone 2014, I started disassembly on the next project. O...glyphmon — 11:07 PM |
|
Preliminary work on wife's Silvertone 2014
|
| Hello roy,
that great news glad it worked out for you !!
Sincerely Richardradiorich — 10:50 PM |
|
Preliminary work on wife's Silvertone 2014
|
| Safety caps arrived today. Soldered one in and had a successful first power-up. No magic smoke escaped and it tunes in...glyphmon — 09:53 PM |
|
Who's Online
|
There are currently 1624 online users. [Complete List]
» 1 Member(s) | 1623 Guest(s)
|
|
|

|
 
|