Posts: 15,304
Threads: 532
Joined: Oct 2011
City: Jackson, NJ
Just realized the tone control packet switch (the one on top) is broken. A cap came off of one of the tubes, and one was marked as "bad" by someone. I'm sure few more tubes are probably bad.
The gasket for inside the glass disintegrated, but a weatherstripping will probably do.
The lithium grease spray unlocked the tuning mechanism, no wonder thy call it a liquid wrench.
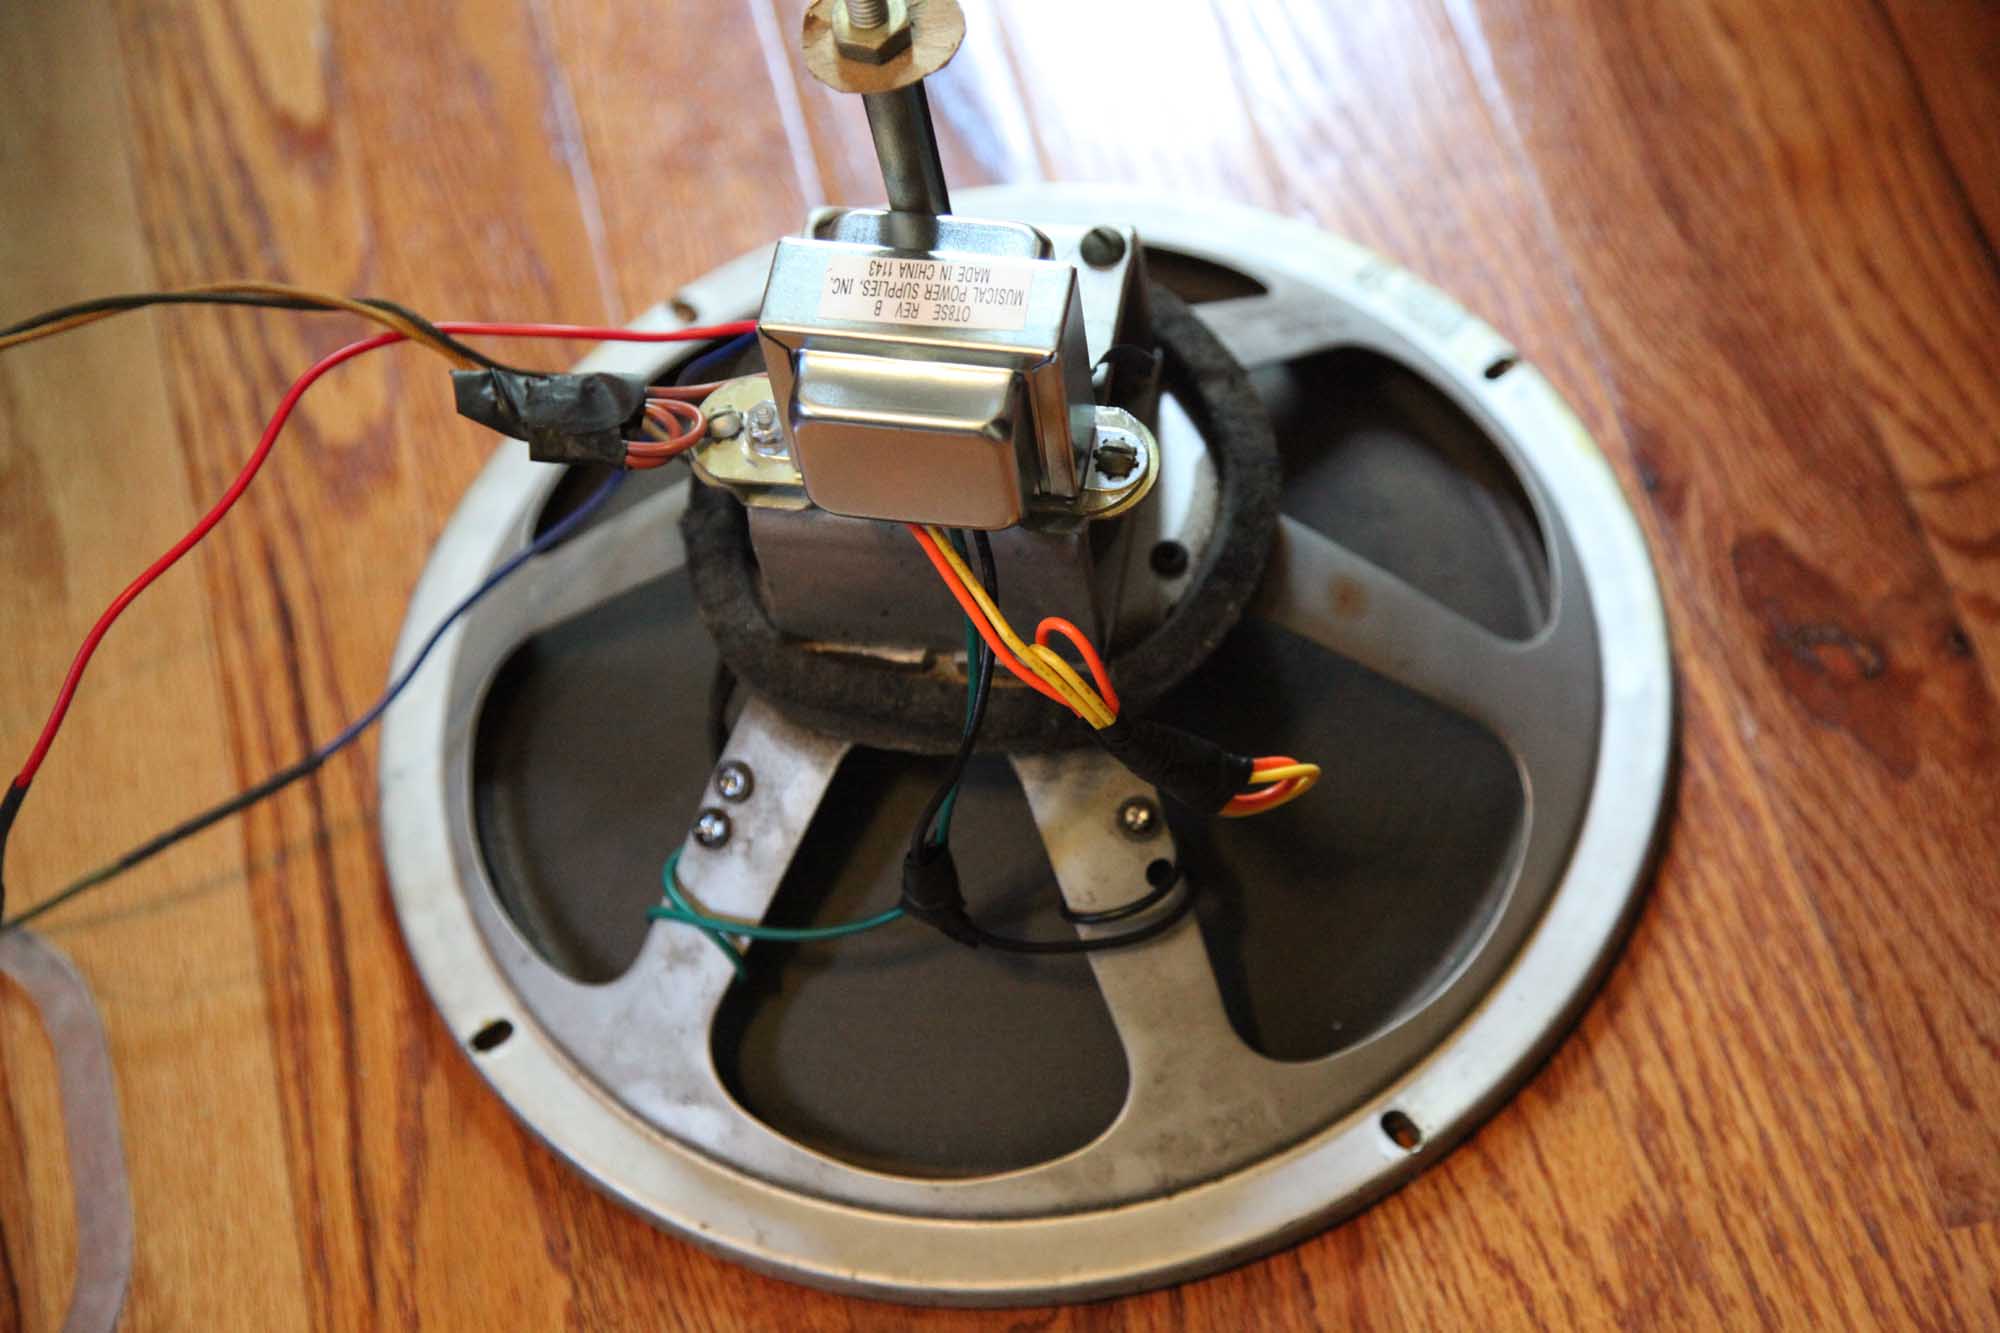
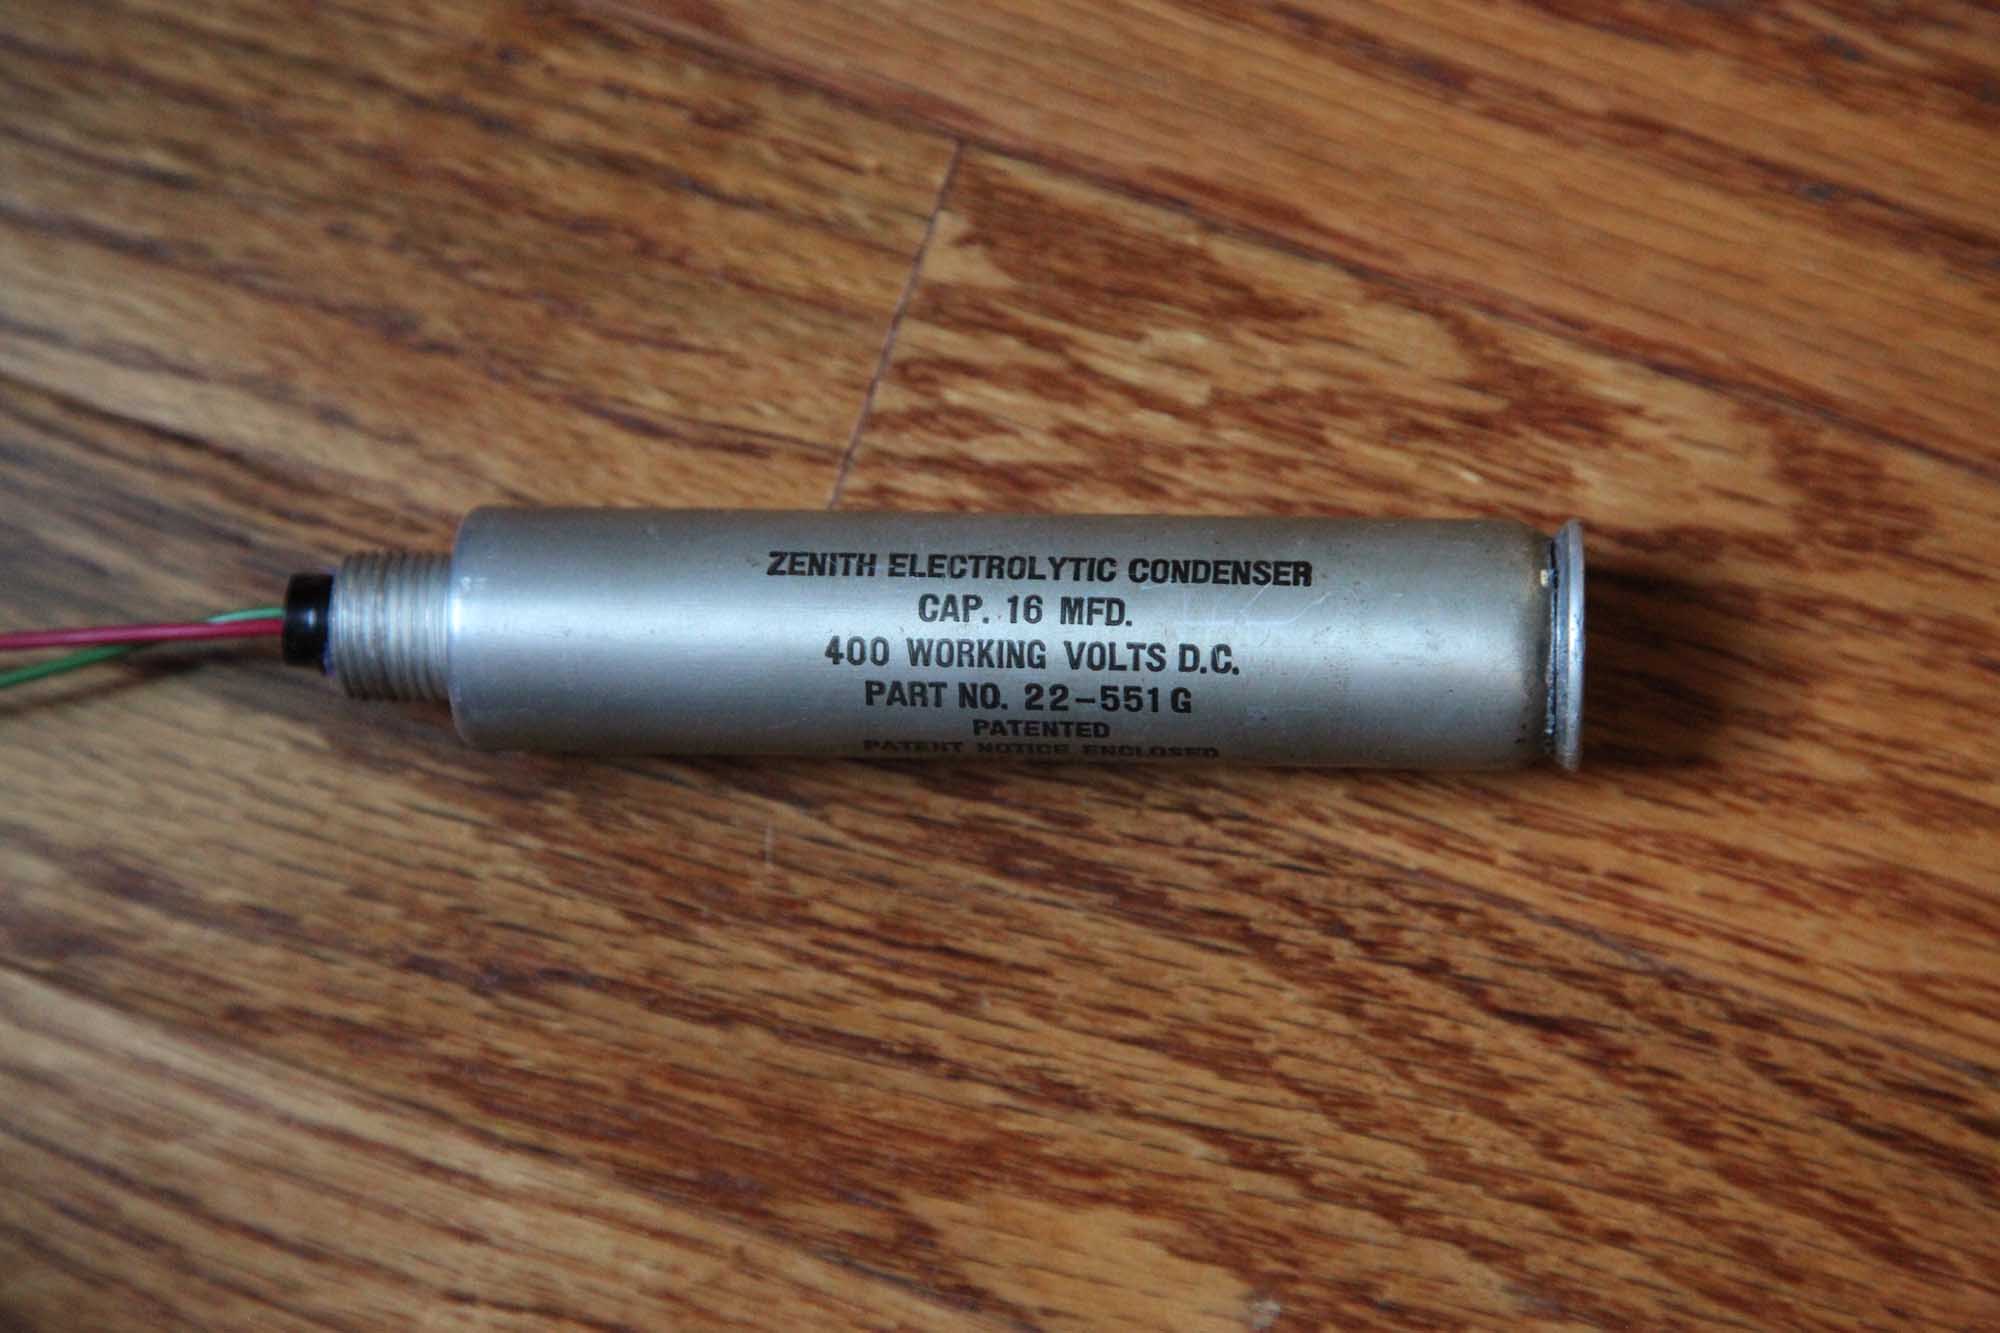
Installed the transformer onto the speaker and stuffed the cap - it looks nice and has whopping 11 Chinese microfarads inside it, rated at 700V.
Now, the radio can work without tone control, but at some point I will need to fix it.
(This post was last modified: 05-19-2012, 10:02 PM by morzh.)
Posts: 2,353
Threads: 92
Joined: May 2010
City: Clayton, NC
Even though you are working on "Darth Zeener" sets, I have enjoyed reading this thread. One thing I never am is too proud to learn from others.
With respect to transformers and pots/rheostats, there are several places you might find an original replacement.
Playthings of the Past has a LOT of stuff there. I have bought several items from Gary and am totally satisfied. This includes several power, interstage, and output transformers.
Mark Oppat is the King of Controls. His Oldradioparts.net site is how you contact him. He has many NOS and old stock replacement controls, and has MANY other parts there.
You can also ctcAlan Jasperson at Great Northern Antique Radios. He is a Zenith Expert.
Posts: 15,304
Threads: 532
Joined: Oct 2011
City: Jackson, NJ
TA,
Thanks for the advice. I will need to buy some parts.
Actually I was thinking to but the transformer from Mark but he's on vacation and I am all itchy. 
The transformer I bought fit in nicely and it seems to be a very good match, with 7K impedance and 3 Ohms coil matching, plus 10 Watts rating, and with all this it is the size I need.
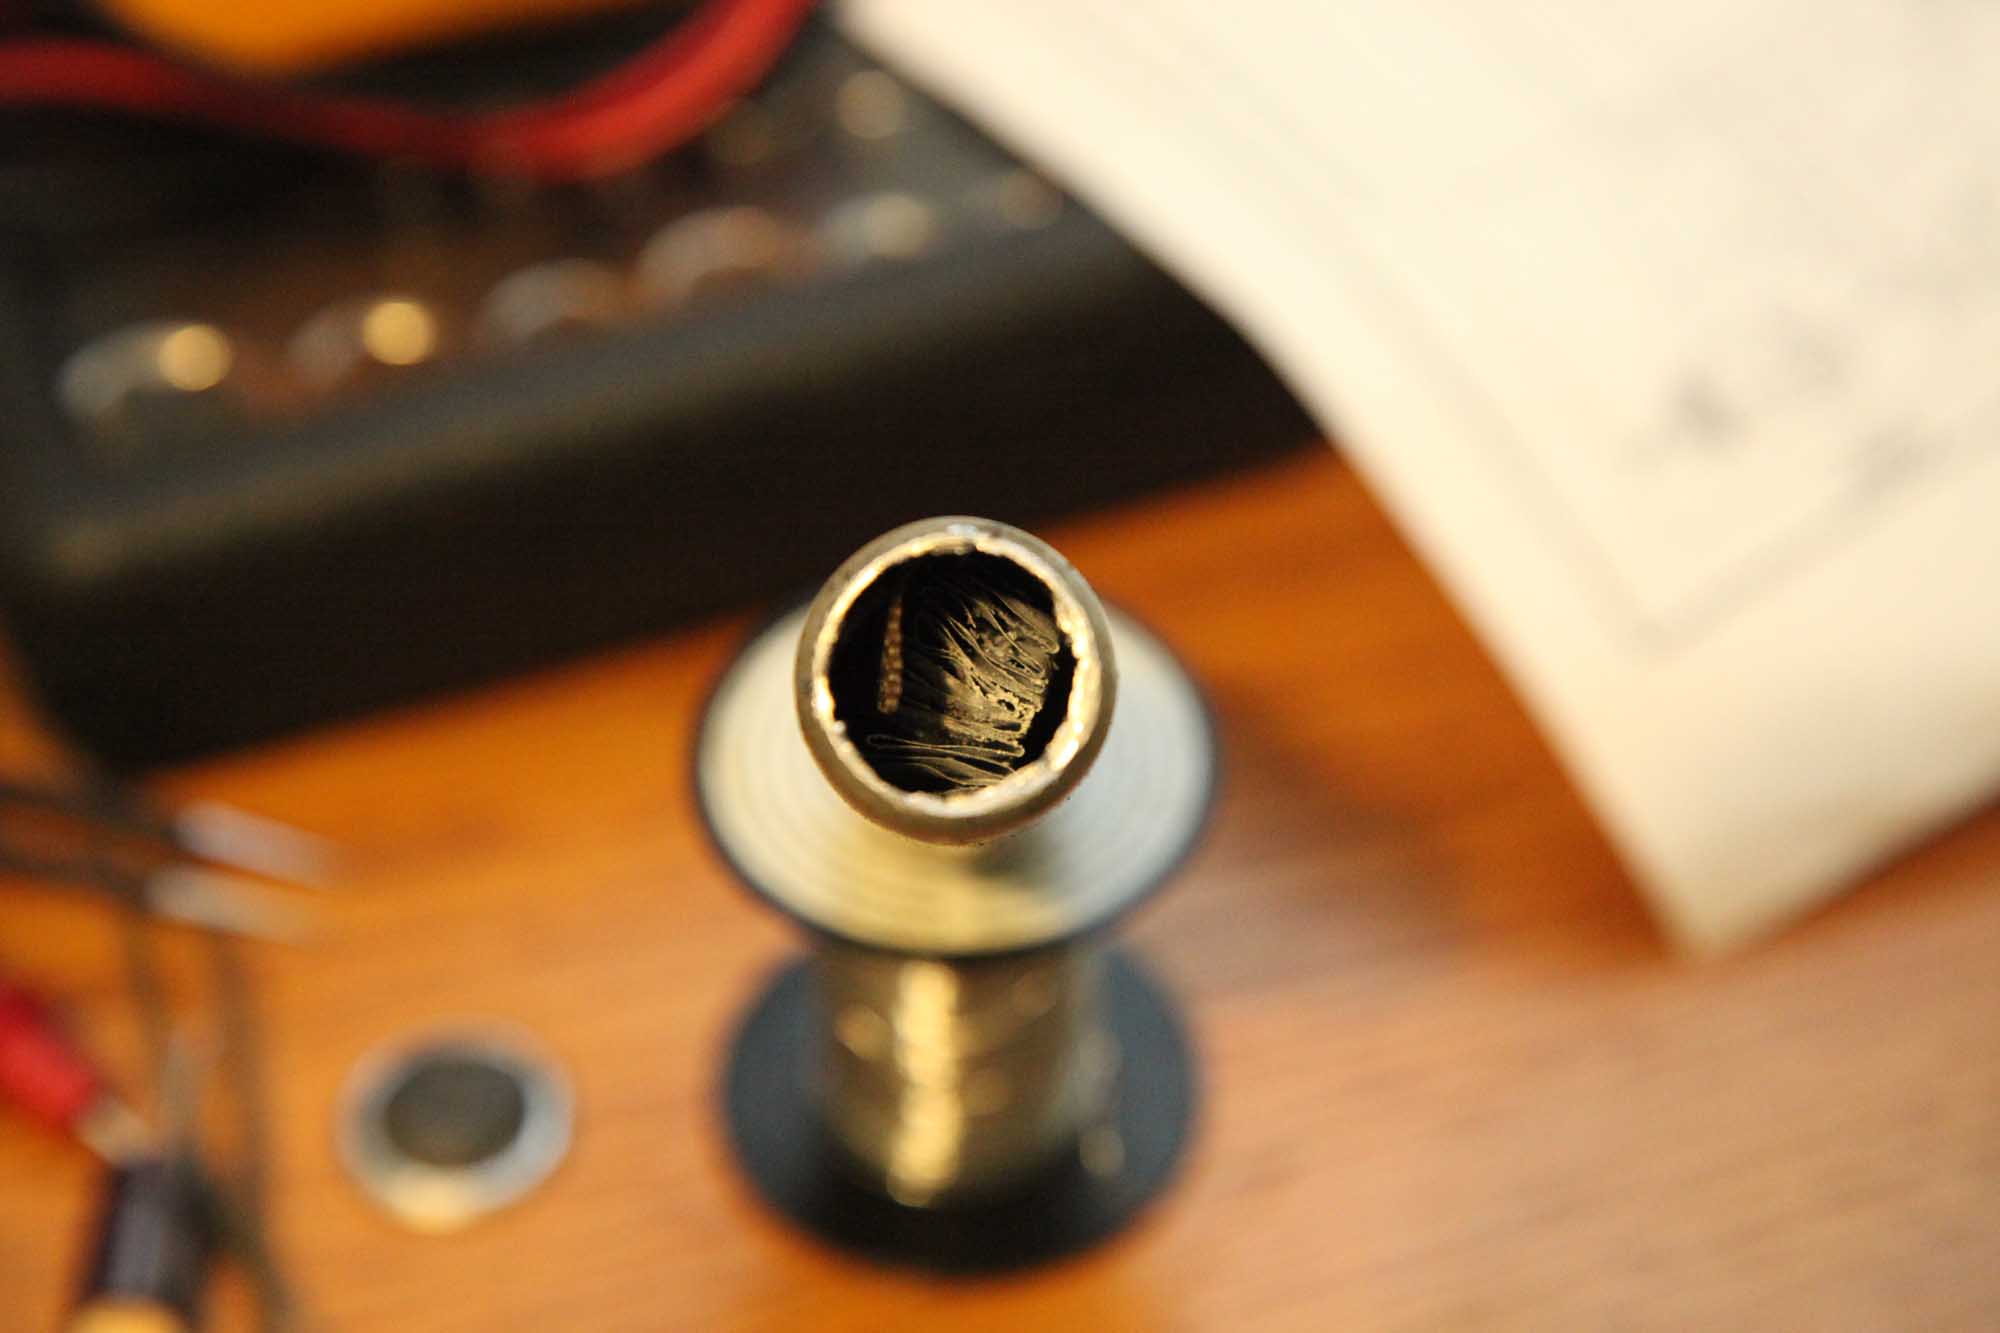
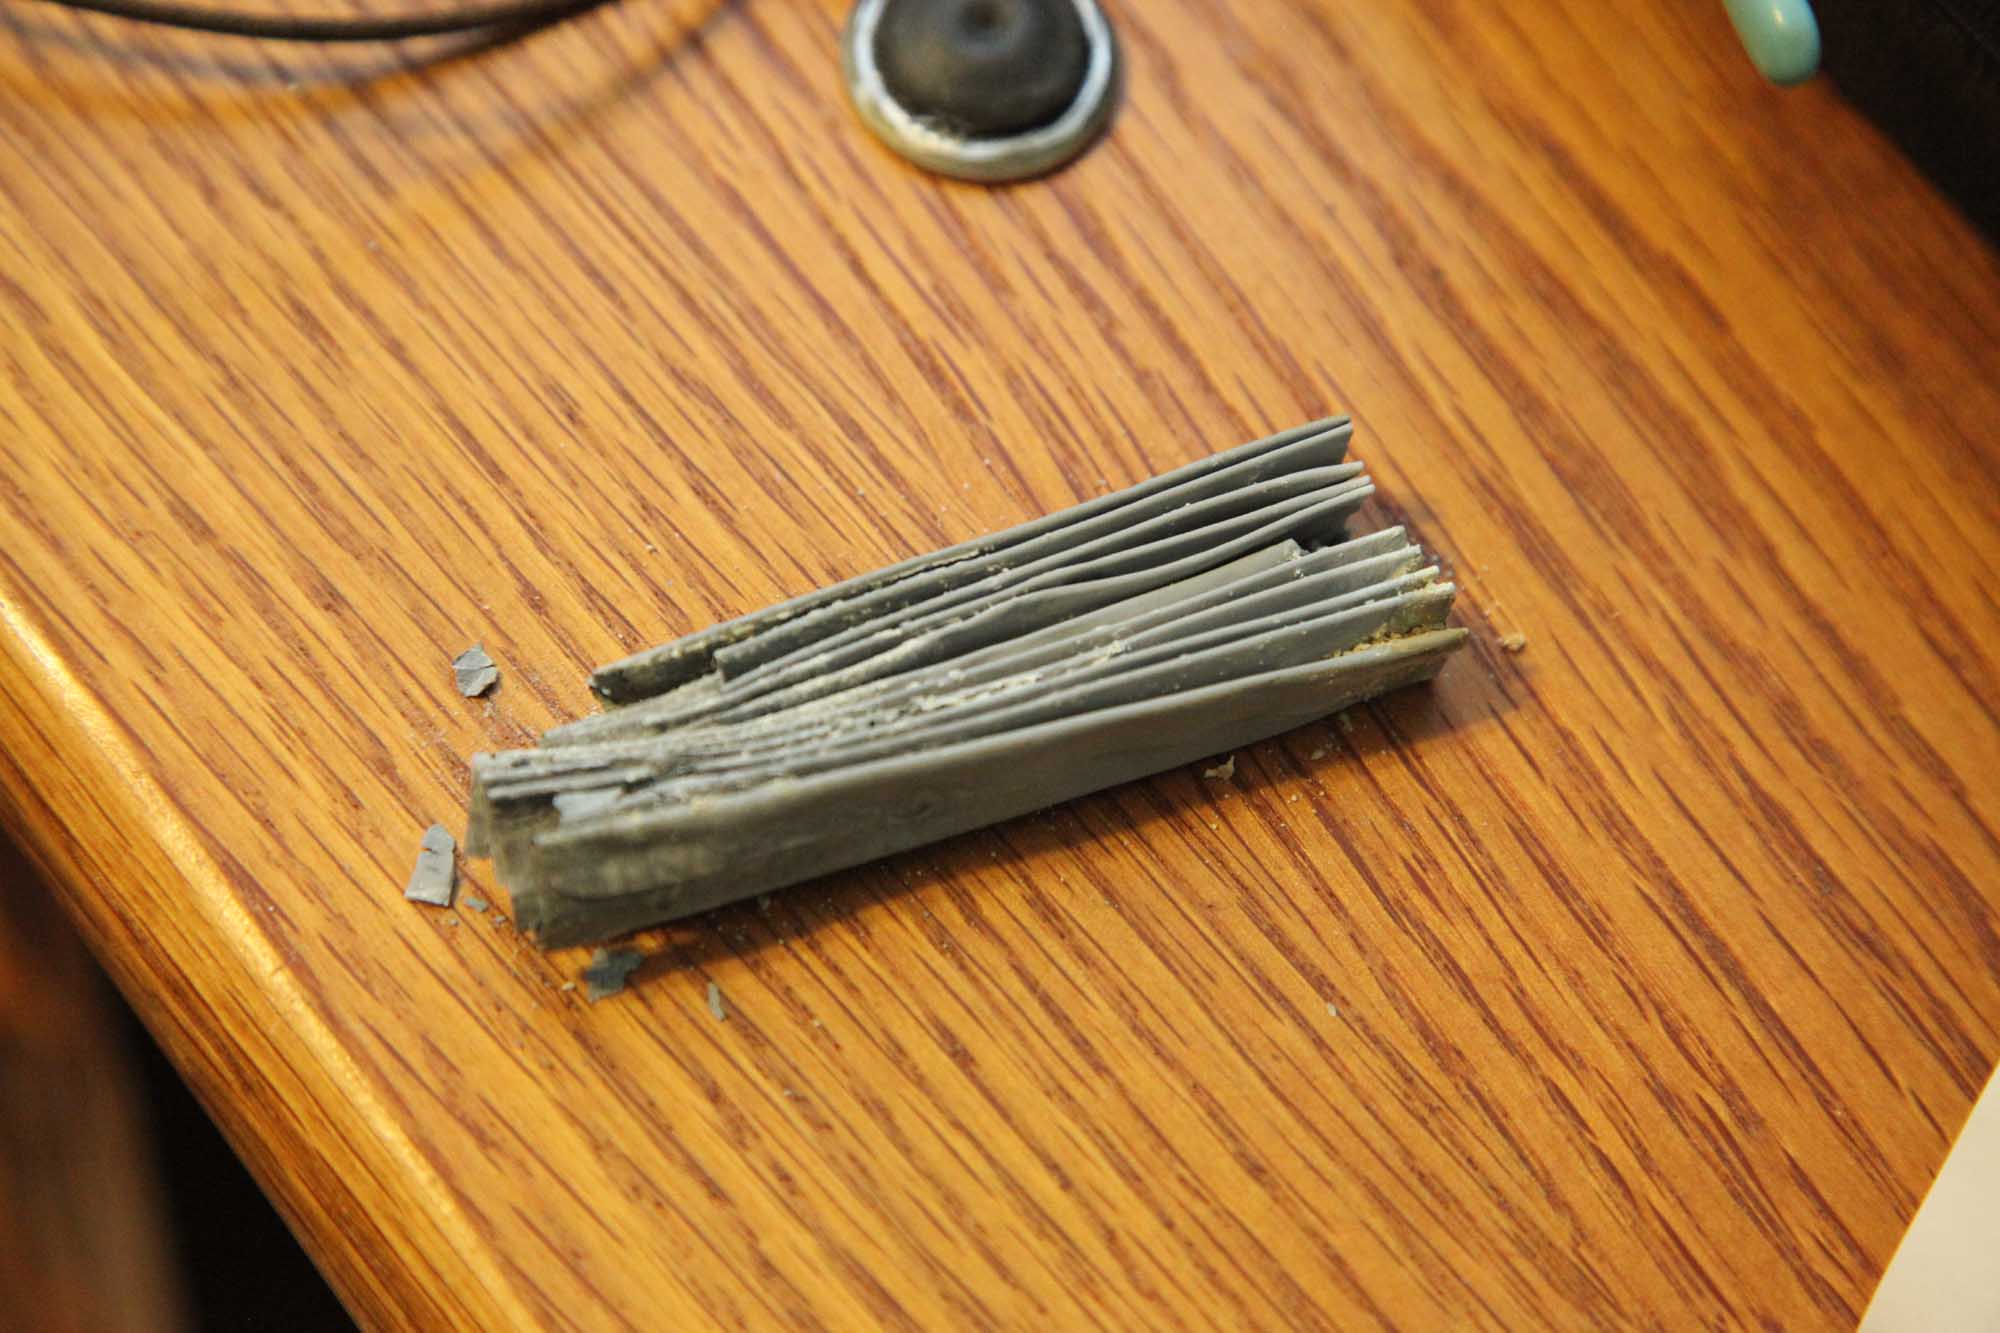
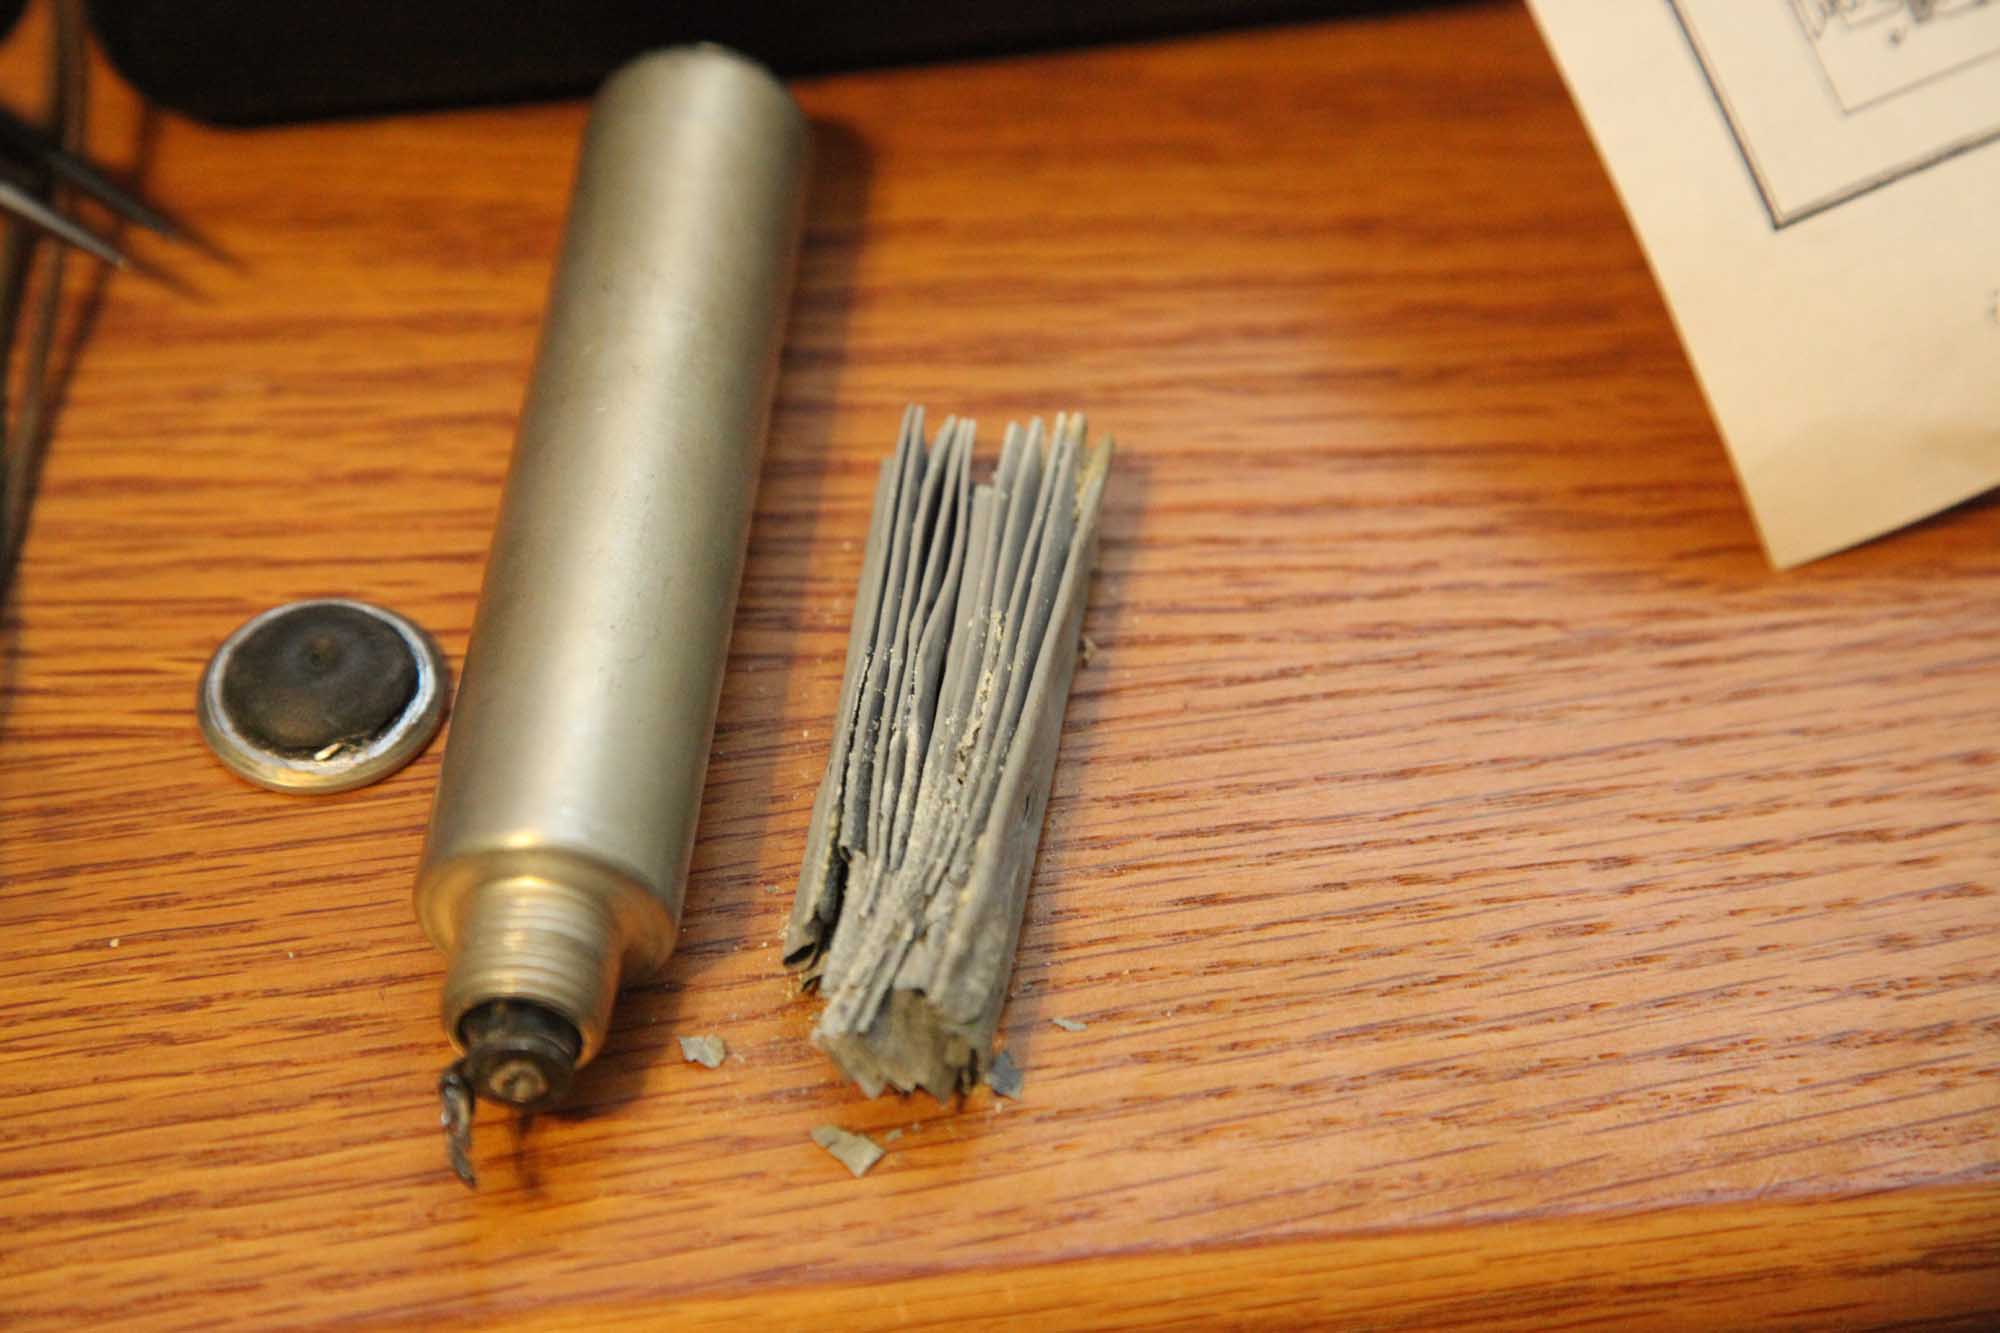
Some pictures of the cap and the speaker.
This is the speaker with the new XFMR.

These are the stages of restoring the cap I was dreading.
Posts: 15,304
Threads: 532
Joined: Oct 2011
City: Jackson, NJ
Well, every cloud has a silver lining: to fix the cap I needed to buy a glue gun, so eventually I got me one. And a trip to Lowes is always pleasant. 
Leave the wife and kids for 1/2 hr and go walk between the aisles of instruments.....
Also bought a staple gun - at some point I want to stretch that cloth on my Philco 20.
And all because of an old 16uF Zenith cap 
Posts: 309
Threads: 55
Joined: Oct 2011
City: Claremont, NH
Morzh,
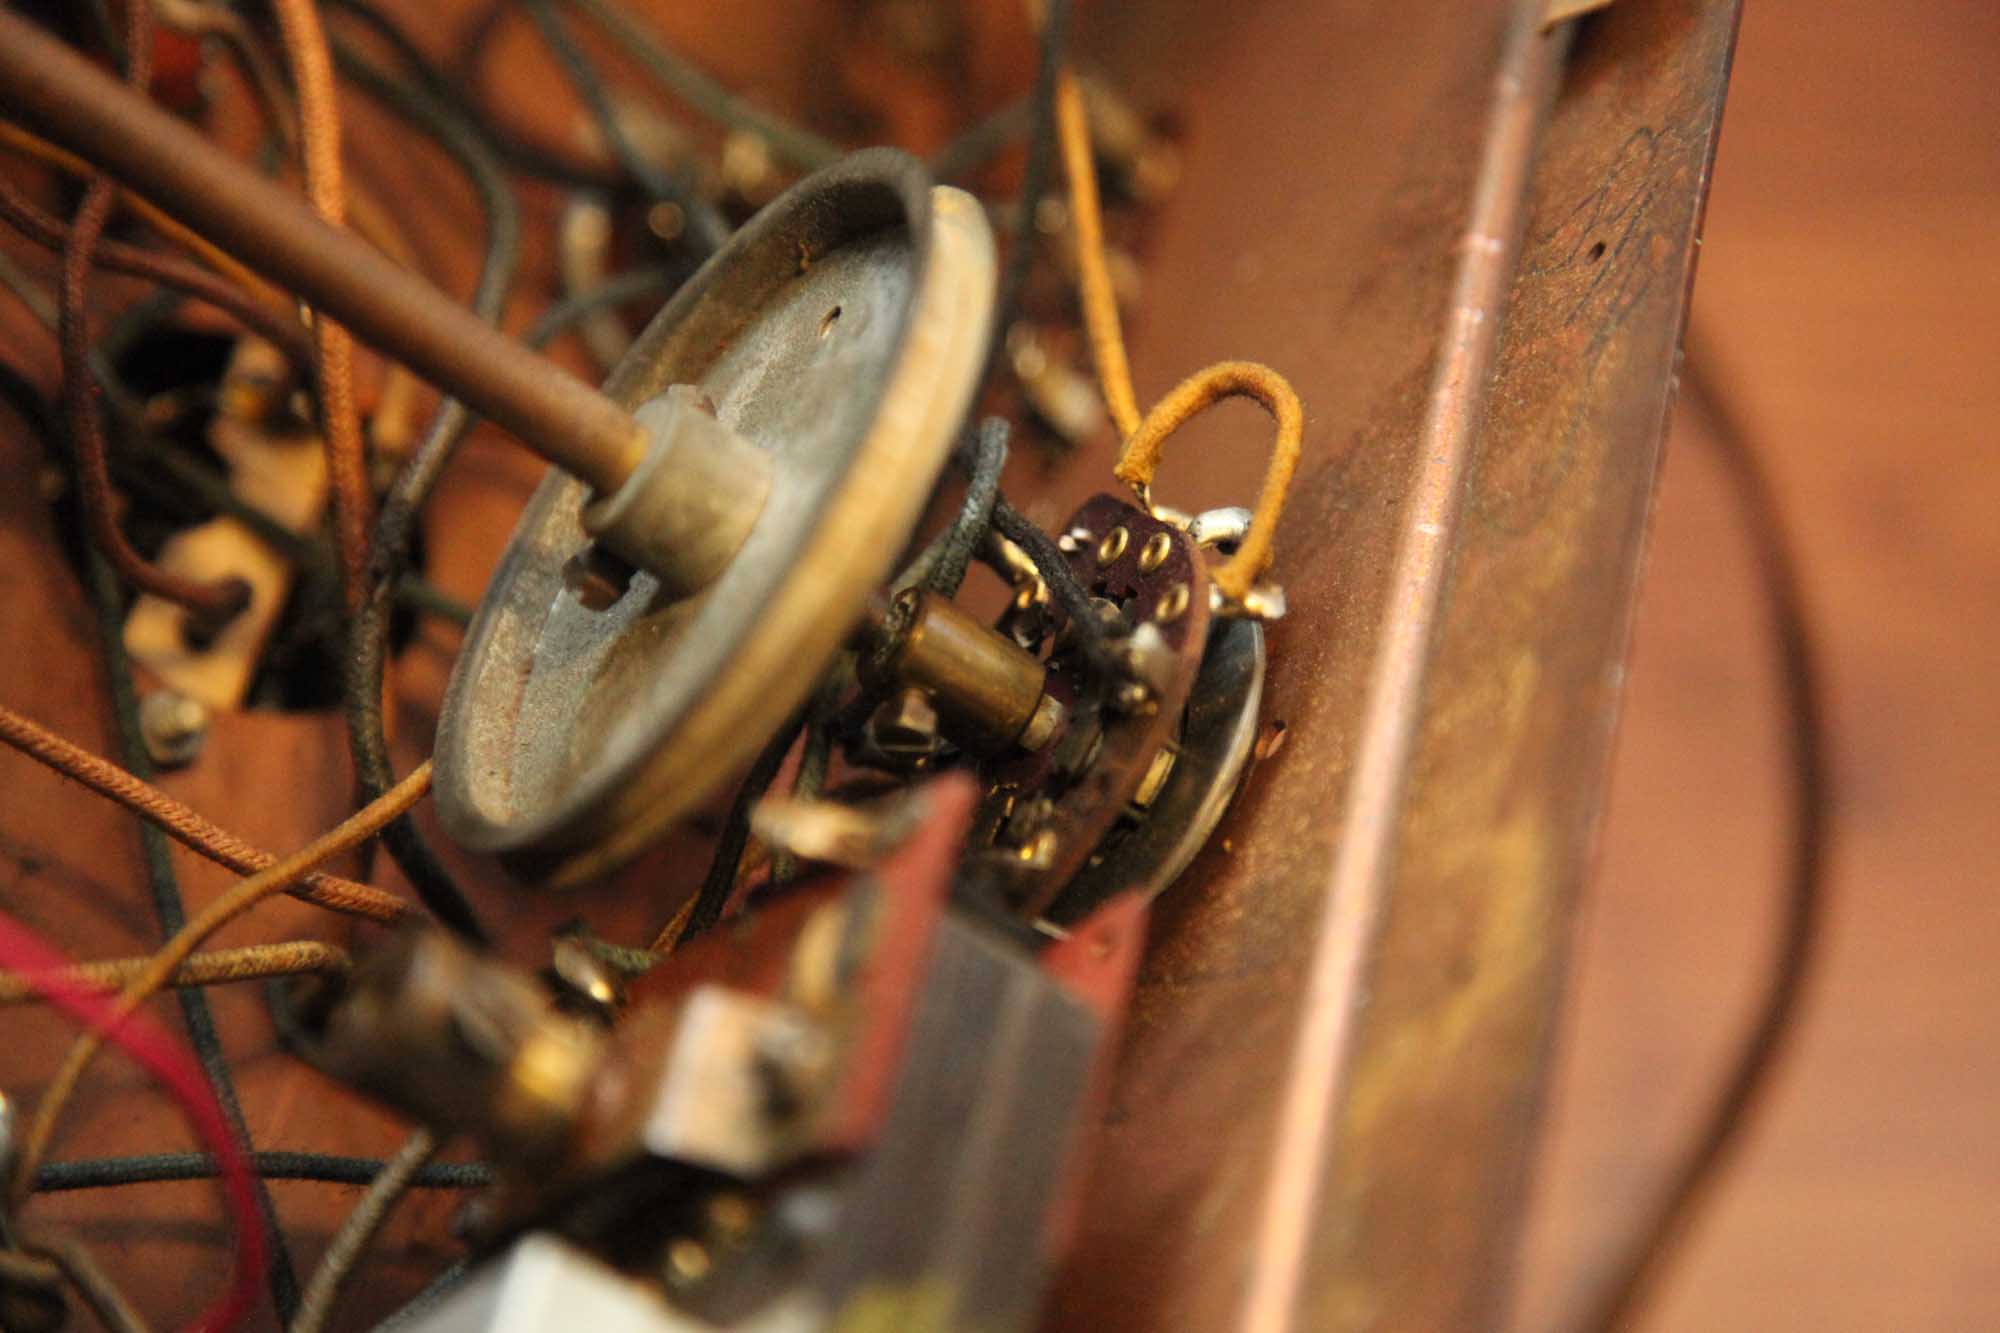
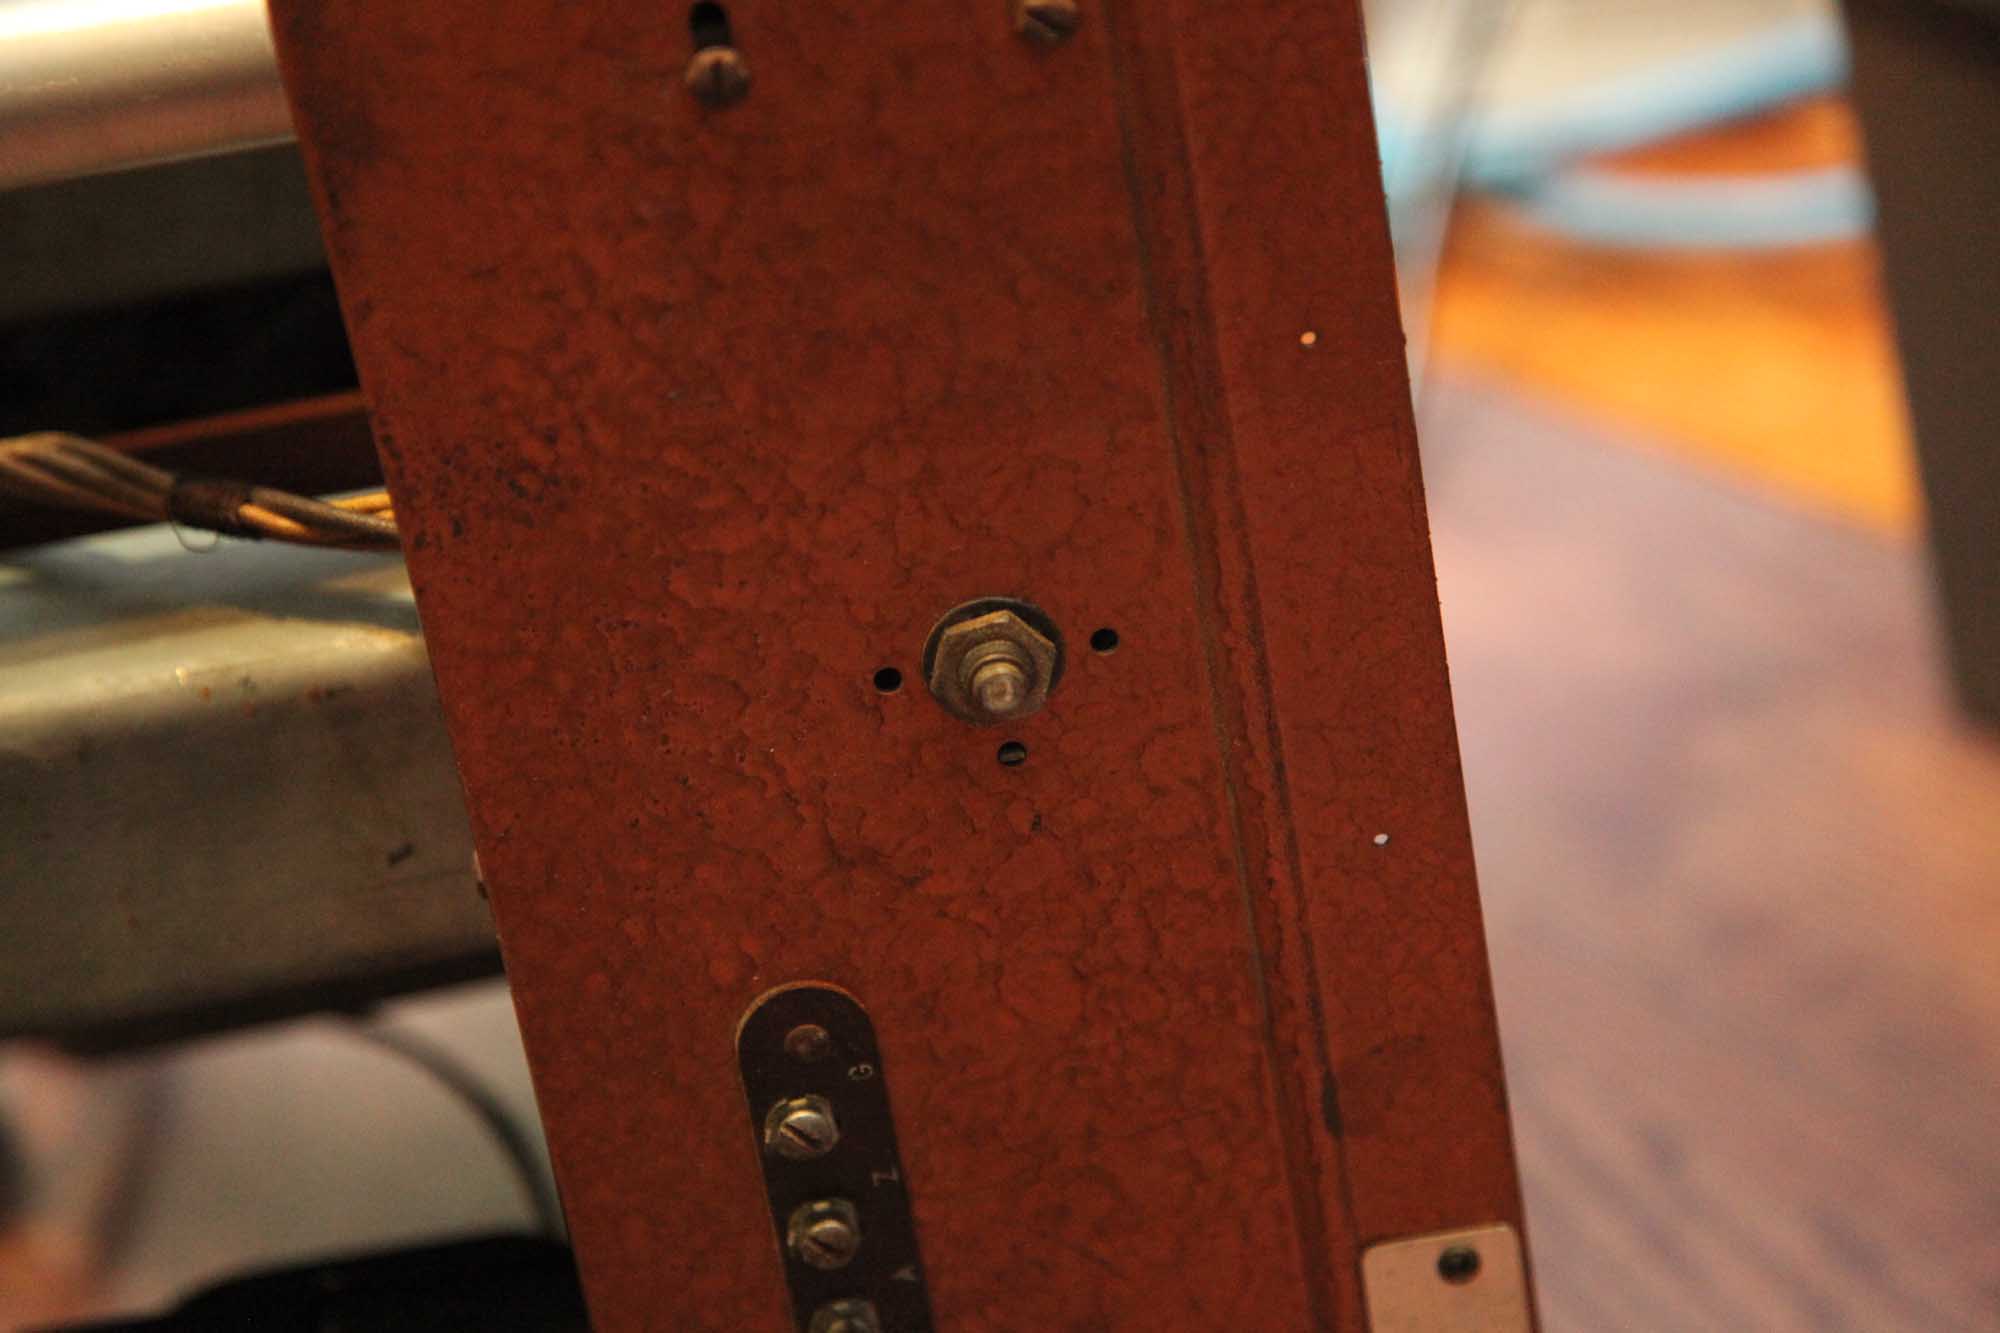
Do you have a pic of your band switch? Where is the set screw located on the switch? Mine is missing and I am looking for a replacement.
Thanks,
Gene
Posts: 15,304
Threads: 532
Joined: Oct 2011
City: Jackson, NJ
Gene,
I'll take a shot first thing when I come home this evening, and will post it.
Mike.
Posts: 462
Threads: 40
Joined: Jun 2010
City: Lehighton
State, Province, Country: PA
Enjoying following this thread. My brother-in-law found a 9-S-262 chassis inside the wall of a house he was reselling and gave it to me for Christmas. Unfortunately he neglected to also get the speaker and the house was sold. I finished up the chassis back in Feb and have been looking for a cabinet ever since. Since the chassis fits 7 different cabinets I've held off on a speaker. As luck would have it I found an empty 262 console cabinet at the Kutztown show so now I'm keeping an eye out for the speaker.
[Image: http://i863.photobucket.com/albums/ab191...62-22s.jpg]
Larry
Posts: 15,304
Threads: 532
Joined: Oct 2011
City: Jackson, NJ
Cool new project!
Inside the wall...wow! The things you find inside the walls.....usually it is mouse crap and an occasional used condom.....not something like this!
Have you fixed the chassis to the working condition yet?
Posts: 462
Threads: 40
Joined: Jun 2010
City: Lehighton
State, Province, Country: PA
Yes, the chassis is done, with one exception. The motor drive switch was bad so I advertised for a replacement. A fellow said he had one so I bought it but when I went to install it I discovered it was from a 12 tube robot dial, not a 9 tube. These switches are designed to mute the audio while the motor is engaged. The 9 tube is a single audio output while the 12 tube is a P-P output and the muting function operates differently. The motor part works dine but it won't mute the audio so I'm on the lookout for another switch.
I used my Ferret test speaker to test and align the chassis.
[Image: http://i863.photobucket.com/albums/ab191...ret-10.jpg]
Larry
Posts: 15,304
Threads: 532
Joined: Oct 2011
City: Jackson, NJ
Gene,
Here it is, if this is what you meant.
Posts: 309
Threads: 55
Joined: Oct 2011
City: Claremont, NH
Sorry my error.  I was talking about the band switch lever but I guess I now know it has the set screw on the side of the lever and not on top like I originally thought.
Thanks for taking the time to get the pics.
Gene
Posts: 15,304
Threads: 532
Joined: Oct 2011
City: Jackson, NJ
The more I deal with the set, the more I think it was repaired, and the quality is, well, not the factory one.
If i were to unsolder a wire or a part in Philco, it would take a considerable effort; here the wires come out quite effortlessly, and while it makes my life somewhat easier, it is not good.
I realized there is a block cap, 2, 6 and 8 uF, and two are OK, but the 8uF is shot. Anyway, while I don't always change paper caps, the electrolytics I do replace, and so I ordered all of them plus all the resistors in Mouser, including all the Candohm section replacements.
Can't find a terminal strip to replace the Candohm. Will have to take a trip to the Radio Shack. They have some.
Mark Oppat wrote he has drive belt by the foot for Zeniths, cheap, so I will order some when it comes to that point in the exercise.
Posts: 15,304
Threads: 532
Joined: Oct 2011
City: Jackson, NJ
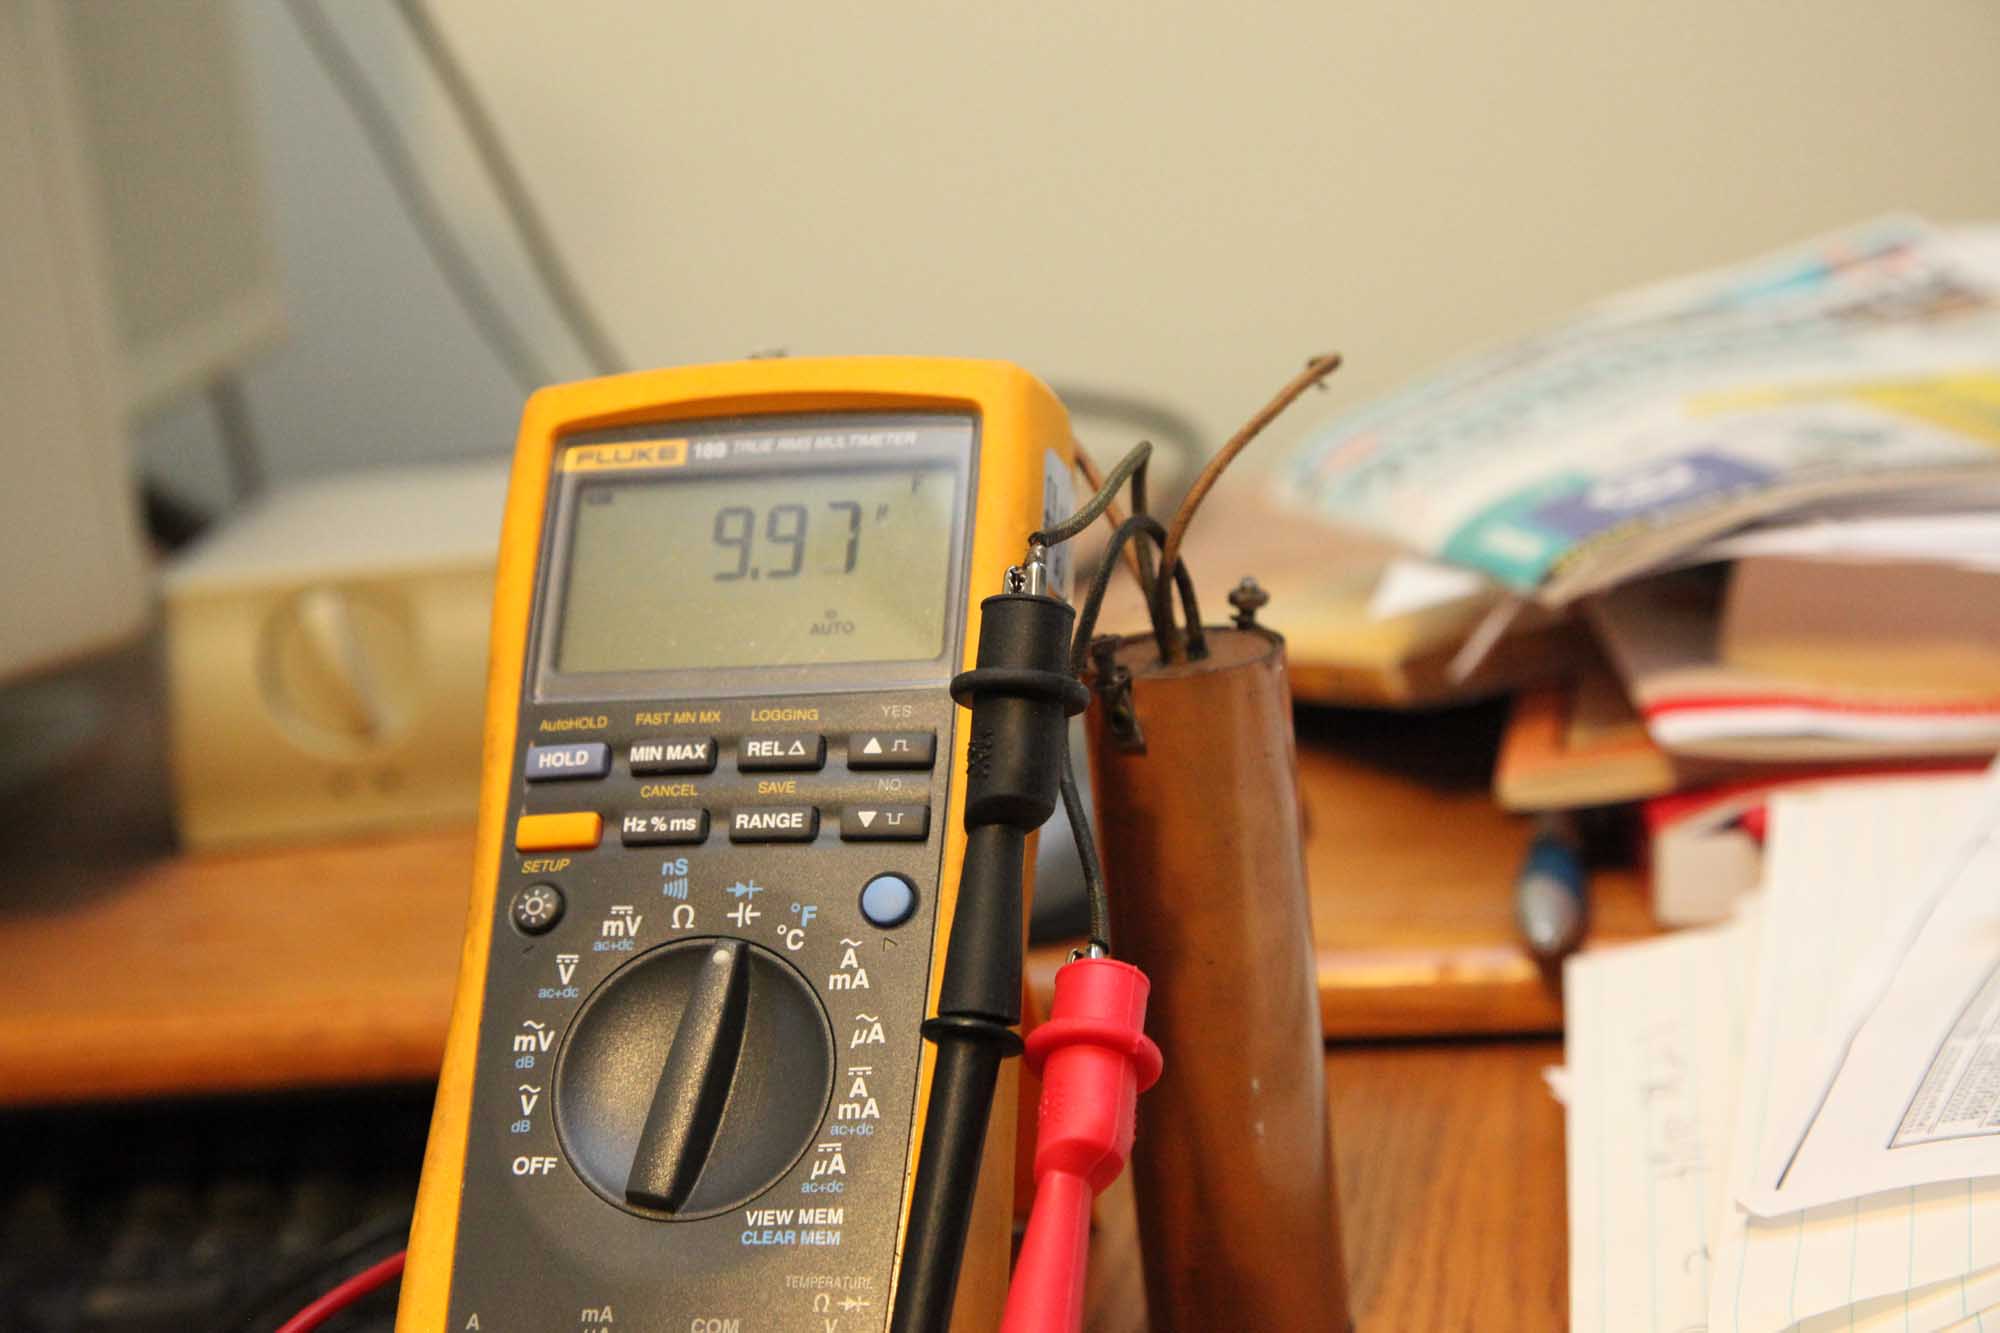
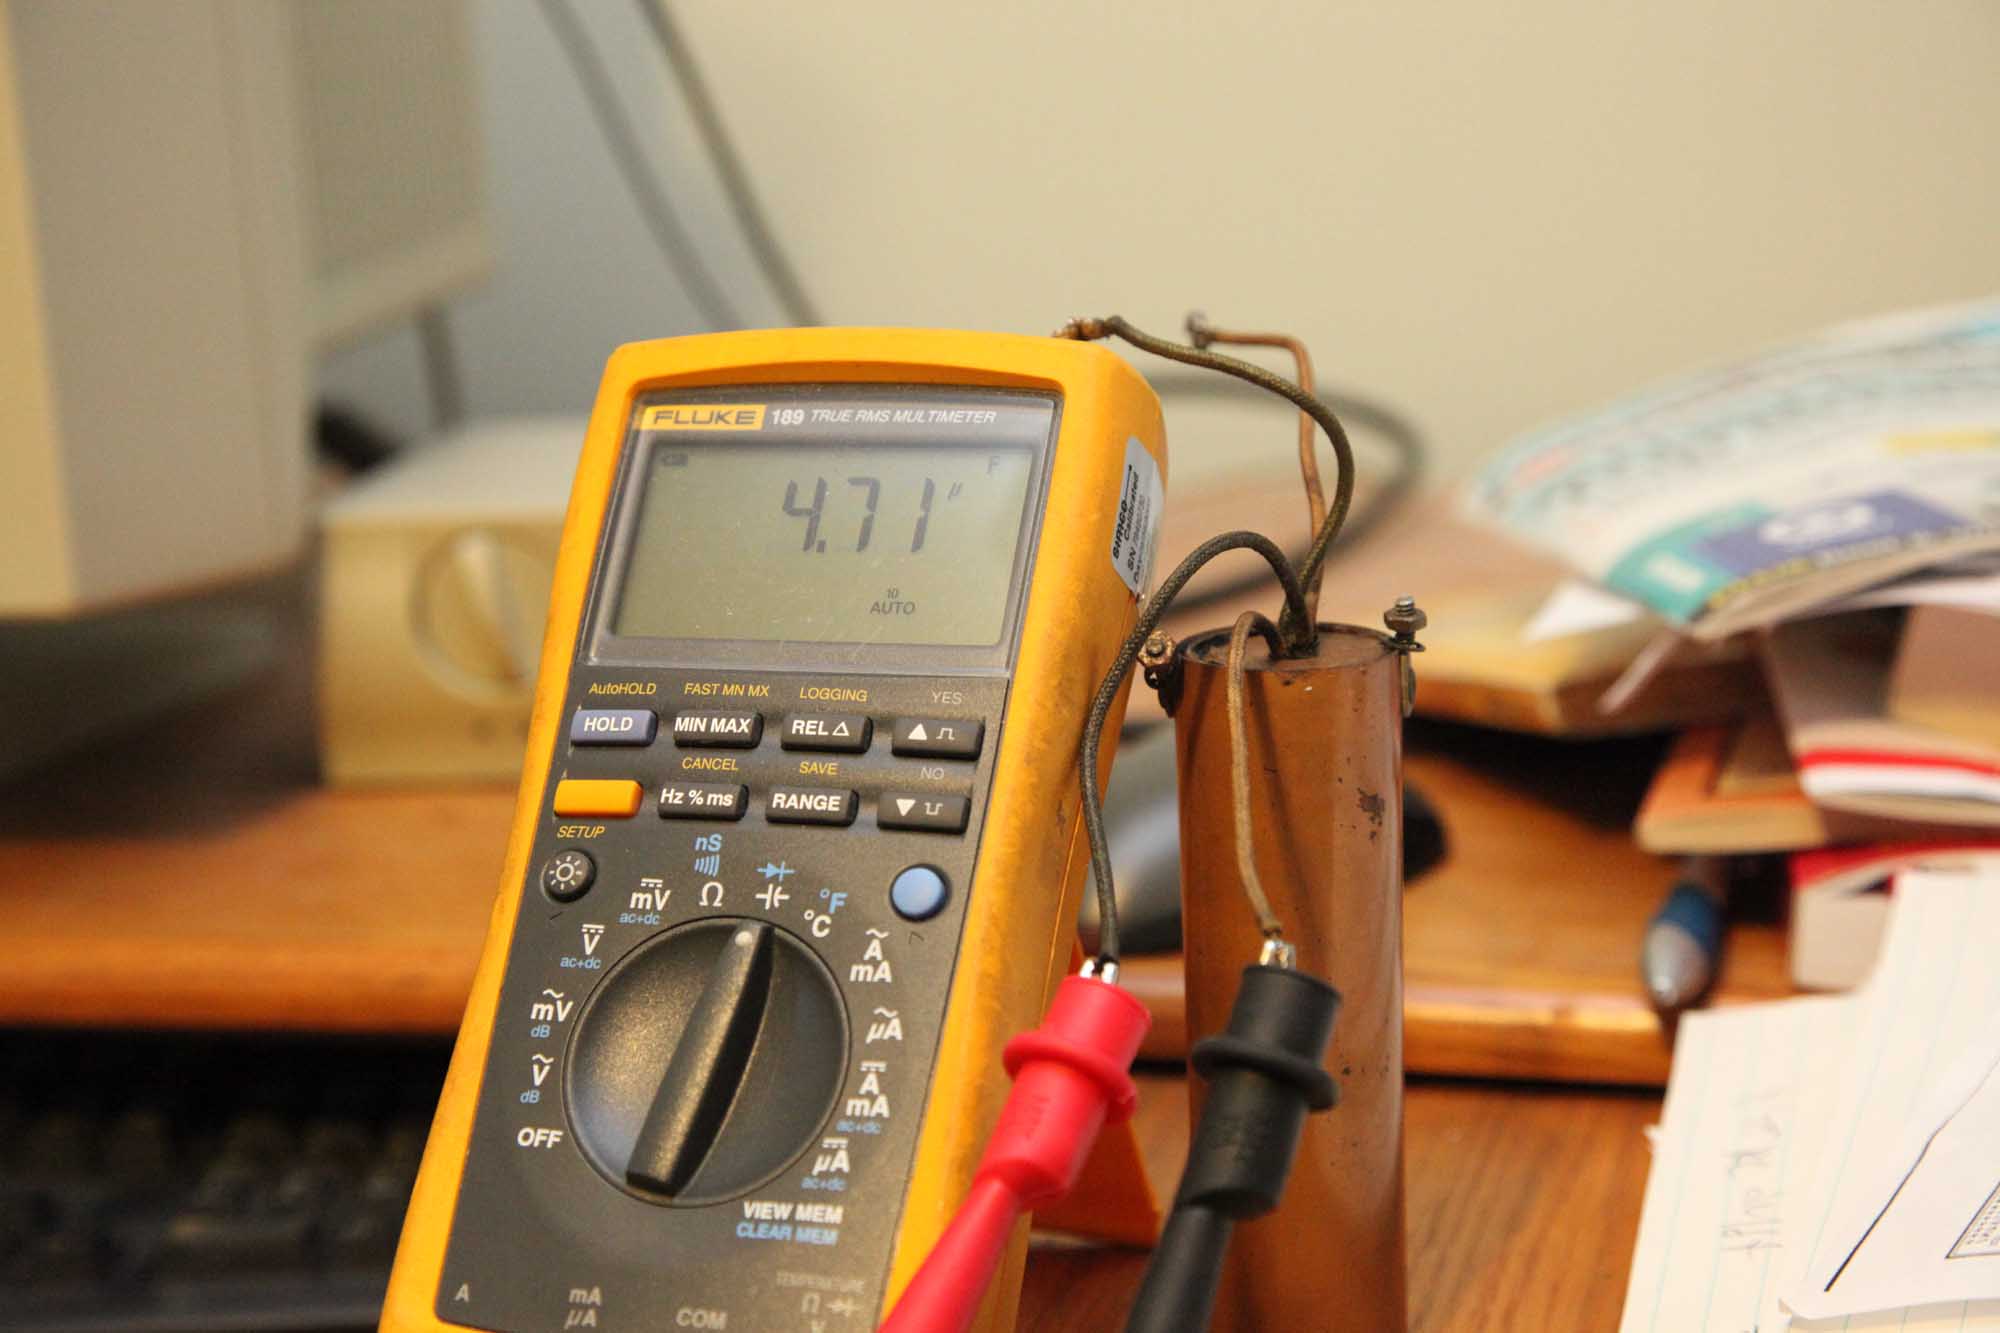
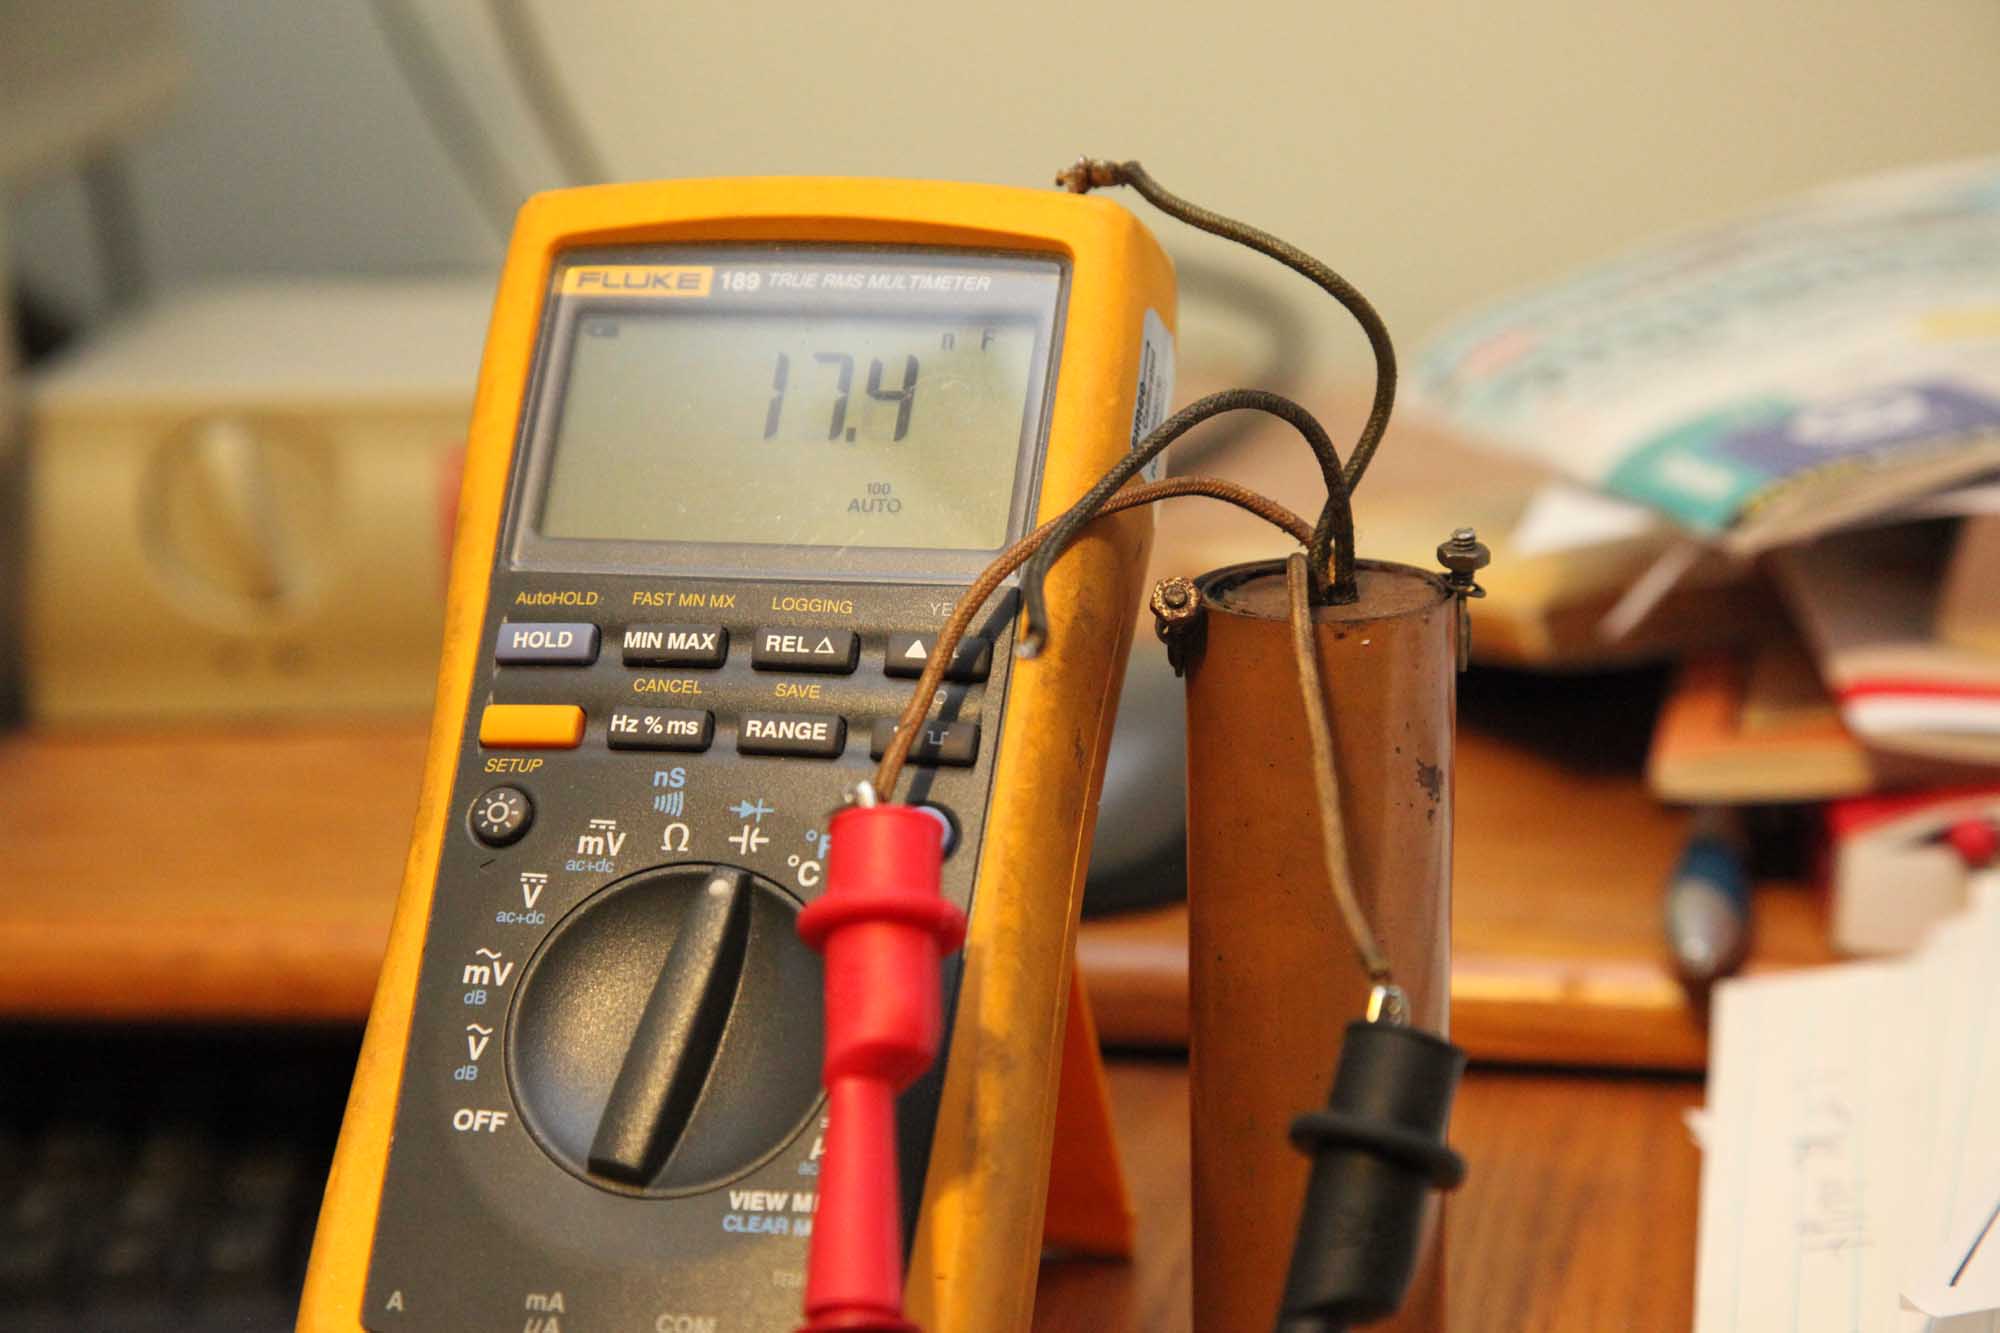
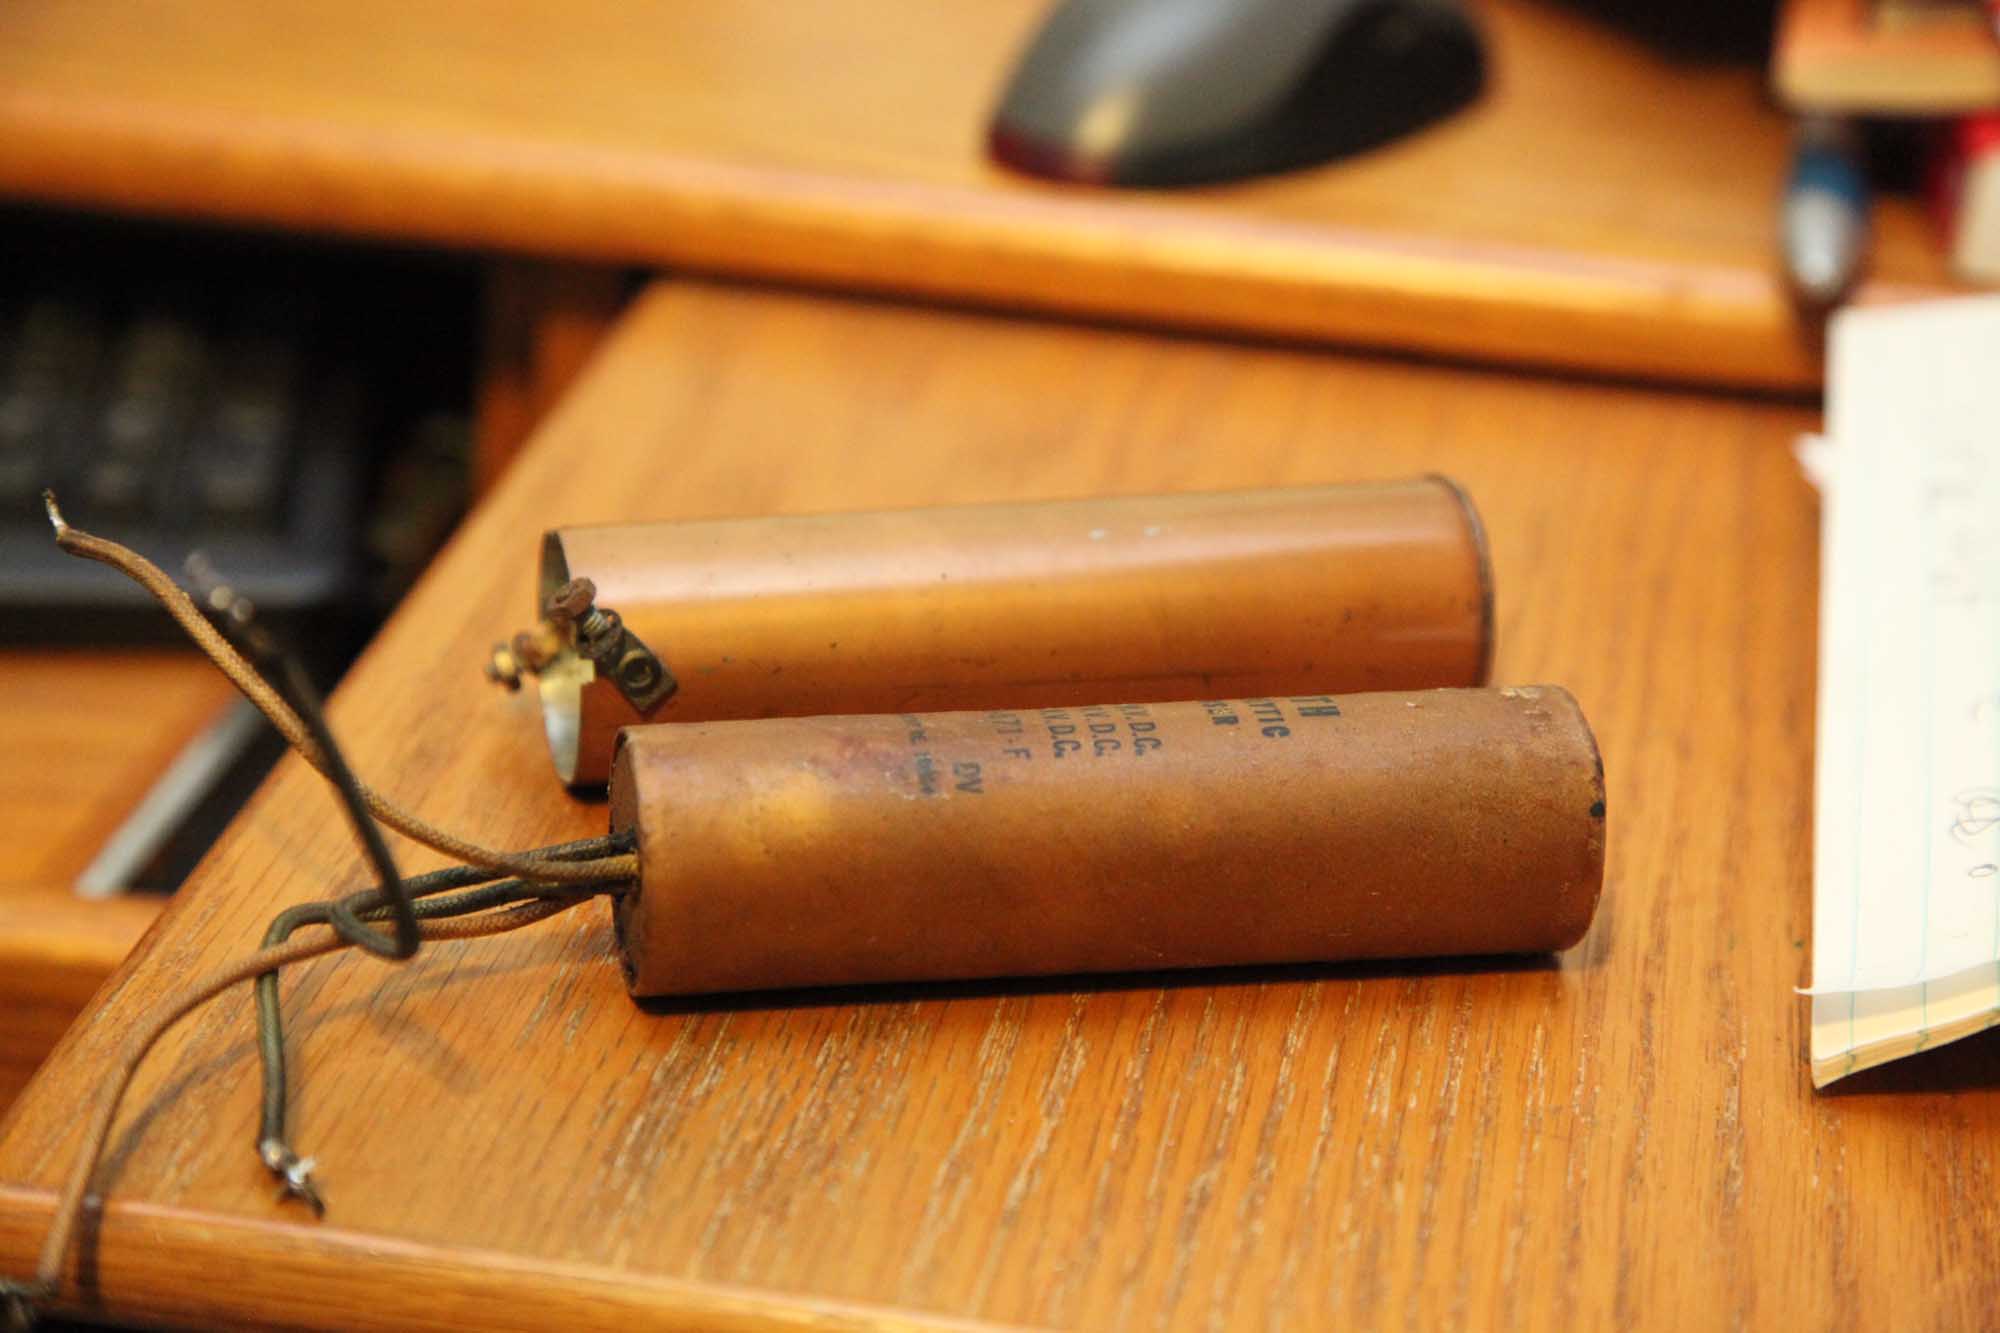
Here's a triple electrolytic capacitor i restored.
This is the cap.
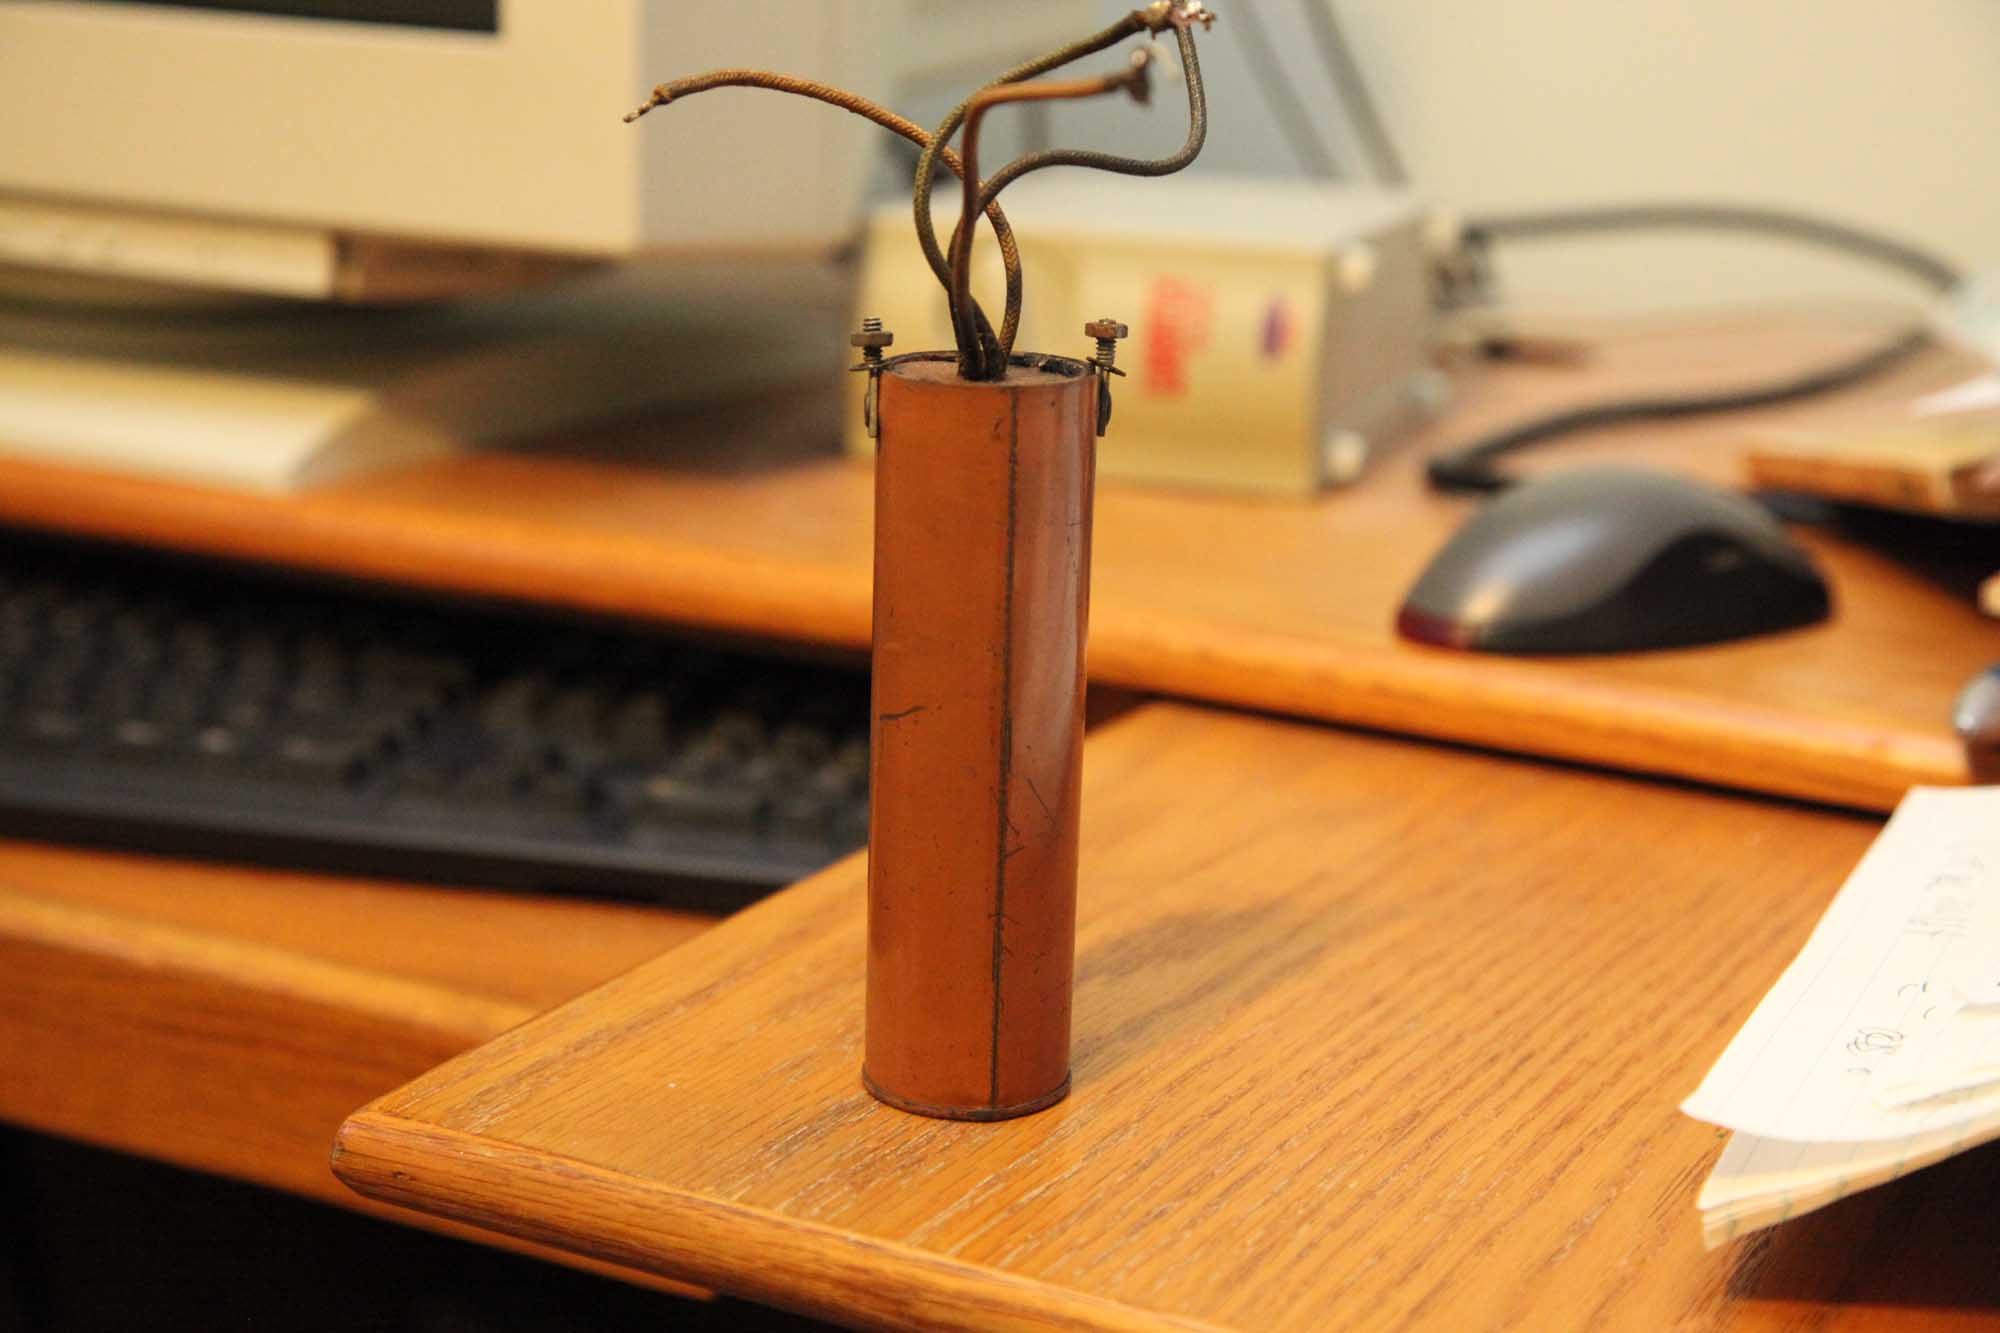
One of them tests fine.
And another one
But the 10uF one is dry.
So I have to take it apart.
The cartridge comes out easy.
Posts: 15,304
Threads: 532
Joined: Oct 2011
City: Jackson, NJ
And then we use the corkscrew. 
Success!
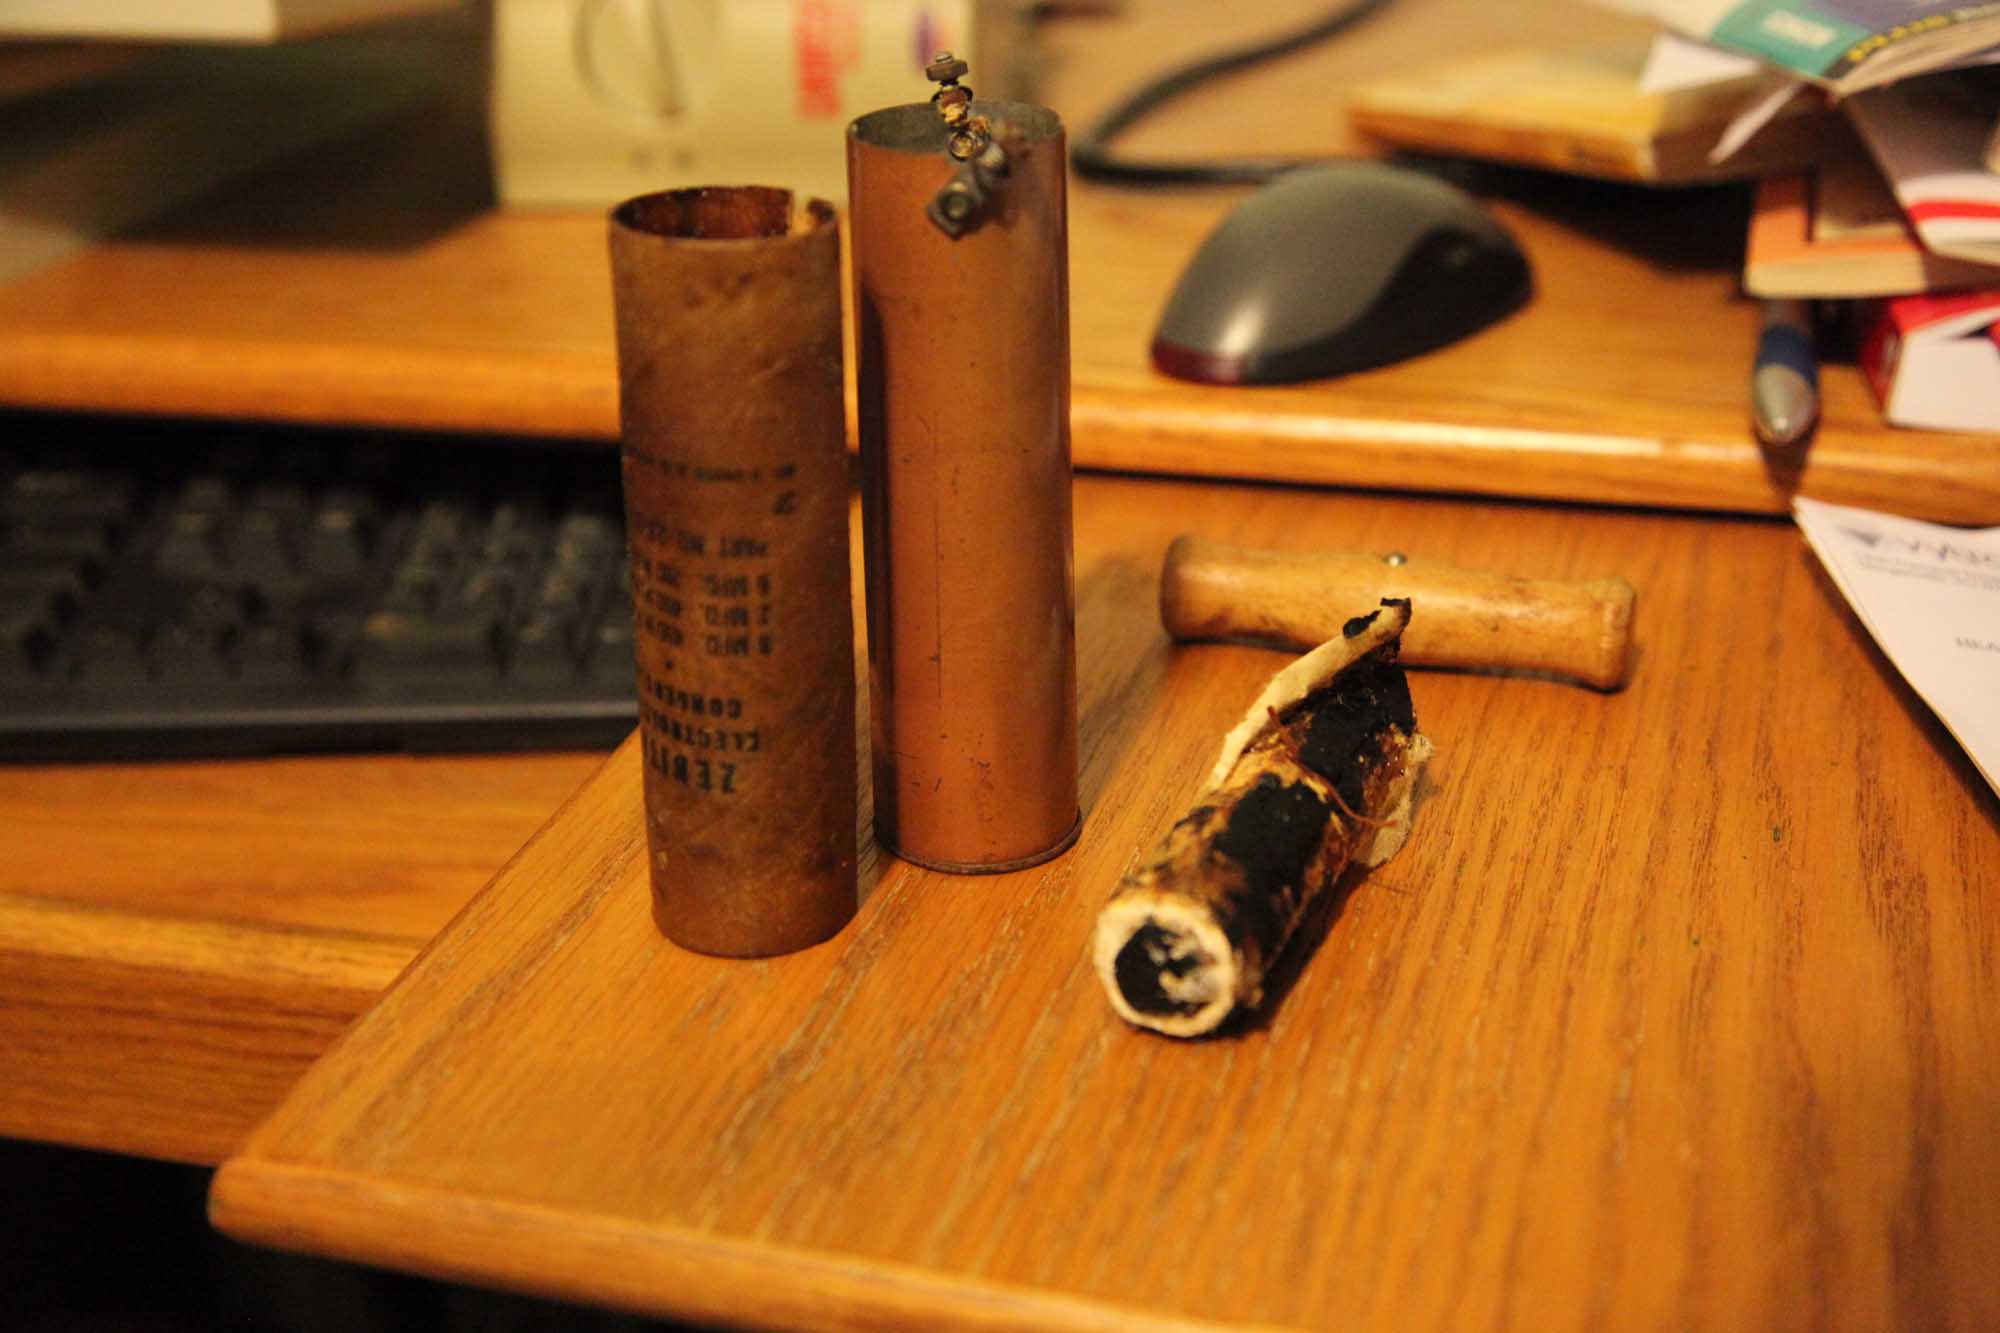
The rest is as usual.
I put the caps in the paper cartridge and saved some tar inside and some chinks for the later use. Potted the caps with hot glue, put the tar or top and melted it with Milwaukee gun. Put the paper lid with the hole back on top - looks indistinguishable.
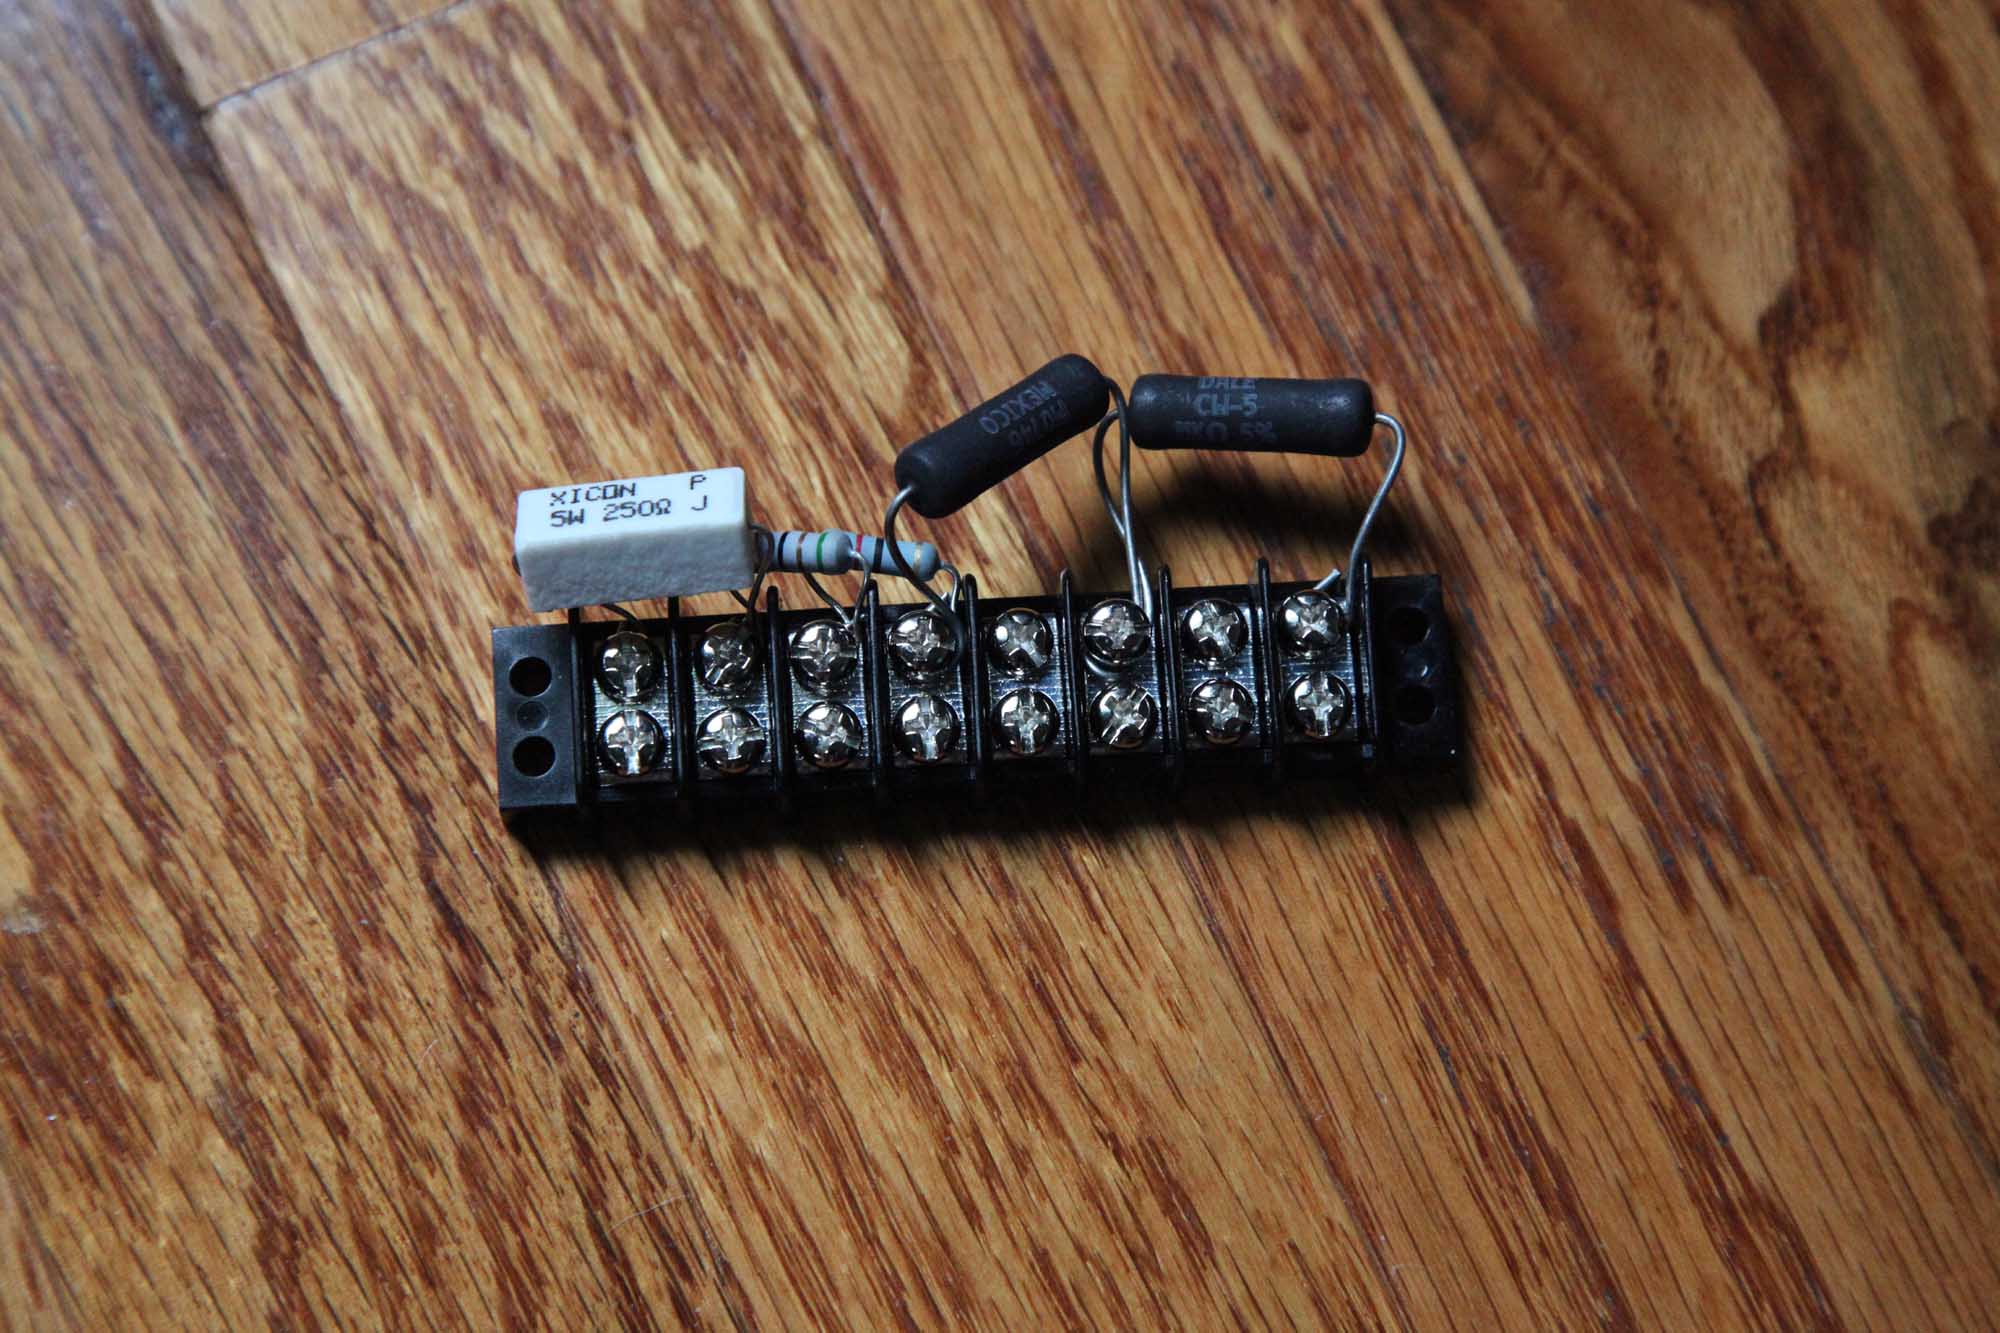
And the Candohm replacement.
I did not go fancy on it - a terminal screw strip and resistors. The wattage came from the Rider Manual, and got multiplied by 4 or 5 due to no heatsinking. all 1-watters became 5-watters, and 1/4 watters became 1-watters.
(This post was last modified: 05-27-2012, 11:11 AM by morzh.)
Posts: 15,304
Threads: 532
Joined: Oct 2011
City: Jackson, NJ
Some...ahem...specialist tried to do something to this radio long time ago. I can tell by soldering - wires smeared with solder, not reflowed. I am trying to change resistors and looking for them, so I could not understand how the heck the grid wire from the Green Eye tube goes to the same R3 pin the resistor R7 goes to. Considering I have to understand first which resistor is which.
Then I realzed he (i can safely assume it was he, those tome she woud not do this) simply connected it to the wrong place.
Good news, the XFMR seems to work, the secondary being about 700V (it is centertapped, so it will be half), the filament 6V, and the motor running. Have the dial light bulb bad, but I think the winding will be OK. (a separate winding for dial light).
....some people should not be allowed near the soldering iron.
Users browsing this thread: 2 Guest(s)
|


